Chicken Bacon Ranch Quesadillas
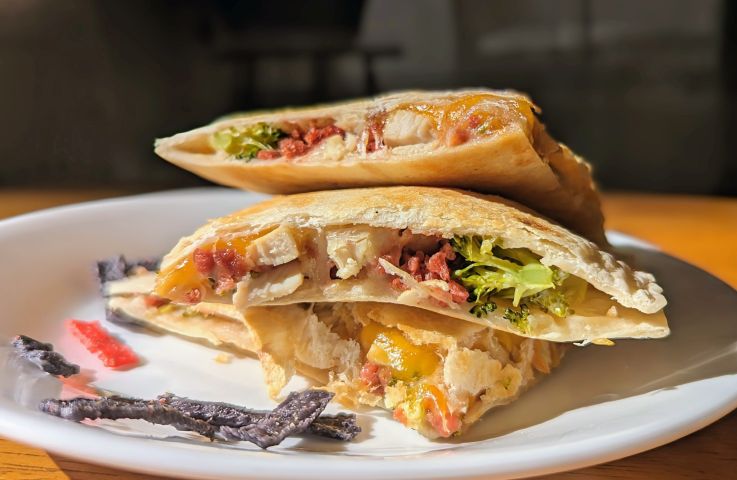
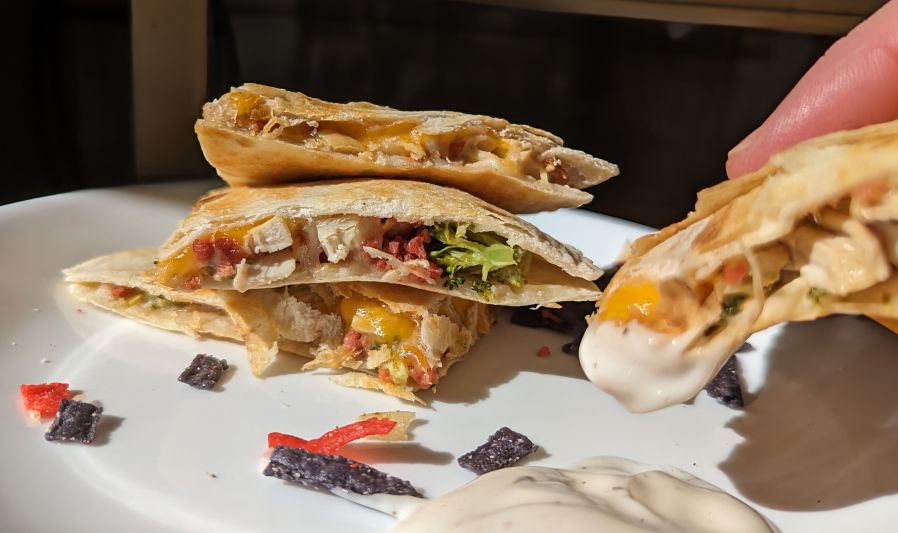
Filled with savory precooked chicken, bacon, ranch, cheddar cheese and broccoli, these delicious and easy Chicken Bacon Ranch Quesadillas are a delightful twist on a Mexican-inspired favorite!

Why We Love It
My family loves chicken, bacon, ranch, cheese and broccoli. Any time all of those ingredients come together in a superbly tasty dish, like Cracked Hamburger Hash Casserole, everyone rushes to the table to devour it.
We also love Mexican food and chicken quesadillas. So it's no surprise that we often crave these Chicken Bacon Ranch Quesadillas! Whenever these savory tortilla sandwiches are made with their zesty ranch and melted, oozing cheese, it's a special treat--especially when served alongside Mexican Rainbow Coleslaw!
Chicken Bacon Ranch Quesadillas are so easy to make, and while I wouldn't exactly consider them to be a copycat recipe, they are similar to Chili's Chicken Bacon Ranch Quesadillas--but with much healthier ingredients.
With low-fat Mexican blend shredded cheese, light ranch dressing, bacon bits (yes, they work quite well in this) and fresh cuts of broccoli, you get all the great flavors of the restaurant version--plus an added vegetable bonus--without all the guilt!
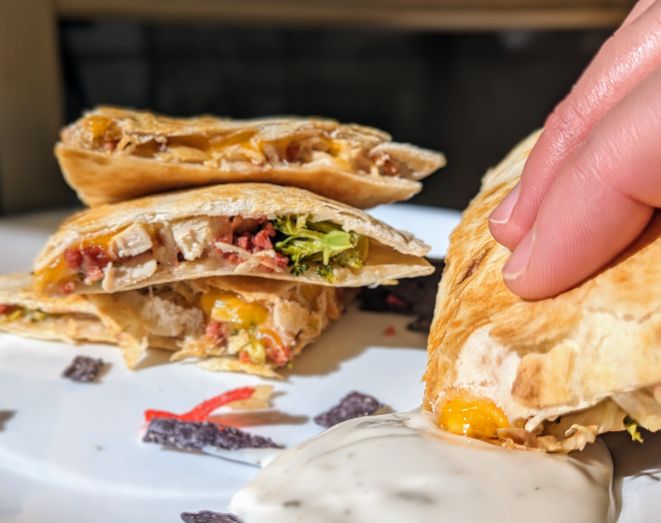
And, just like Chili's, our Chicken Bacon Ranch Quesadillas get even better when served alongside pico de gallo, sour cream and ranch!
Why You'll Love It
| Great for leftover grilled or rotisserie chicken- Cut your meal prep down significantly by using precooked chicken. This recipe is a great way to use up leftovers. Very customizable- While the suggested flavors and ingredients work well in this recipe, feel free to add your own personal touch. From jalapeño peppers to added chili spices and different cheeses, you can create your own favorite version. You can also use a homemade ranch dressing! Great use for flour tortillas bought in bulk- Maybe you have a lot of tortillas in your pantry from that last club store visit. Why did you buy so many? So you could try a new chicken bacon ranch quesadilla recipe like this one! Kid-friendly quick meal- Kids love melted cheese sandwiched between tortillas and usually don't mind the added bonus of broccoli, which makes this dinner a winner--especially since each quesadilla cooks in 10 minutes or less! |
Chicken Bacon Ranch Quesadillas FAQ
| What is a good melting cheese for quesadillas? Cheddar, Monterey Jack and any Mexican cheese blend works well for this recipe. While I admit that shredded cheese does not melt the same as block cheese, I often use shredded to save time. This recipe uses sliced cheddar and a shredded Mexican blend for a variety of cheese flavor and melted texture. Is it better to put a quesadilla in the oven or pan? Definitely a frying pan. Quesadillas don't take long to cook and the tortillas turn a nice golden brown from a little oil in the pan, giving them a tasty, crisp texture. You won't get the same results from the oven. The quesadillas will taste more like a baked dish, won't be as crisp, and the tortillas could potentially dry out. Do you flip a quesadilla? Yes. It's the only way to achieve a light, crisp texture on both sides and the best way to make sure that all the ingredients are heated through. There are two schools of thought on how to assemble quesadillas for the frying pan (which affects flipping)--see "To Fold or Not to Fold" below. |
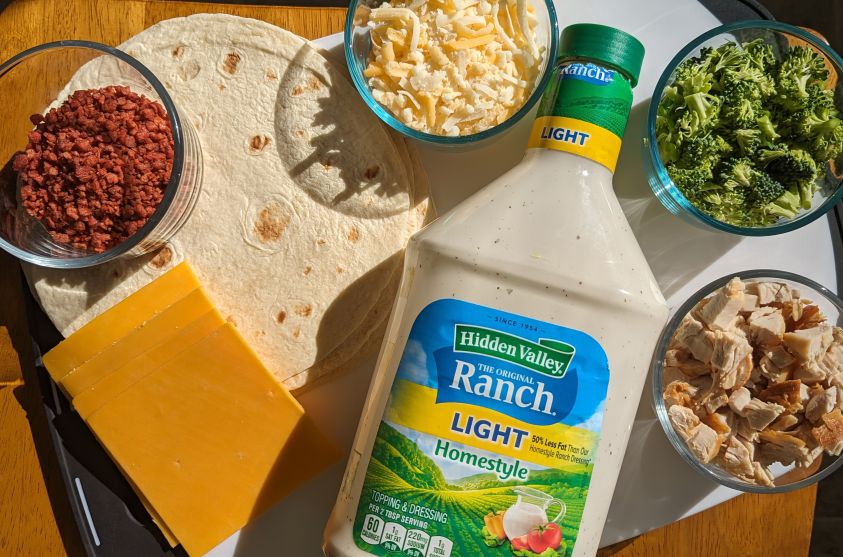
Ingredients for Chicken Bacon Ranch Quesadillas
- 8 flour tortillas (fajita sized)
- 4 slices cheddar cheese (pre-sliced sandwich size)
- 1 cup precooked chicken breast, diced (I use precooked grilled chicken)
- 1 cup fresh broccoli florets, diced
- 4 tablespoons bacon flavored bits (can substitute a few strips of crispy bacon)
- 4 tablespoons light/reduced fat ranch salad dressing (Hidden Valley recommended)
- 1 cup reduced fat shredded Mexican cheese blend (or reduced fat shredded cheddar cheese)
- Canola or olive oil cooking spray
How to make Chicken Bacon Ranch Quesadillas
You'll want to gather the following equipment:
- large cutting board
- chef's knife
- frying pan
- large spatula
- pizza cutter
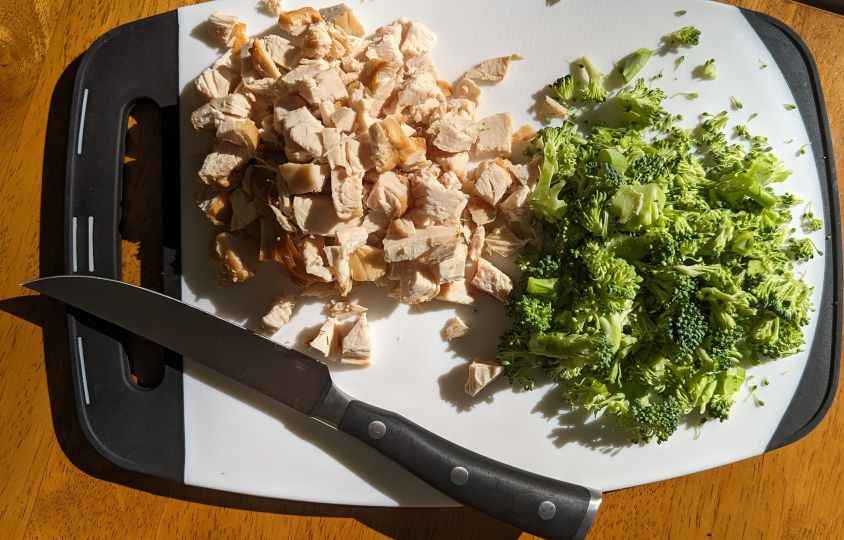
Prep the chicken. Using your cutting board and knife, dice your pre-cooked chicken into bite-sized pieces. Then move those pieces to the side of the cutting board to make room for the broccoli.
Prep the broccoli. Dice the broccoli into fine, tiny pieces as well. Big chunks will make it hard to assemble and hard to eat!
Chicken Bacon Ranch Quesadillas in 10 Easy Steps
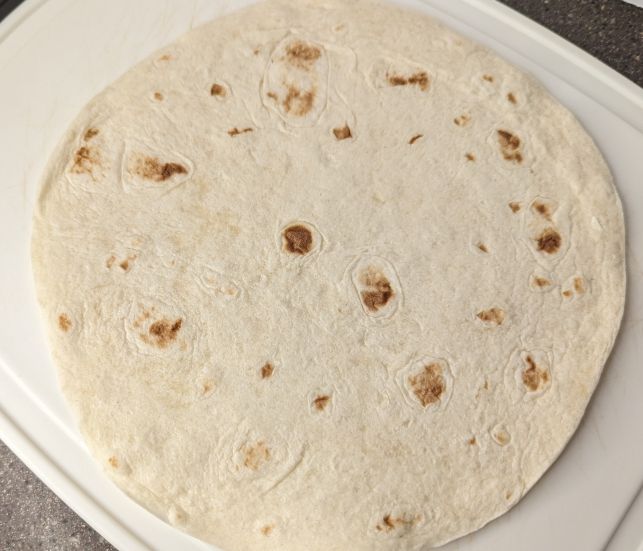
Step #1: Place one plain tortilla on a separate workspace. This could be a large plate, additional cutting board, or even a piece of wax paper or foil for quick cleanup.
Step #2: Cut one slice of cheddar cheese in half. Then lay the two pieces lengthwise in the center of the tortilla.
Step #3: Place 1/4 cup of the chicken on top of the cheese.
Step #4: Place 1/4 cup of broccoli on top of the chicken and then sprinkle on 1 tablespoon of the bacon flavored bits.
Step #5: Drizzle 1 tablespoon of the ranch dressing over the ingredients.
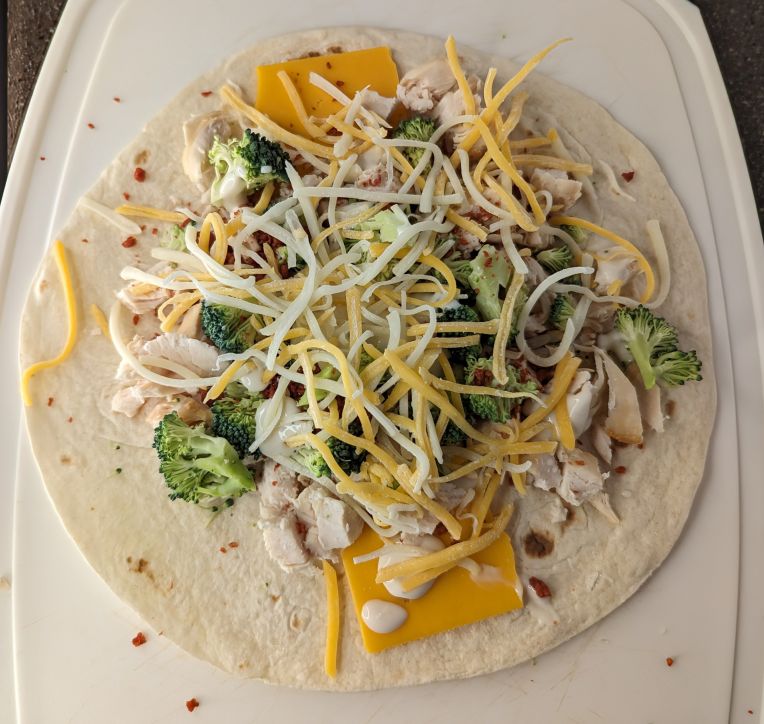
Step #6: Sprinkle 1/4 cup of the shredded cheese on top. This cheese will serve as the "glue" when it melts to help keep your other tortilla connected (see next step)!
Step #7: Place another plain tortilla on top and spray it (the top of your quesadilla) lightly with your cooking spray.
Step #8: Lightly spray your frying pan. Then, using your large spatula, carefully transfer the assembled quesadilla to the prepared pan.
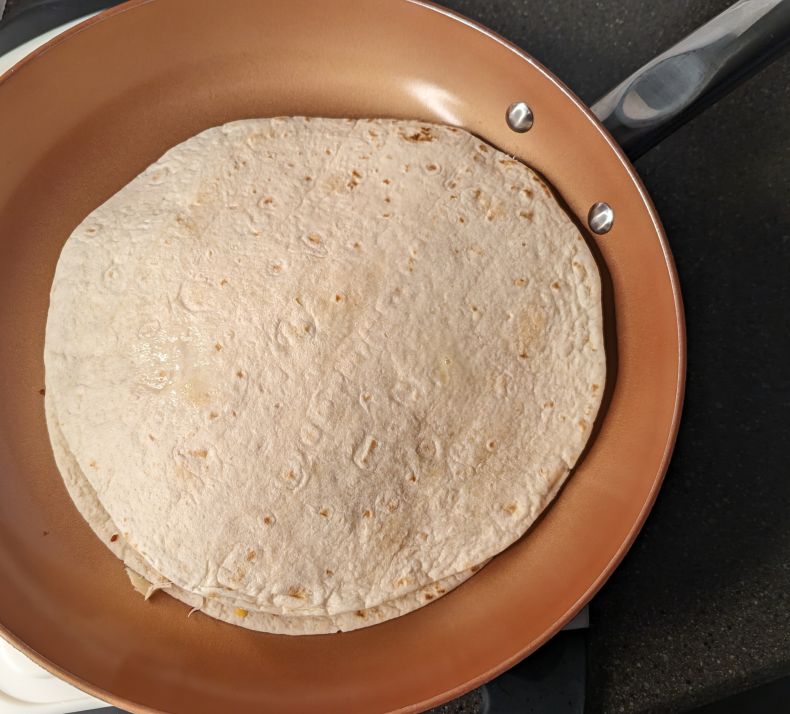
Step #9: Place your pan on the stovetop. Cook over medium heat for 5-8 minutes. Reduce the heat slightly, then use your large spatula to flip the quesadilla over and cook an additional 5 minutes.
As your skillet gets warmer, you may find that the additional quesadillas you make might not take as long to cook.
Step #10: The quesadilla is finished cooking once you can see that the cheese towards the edges is melted and both sides of the quesadilla are light to medium golden brown.
Don't worry if one side is more browned than the other--it will still taste just fine!
Gather, assemble, repeat. Follow steps 1-10 to create three additional quesadillas!
Kitchen Ready Betty tip: Keep cooked quesadillas warm by either loosely covering them with foil or by placing them in a second frying pan on your stove over very low heat, flipping and reordering occasionally. They can be layered to keep warm without stacking them entirely on top of each other (think of a lopsided pile of pancakes). This is to avoid them getting soggy while the remaining are assembled and cooked!
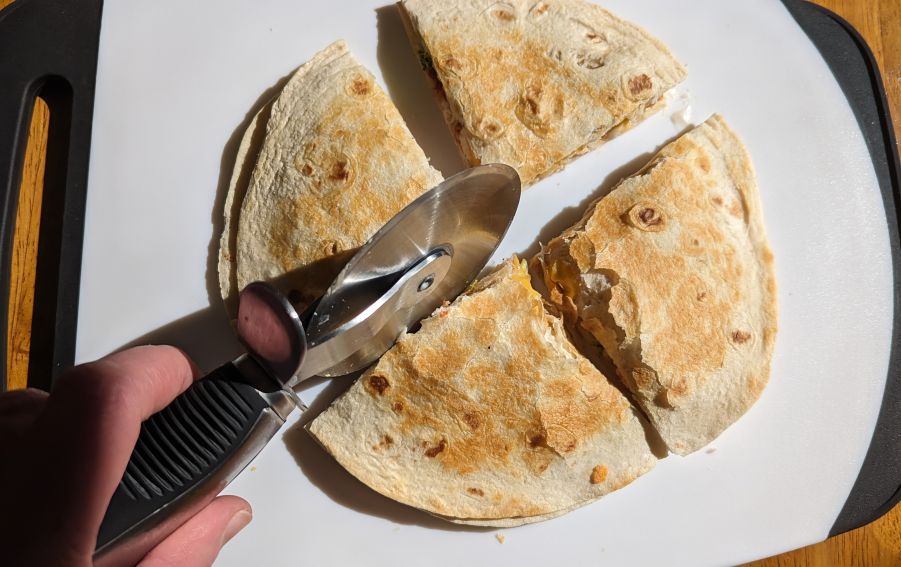
Ready to serve! Place one cooked quesadilla at a time on the cutting board. Use a pizza cutter to cut it into quarters, then plate!
Love to dip? So do we. Some tasty and fun dip ideas for Chicken Bacon Ranch Quesadillas include ranch dressing, sour cream, pico de gallo, South of the Border Salsa, Easy Cheesy Guacamole, pizza sauce and/or melted cheddar. Yum!
Storing Chicken Bacon Ranch Quesadillas
Store in an airtight container and refrigerate. Enjoy within 3-4 days.
Reheating instructions: Arrange in a single layer on a prepared pan, cover loosely with foil and bake at 300 degrees for 6-7 minutes. Uncover, flip and bake an additional 2-3 minutes or until quesadillas are heated through.
To Fold or Not to Fold? A Note About the Quesadilla Assembly
There are two schools of thought out there when it comes to making quesadillas: Use two tortillas and cook the way this recipe describes OR use only one tortilla, fill half of it with ingredients, then fold and cook it.
The chefs of the one-tortilla method will tell you that it is easier to flip and faster because you can fit two in a pan at a time.
I have made quesadillas both ways and prefer the method outlined in this recipe using two tortillas unfolded. The main reason is that you can pack so much more filling in this way.
And as for the flipping...well yes, it does take a large spatula and a little bit of patience. But once that first side is cooked, the cheese is already melting to "glue" the whole thing together, so flipping the quesadilla is not really that challenging.
These tasty quesadillas are so easy to make, and are similar to Chili's Chicken Bacon Ranch Quesadillas--but with much healthier ingredients. With low-fat Mexican blend shredded cheese, light ranch dressing, bacon bits (yes, they work in this) and fresh cuts of broccoli, you get all the great flavors of the restaurant version--plus an added vegetable bonus--without all the guilt!
- 8 fajita-sized flour tortillas
- 4 slices cheddar cheese (pre-sliced sandwich size)
- 1 cup pre-cooked chicken breast (cut into bite-sized pieces)
- 1 cup fresh broccoli florets (diced)
- 4 tbsp bacon flavored bits
- 4 tbsp light ranch dressing (Hidden Valley Ranch recommended)
- 1 cup reduced fat shredded Mexican cheese blend (Sargento's Reduced Fat 4 Cheese Mexican Blend recommended)
- Canola cooking spray
Dice pre-cooked chicken and broccoli into bite-sized pieces. Set aside.
- Step #1
Place one plain tortilla on a separate workspace. This could be a large plate, additional cutting board, or even a piece of wax paper or foil for quick cleanup.
- Step #2
Cut one slice of cheddar cheese in half. Then lay the two pieces lengthwise in the center of the tortilla.
- Step #3
Place 1/4 cup of the chicken on top of the cheese.
- Step #4
Place 1/4 cup of broccoli on top of the chicken and then sprinkle on 1 tablespoon of the bacon flavored bits.
- Step #5
Drizzle 1 tablespoon of the ranch dressing over the ingredients.
- Step #6
Sprinkle 1/4 cup of the shredded cheese on top. This cheese will serve as the "glue" when it melts to help keep your other tortilla connected (see next step)!
- Step #7
Place another plain tortilla on top and spray it (the top of your quesadilla) lightly with your cooking spray.
- Step #8
Lightly spray frying pan. Then, using your large spatula, carefully transfer the assembled quesadilla to the prepared pan.
- Step #9
Place pan on stovetop. Cook over medium heat for 5-7 minutes. Reduce the heat slightly, then use your large spatula to flip the quesadilla over and cook an additional 5 minutes.
- Step #10
The quesadilla is finished cooking once you can see that the cheese towards the edges is melted and both sides of the quesadilla are light to medium golden brown.
As your skillet gets warmer, you may find that the additional quesadiilas you make might not take as long to cook.
- Quesadilla Presentation.Place one cooked quesadilla at a time on the cutting board. Use a pizza cutter to cut it into quarters, then plate!
- Dips.Some tasty and fun dip ideas for Chicken Bacon Ranch Quesadillas include sour cream, extra ranch dressing, pizza sauce and/or melted cheddar.
- Storage.
Store in an airtight container, refrigerate and enjoy any leftovers within 3-4 days.
- Reheating instructions.
Arrange in a single layer on a prepared pan, cover loosely with foil and bake at 300 degrees for 6-7 minutes. Uncover, flip and bake an additional 2-3 minutes or until quesadillas are heated through.
You can swap out the pre-cooked chicken breast for rotisserie.
Feel free to add additional ingredients, like jalapeños, mushrooms or extra cheese.
Keep cooked quesadillas warm by either loosely covering them with foil or by placing them in a second frying pan on your stove over very low heat, flipping and reordering occasionally. They can be layered to keep warm without stacking them entirely on top of each other (think of a lopsided pile of pancakes). This is to avoid them getting soggy while the remaining are assembled and cooked!
Thank you for checking out this recipe! Enjoy!
~Betty


