Pink Out Pretzels
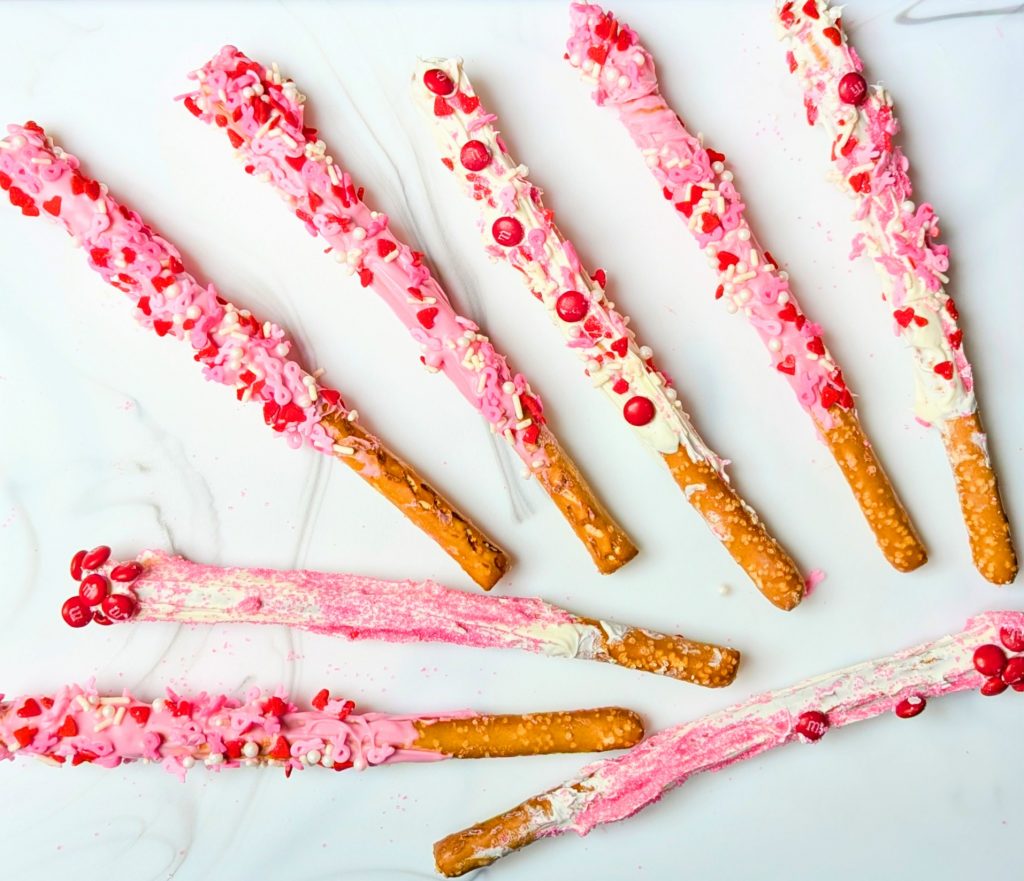
These easy to make, highly customizable Pink Out Pretzels are perfect for October bake sales, Breast Cancer Awareness events, fundraisers and more.
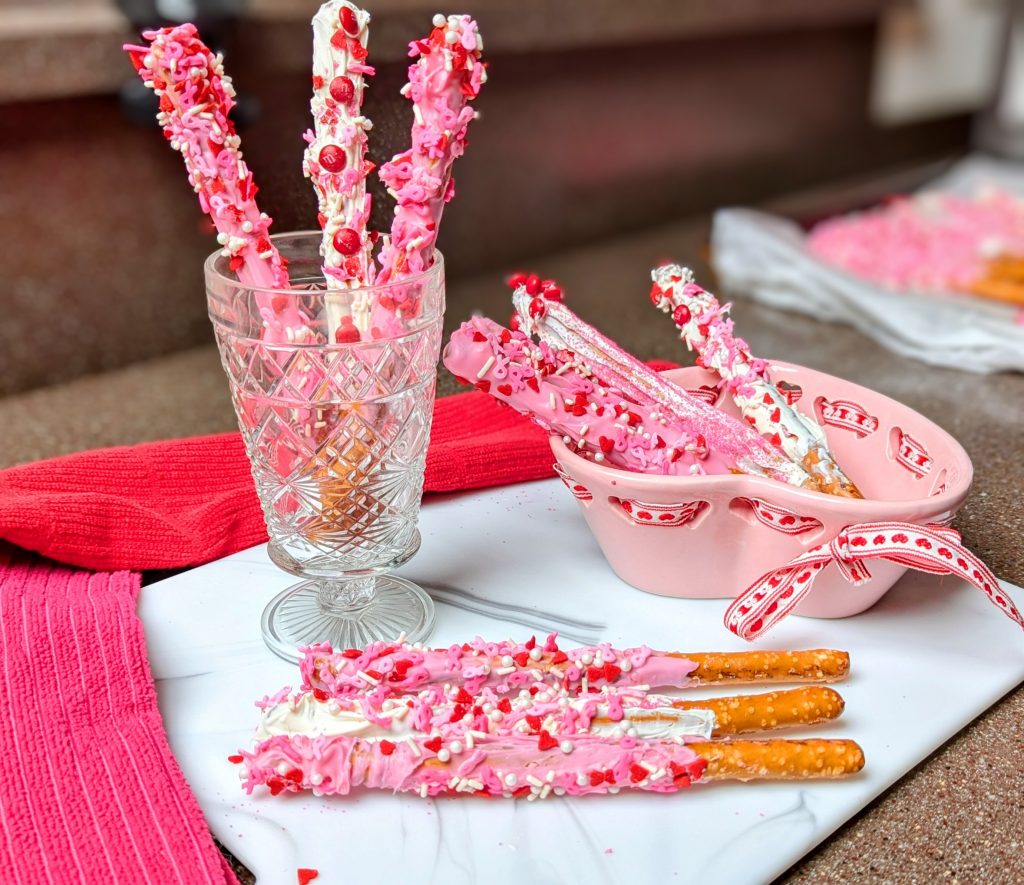
Why We Love It
Most of us know someone who has battled breast cancer.
I recently lost a dear family friend to the disease. So when my son's school announced they were having a Pink Out bake sale with all the proceeds going to Breast Cancer research, I knew I definitely wanted to make something tasty and eye-catching to help out.
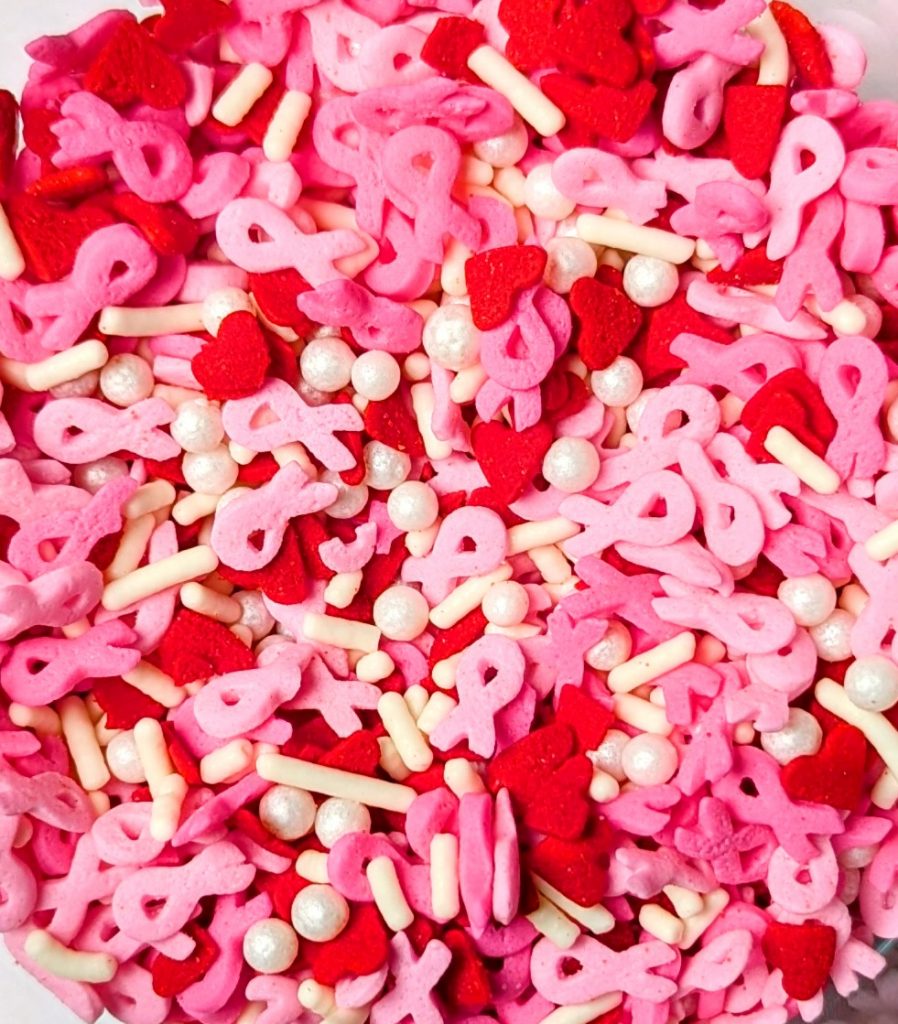
One of the easiest things I could think of were these tasty and colorful Pink Out Pretzels. After I found Breast Cancer-themed sprinkles (just look at those cute ribbons!) from a certain large, online retailer, I was excited to dip and decorate to help out with such an important cause. An added bonus was that the company who made the sprinkles donated a portion of my purchase to Breast Cancer Research.
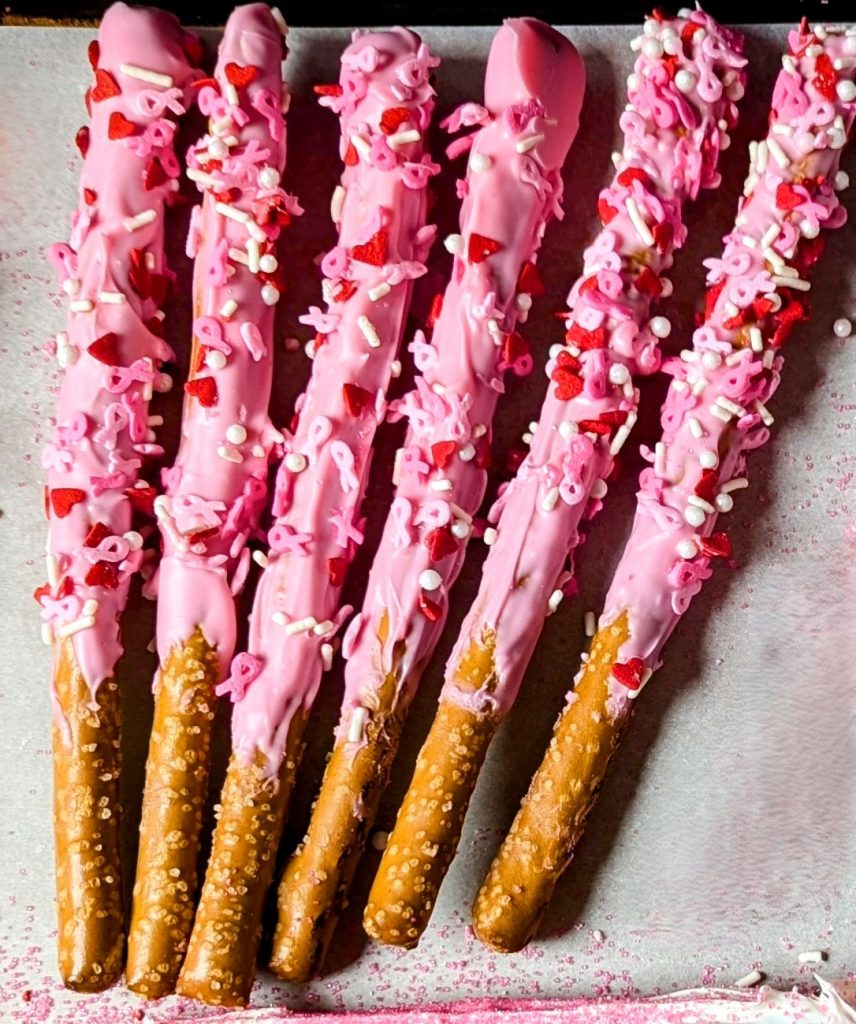
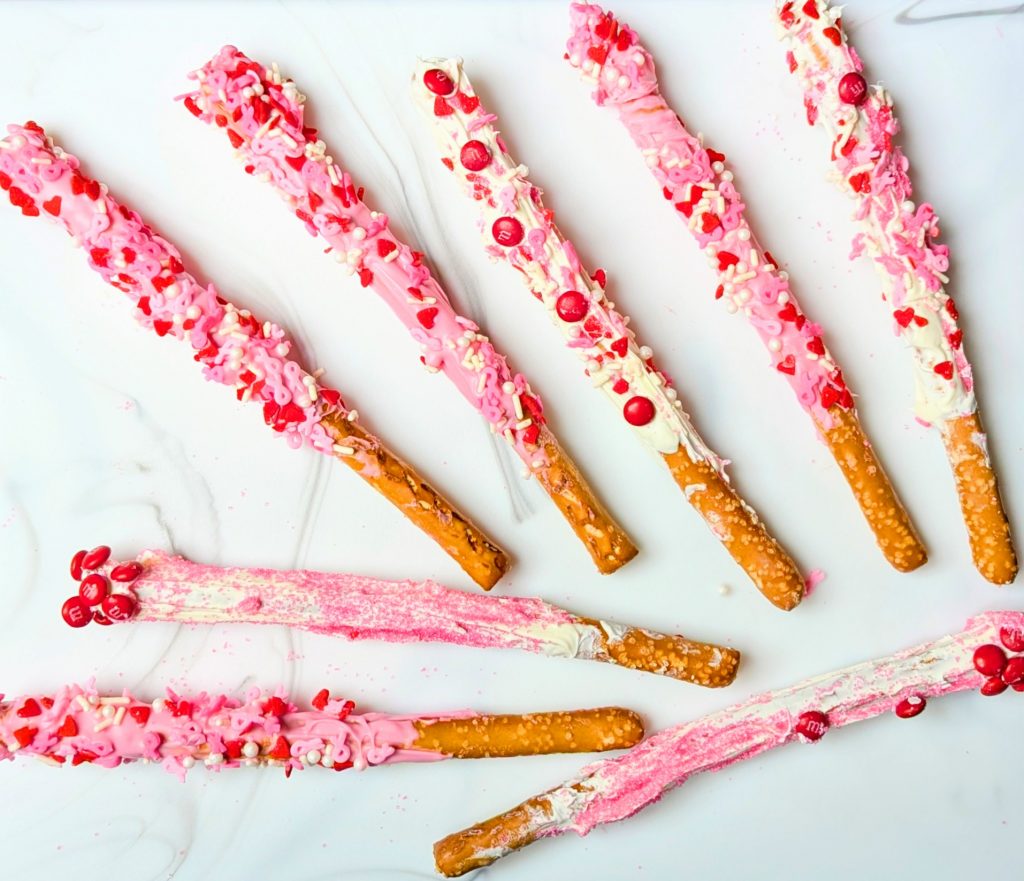
You don't need the special sprinkles to make these pretzels though. What's great about simple recipes like this one is that you can make it your own. From sanding sugar to sprinkles and tiny candies, there's no wrong way to decorate Pink Out Pretzels. Get creative and add your own personal touch or follow along with this recipe. Either way, you'll be making something great to help out with such an important cause.
Why You'll Love It
| Easy recipe: Melt the wafers in your microwave, dip the pretzels and decorate--that's it. There's no refrigeration necessary. Highly customizable: Add your personal touch with decorations and design. You can also honor a loved one who has battled the disease by decorating your pretzels with their favorite candy. Kid friendly: Let your kids help you decorate. You're bound to get some memorable and cute designs! Plus your kids will learn about the importance of volunteering and making things to support a cause. Eye-catching: These beautiful and bright pretzels always get a lot of attention at fundraisers and bake sales, which helps with donations. |
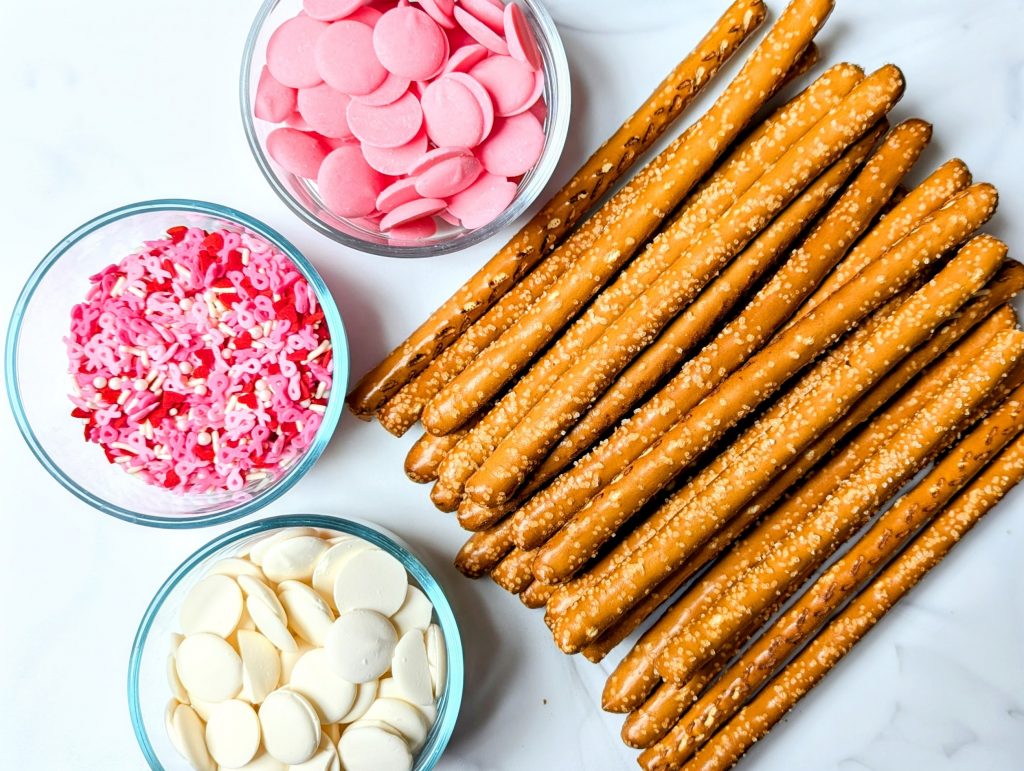
Pink Out Pretzels Ingredients
- 24 pretzel rods
- 1 cup (6 oz.) white melting wafers
- 1 cup (6 oz.) pink melting wafers
- Breast Cancer-themed sprinkles, sanding sugar, small candies, etc. that are pink, white and red- I typically use about 1 cup total for 24 pretzel rods
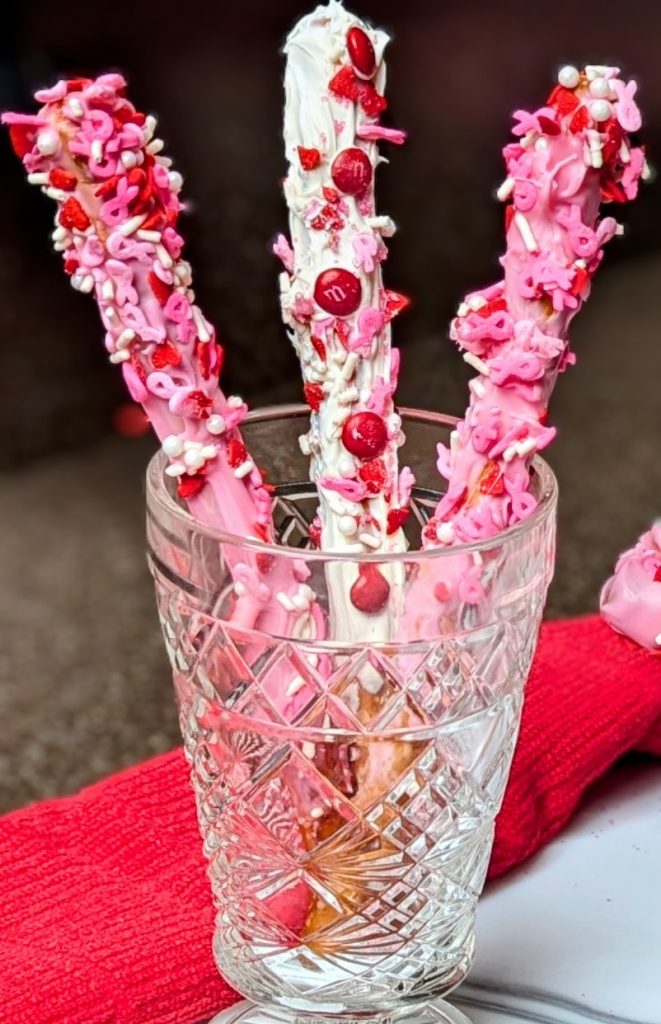
How to make Pink Out Pretzels
You'll want to gather the following equipment:
- large rimmed pan (lined with parchment/wax paper)
- shallow, rectangular container (for sprinkles and candies)
- 2 microwave-safe tall bowls, tall mugs or tall glasses
- plastic wrap
- toothpick
- stirring spoon
- measuring cup
- tablespoon
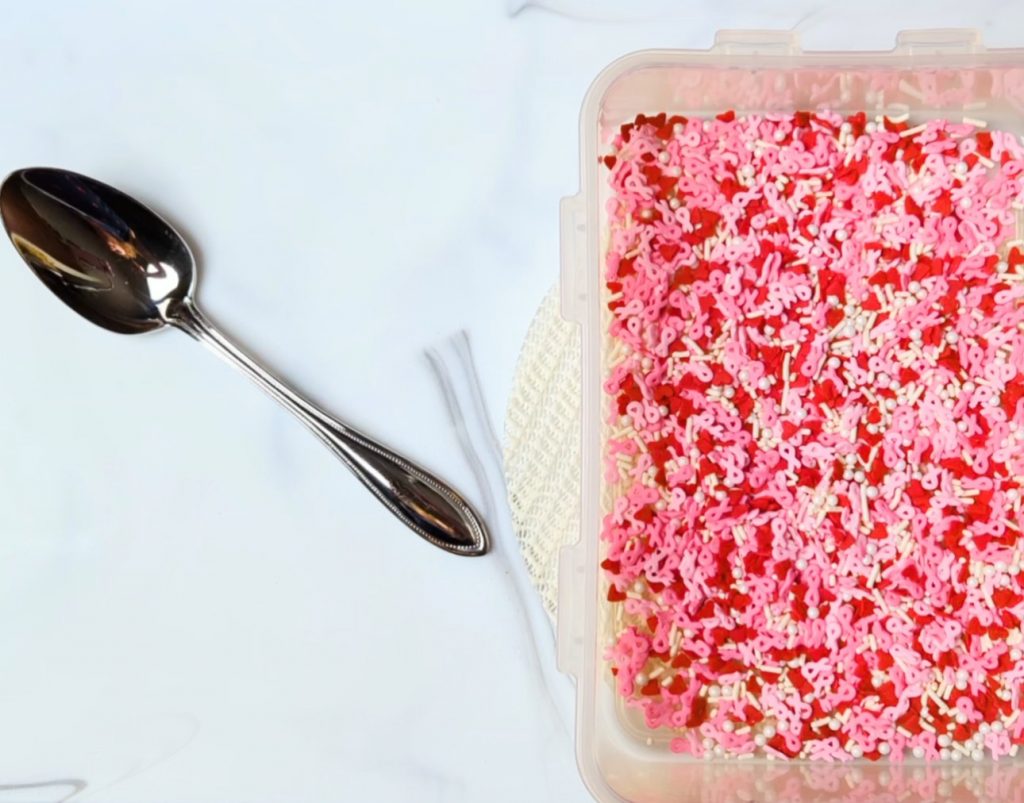
Getting Started
Prep:
- Line baking sheet with parchment/wax paper
- Place sprinkles in shallow, rectangular container
Kitchen Ready Betty tip: It's important to have the above ready to go before starting. Once the pretzels have been dipped, the melted coating starts to solidify. Once it's solid (which typically happens within 1 minute), decorative candies will no longer stick!
Place wafers in two separate tall microwaveable safe bowls, mugs or glasses (I prefer tall glasses as pictured below). Cover tightly with plastic wrap and poke one hole in the center with a toothpick.
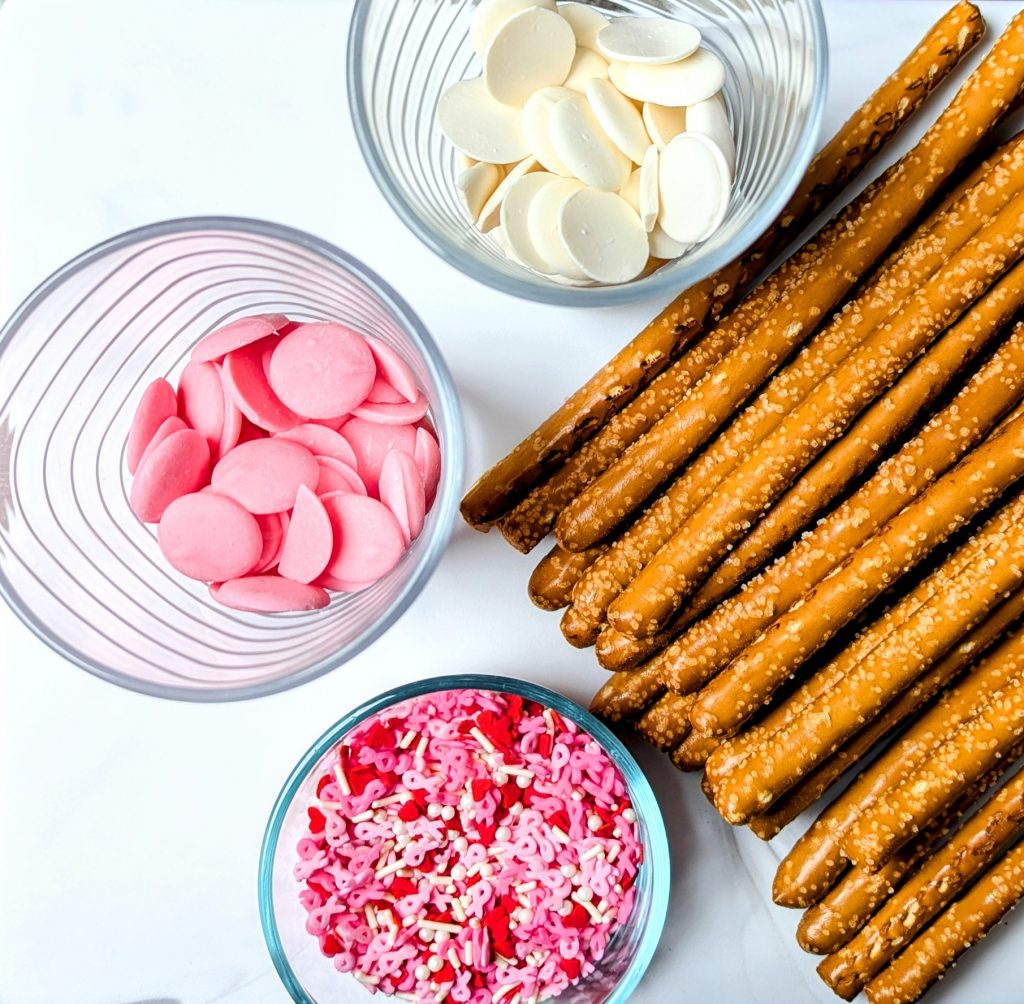
Choose one color to start with (I always do pink first!). Follow the directions on the package for heating. Here is a general guide if you don't have instructions:
Microwave on the defrost setting (half power) for 1 minute. Gently pull away part of the plastic wrap and stir. Cover as before and return the container to the microwave. Heat for an additional 30 seconds and stir. Continue this process in 30 second intervals until the consistency is almost lump-free (you should be able to sir out the remaining lumps with a spoon).
Kitchen Ready Betty tip: I can't stress this enough...do not overheat the wafers! They will end up drying out and getting very sticky if you overdo it. I usually find that after following the above, all it needs is a little stir. It's better to have a few lumps and clumps that you can stir to smooth than overdoing it in the microwave!
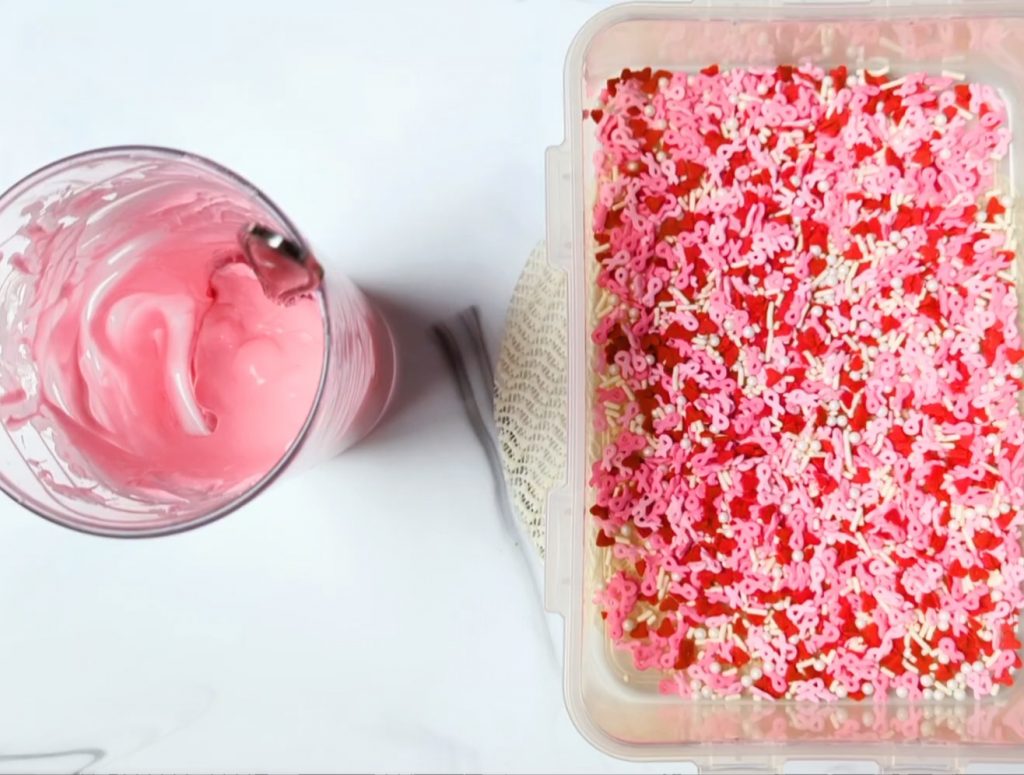
Set up your "dipping station" by placing the melted wafer container and the sprinkles container side by side. Have 12 pretzels ready to go and have the large pan (lined with parchment paper) very close by.


Dip the pretzel rods, one at time, following these simple steps:
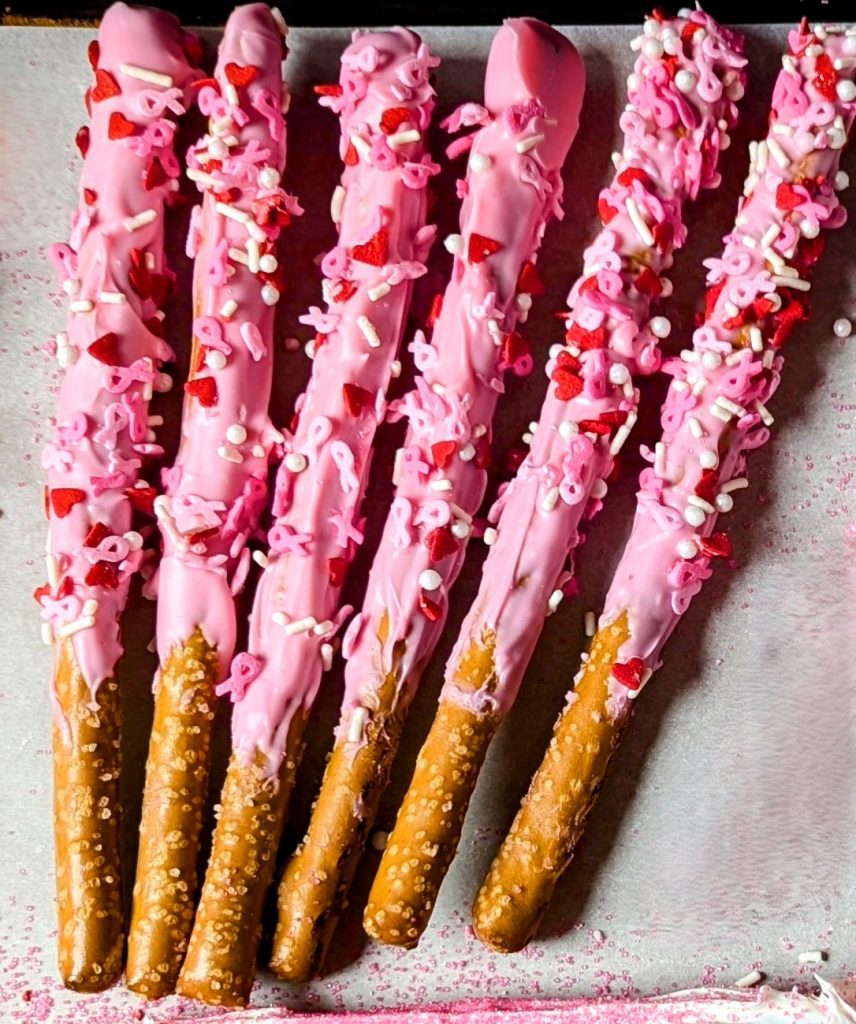
- Dip each pretzel into the melted wafer container and rotate to coat; use a spoon as needed to aid in this process. Leave about 1-2 inches on one end uncoated.
- Then immediately dip the coated pretzel into the sprinkles container (you need to do this step right away before it starts to set). You may choose to roll the pretzel or use a spoon to shower the sprinkles over the pretzel.
- Carefully place the decorated pretzel on the prepared pan; push on additional candies as desired before it sets.
Repeat this entire process with the other color and the remaining 12 pretzels.
Packaging Options
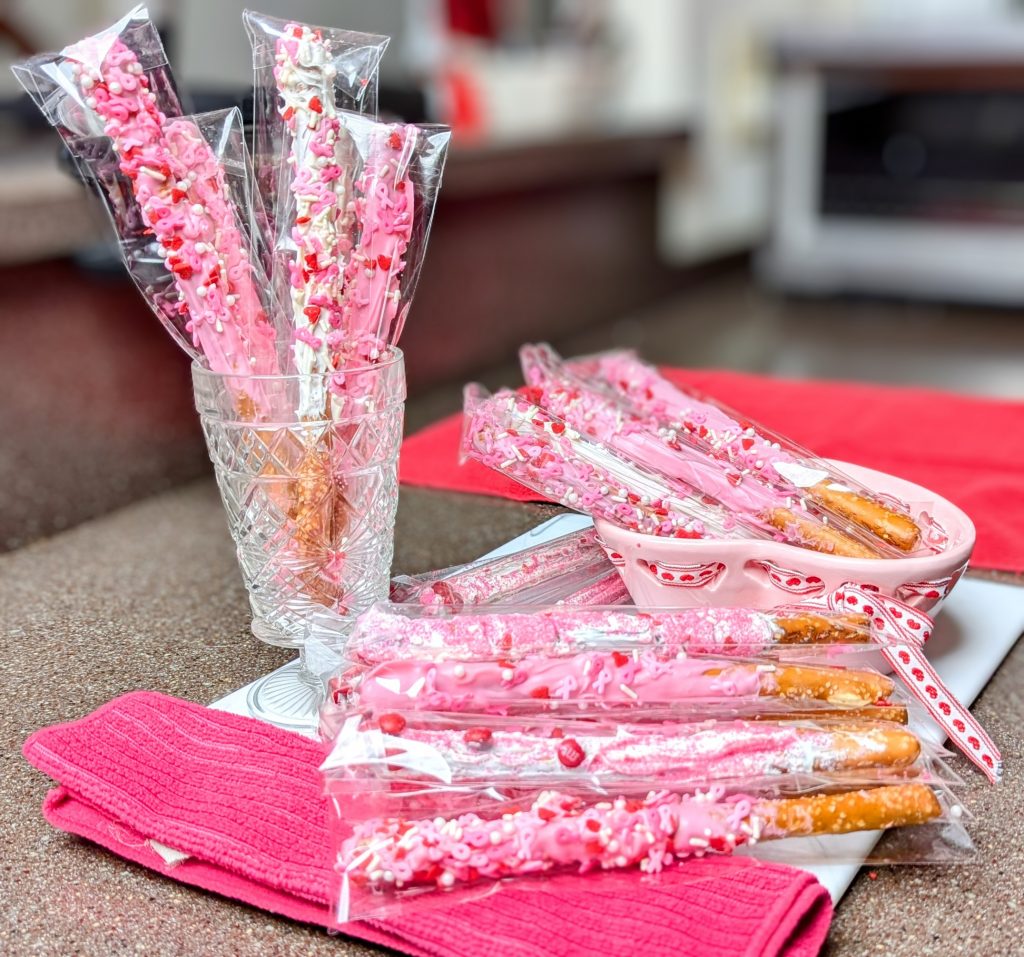
There are a variety of manufacturers that sell pretzel rod-sized cellophane wrappers. Some come with twisty ties and ribbons, while others have an adhesive seal. I prefer the adhesive seal option, especially for a bake sale. Because Pink Out Pretzels are special and fancy, I like wrapping each one individually.
Pink Out Pretzels Leftovers?
Store in an airtight container. Enjoy within 5 days.
This post is dedicated to my dear friend, Janet, who lost her brave battle to Breast Cancer last month.
Get your pink on with this simple recipe that's super easy and very customizable. From sanding sugar to sprinkles and tiny candies, there's no wrong way to decorate Pink Out Pretzels. Be creative and add your own personal touch or follow along with the instructions provided. Either way, you'll be making something great to help with such an important cause.
- 24 pretzel rods
- 1 cup (6 oz.) pink melting wafers
- 1 cup (6 oz.) white melting wafers
- Breast Cancer-themed sprinkles, sanding sugar, small candies, etc. that are pink, white and red- I typically use about 1 cup total for 24 pretzel rods
-
Before starting:
Line baking sheet with parchment/wax paper
Place sprinkles in shallow/rectangular container
It's important to have the above ready to go before starting. Once the pretzels have been dipped, the melted coating starts to solidify. Once it's solid (which typically happens within 1 minute), decorative candies will no longer stick! Place wafers in two separate tall microwaveable safe bowls, mugs or glasses (I prefer tall glasses as pictured in the above post). Cover tightly with plastic wrap and poke one hole in the center with a toothpick.
-
Choose one color to start with (I always do pink first!). Follow the directions on the package for heating. Here is a general guide if you don't have instructions:
Microwave on the defrost setting (half power) for 1 minute. Gently pull away part of the plastic wrap and stir. Cover as before and return the container to the microwave. Heat for an additional 30 seconds and stir. Continue this process in 30 second intervals until the consistency is almost lump-free (you should be able to sir out the remaining lumps with a spoon).
I can't stress this enough...do not overheat the wafers! They will end up drying out and getting very sticky if you overdo it. I usually find that after following the above, all it needs is a little stir. It's better to have a few lumps and clumps that you can stir to smooth than overdoing it in the microwave! Set up your "dipping station" by placing the melted wafer container and the sprinkles container side by side. Have 12 pretzels ready to go and have the large pan (lined with parchment paper) very close by.
Dip the pretzel rods, one at time, following these simple steps:
Dip each pretzel into the melted wafer container and rotate to coat; use a spoon as needed to aid in this process. Leave about 1-2 inches on one end uncoated.
Then immediately dip the coated pretzel into the sprinkles container (you need to do this step right away before it starts to set). You may choose to roll the pretzel or use a spoon to shower the sprinkles over the pretzel.
Carefully place the decorated pretzel on the prepared pan; push on additional candies as desired before it sets.
Repeat this entire process with the other color and the remaining 12 pretzels.
Store in an airtight container. Enjoy within 5 days. For packaging ideas, please reference the above post.
Stick to premium melting wafers. Store brand and lower quality ones aren't as flavorful and tend to have more of an oily consistency.
Remember that there is no wrong way to decorate these! Be creative and add your personal touch!
Thank you for checking out this recipe! Enjoy!
~Betty


