Summer Berry Lush Pie
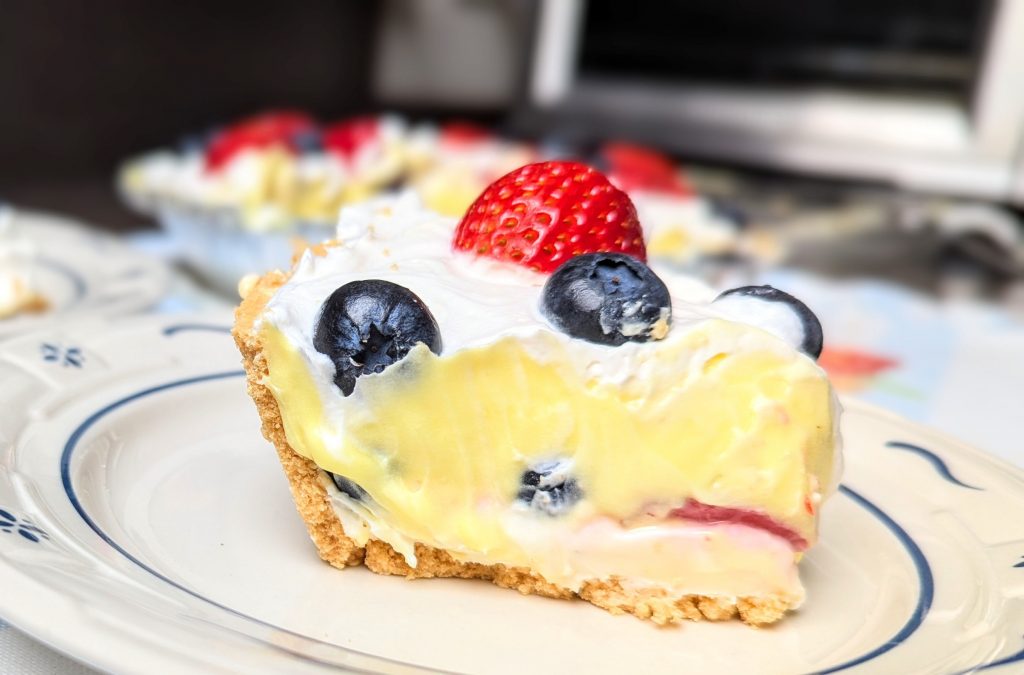
Indulge in summer sweetness with this incredible Summer Berry Lush Pie!
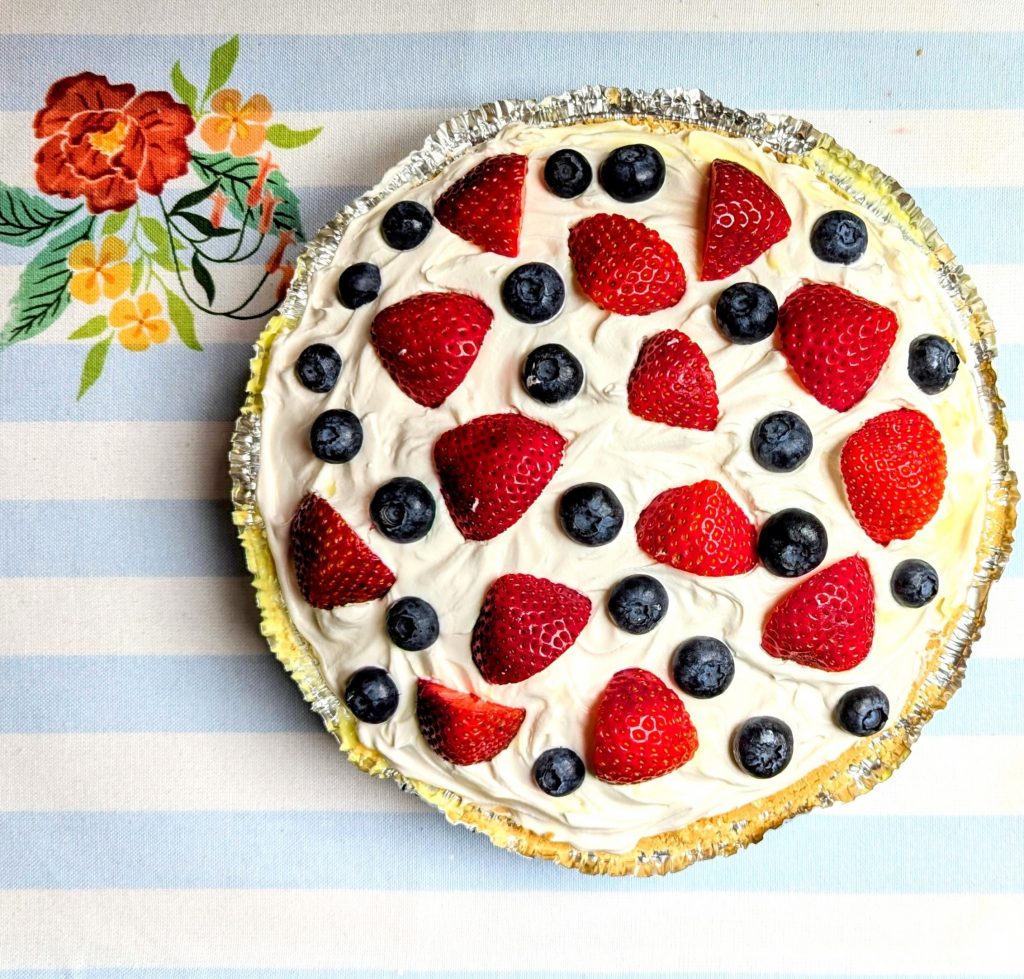
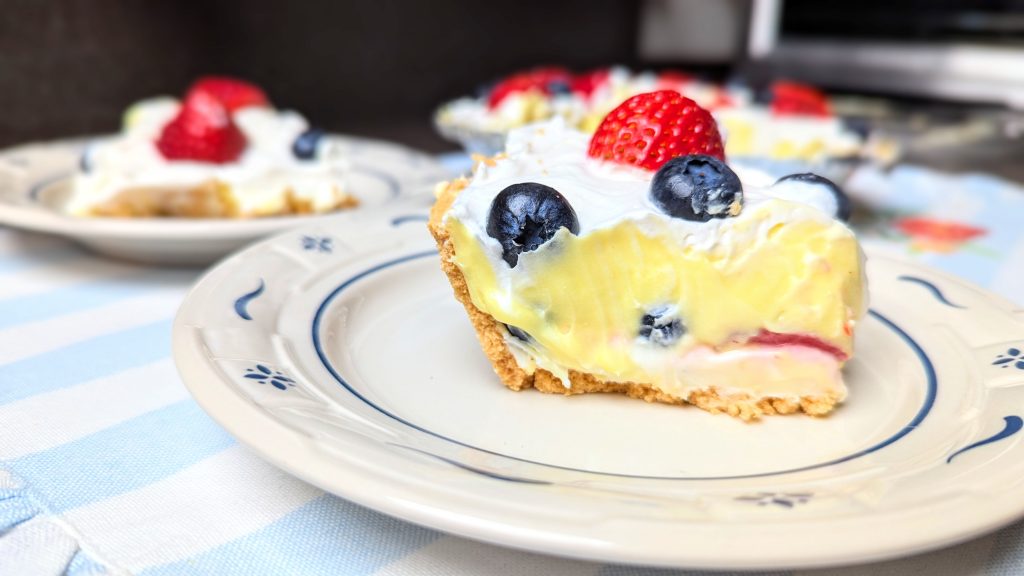
This layered dessert uses a ton of shortcuts that make it easy for any baker to present this beautiful pie at a summer get together. A store-bought graham cracker crust happily holds a cream cheese base, followed by fresh berries, then a sweet whipped lemon pudding layer--all before being topped with more whip and berries.
This is one delicious pie you don't want to miss!
Why We Love It
August weather in Pennsylvania is no picnic. It's hot. It's steamy. And it's often incredibly humid.
And, yet, despite that, there are still plenty of outdoor parties happening--especially right around Labor Day weekend. Thank goodness for summer berries, Jell-O and no-bake desserts--that's all I have to say. Without them, I'm pretty sure there would far less options on the dessert table in the hot summer months and definitely a lot less happy picnickers around here.
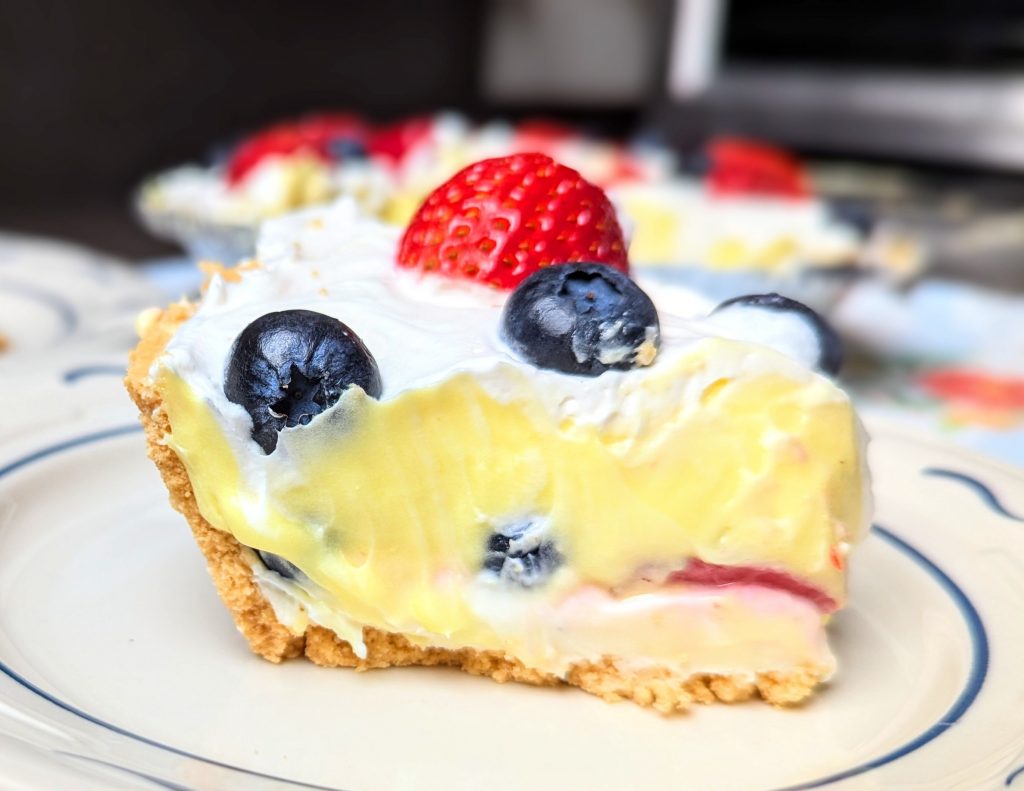
This Summer Berry Lush Pie is a wonderful amalgam of many no-bake desserts I've made and encountered at summer picnics over the last several years. It has the best of the best from so many desserts--from easy lemon meringue recipes to berry pudding parfaits. The end result? A fantastic and beautifully layered lush that's delicious, sweet and velvety smooth.
Because when it's hot outside, I want to cool off with something light, fun and refreshing. I also don't want to spend hours in the kitchen--especially with my oven on! That's when I make a ton of no-bake desserts like Strawberries and Cream Pie, Chocolate Peanut Butter Pie and this delicious gem.
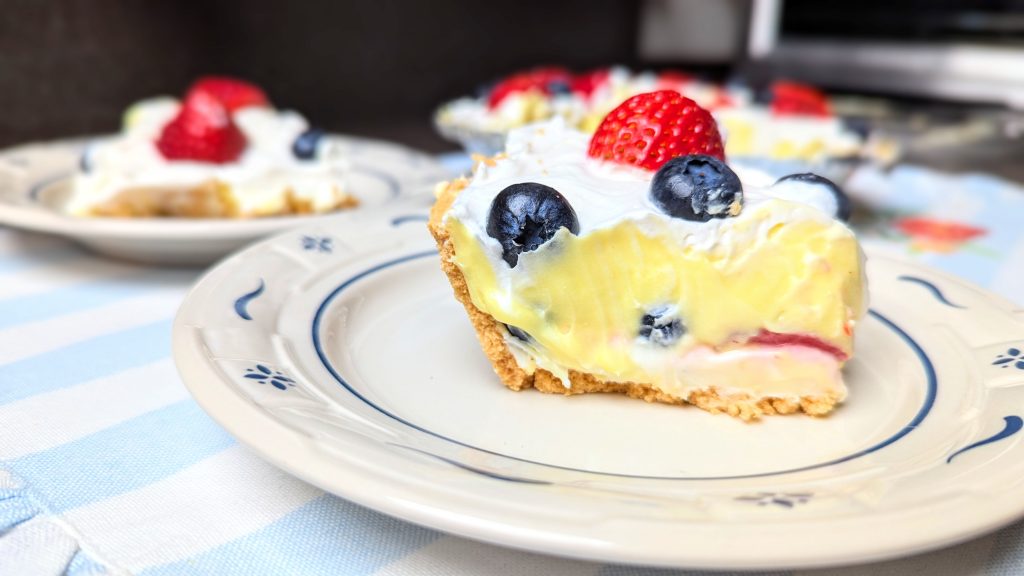
This Summer Berry Lush Pie is a family favorite and is my most requested picnic dessert. We love the layers, which are piled on top of each other to perfection. This is the ultimate summer treat and one that I always make Labor Day weekend to send summer off in delicious, sweet style.
Why You'll Love It
If you love the taste of lemon meringue without all the work, the decadence of cheesecake without all the hassle and the wonderful taste of fresh berries, then you will love this Summer Berry Lush Pie! You'll need a hand mixer for a few of the steps, and although not absolutely required (because technically you could use Cool Whip), I highly suggest picking up a box of Dream Whip from the store (yes, they still make it!).
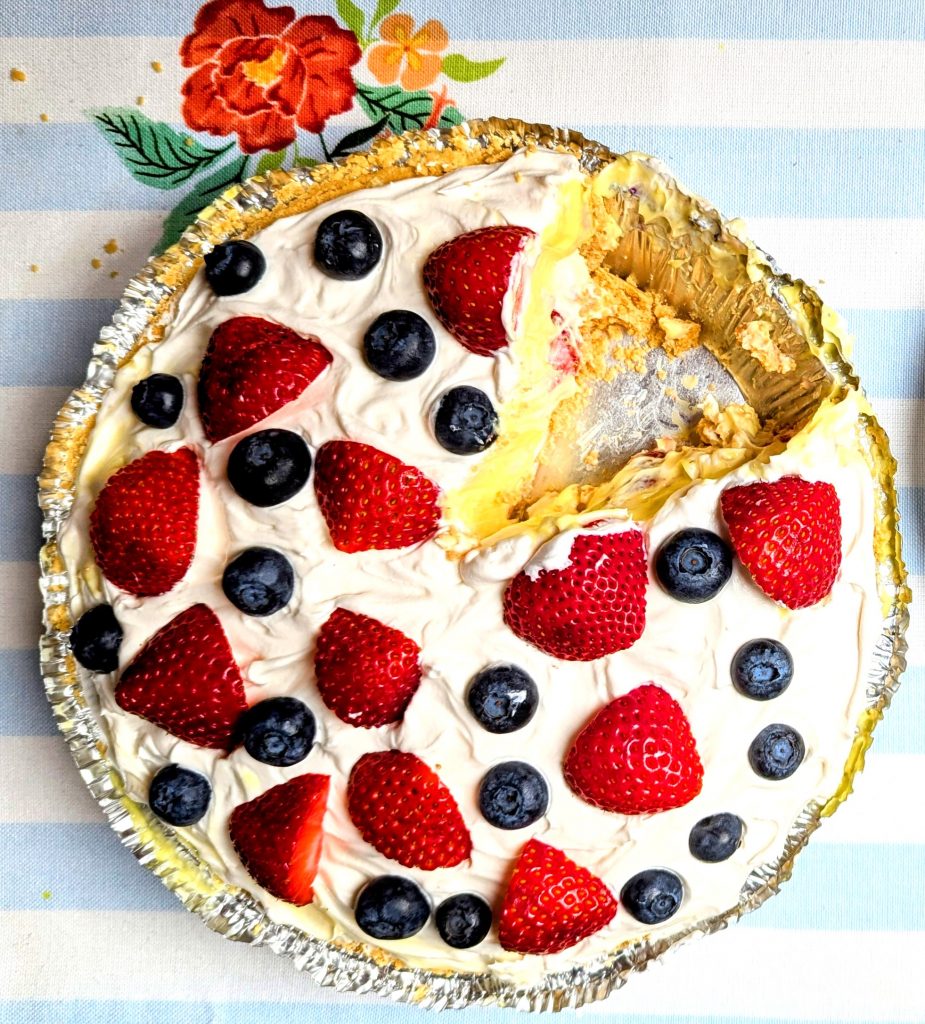
Dream Whip gives the pie more of a meringue taste, along with some sweetness. It's not as dense as Cool Whip, so when it gets folded in with the lemon pudding in this recipe, the taste and texture is absolutely fantastic.
I always like to go for a patriotic vibe with this pie, which is why I often use strawberries and blueberries. Feel free to add blackberries, raspberries or whatever suits your fancy!
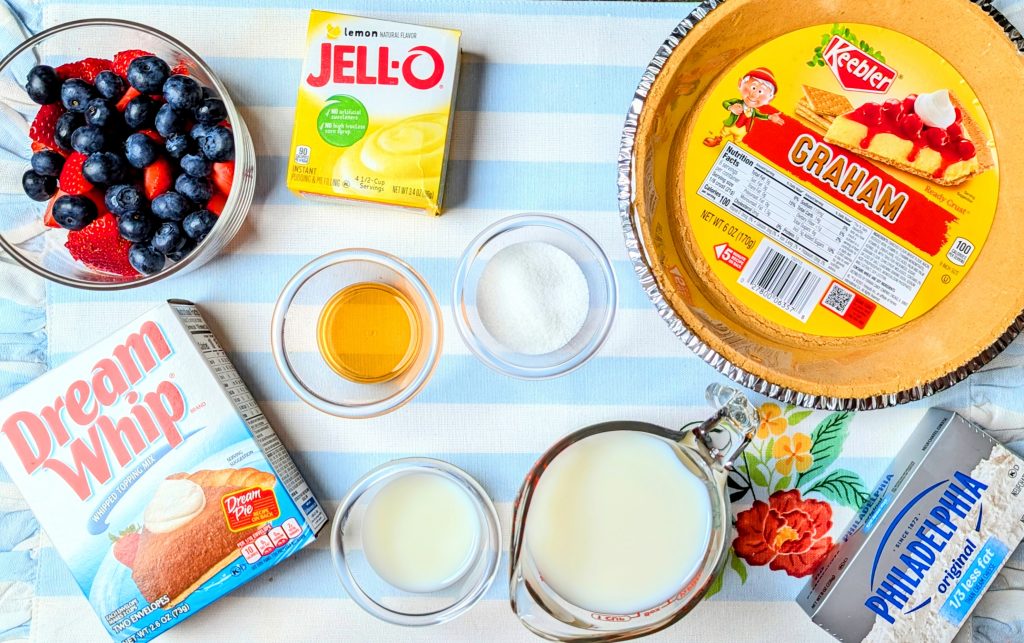
Summer Berry Lush Pie Ingredients
- 1 (8 oz.) bar cream cheese, softened- I use Philadelphia reduced fat
- 2 tablespoons sugar
- 2 tablespoons milk
- 1 pre-made, store-bought graham cracker crust- I use Keebler
- 2 cups fresh halved strawberries, divided
- 1 cup fresh blueberries, divided
- 1 envelope Dream Whip Whipped Topping Mix
- 1/2 cup skim milk- skim or 1 % is recommended for mixing with Dream Whip
- 1/2 teaspoon vanilla extract
- 1 package (4-serving) lemon flavored instant pudding and pie filling
- 1 cup milk- this additional portion is mixed with the pudding
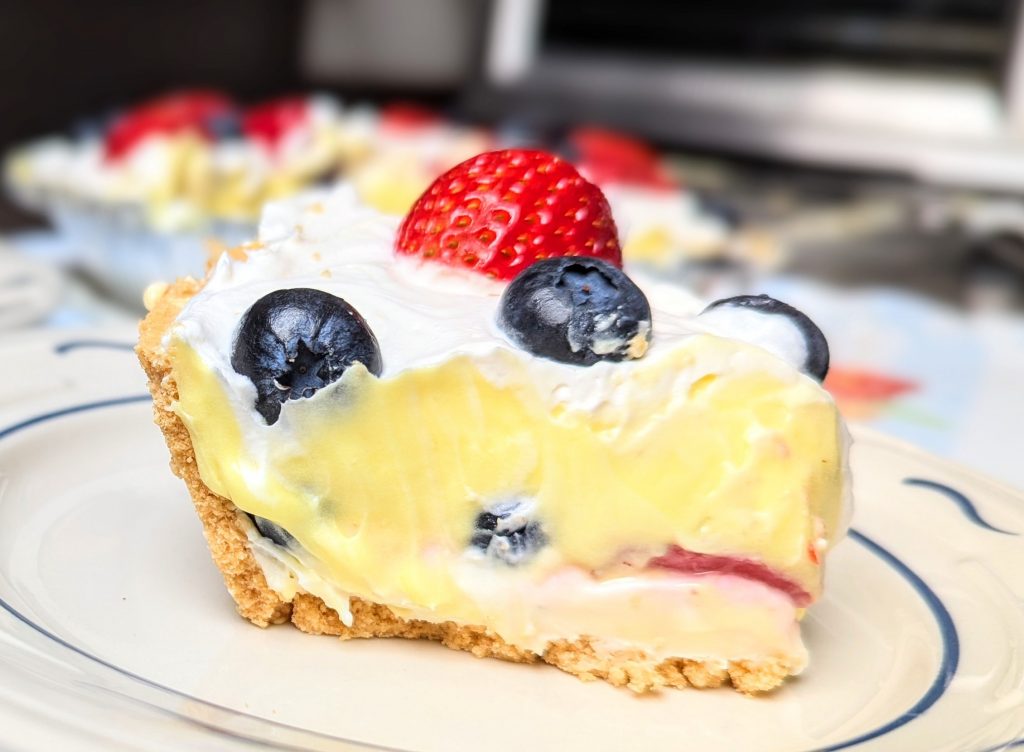
How to make Summer Berry Lush Pie
You'll want to gather the following equipment:
- chef's knife
- cutting board
- hand mixer
- 2 medium mixing bowls
- large mixing bowl
- scraping/rubber spatula
- mixing spoons
- measuring cups
- measuring spoons
Kitchen Ready Betty tips:
Before starting...
- Soften cream cheese on counter (or place it in a microwaveable safe-dish and heat it for 30 seconds)
- Wash, hull and halve strawberries; wash blueberries


Getting Started
In a medium mixing bowl, use a hand mixer on a low/medium setting to beat cream cheese, sugar and 2 tablespoons of milk until smooth. Then spread the mixture evenly into the bottom of the pre-made crust.


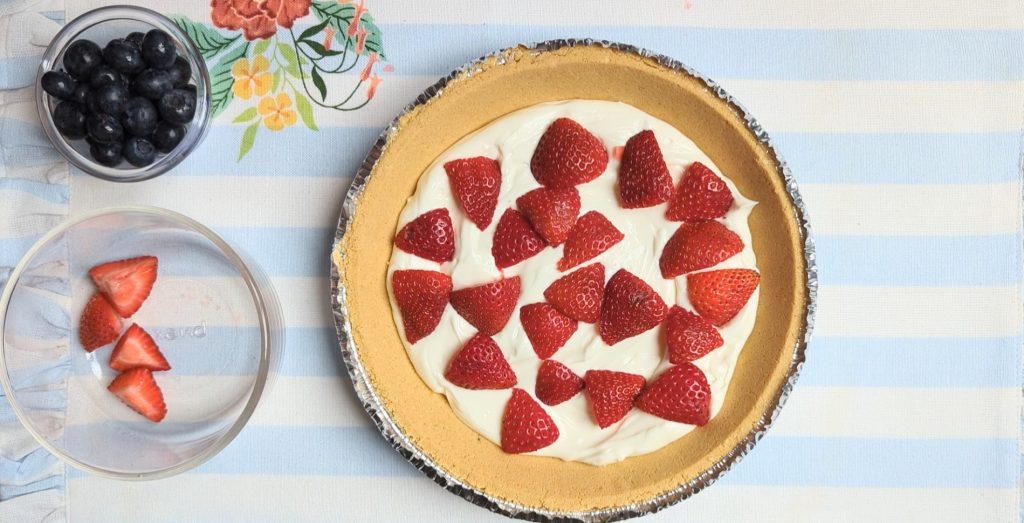
Gently press 1 cup of the halved strawberries and 1/2 cup of the blueberries into the cream cheese mixture. (The remaining berries are reserved for the topping.)


In a large mixing bowl, prepare the Dream Whip according to package directions: Combine the contents of the envelope, 1/2 cup skim milk and vanilla; use mixer on low speed to combine. Then beat on high speed for 4 minutes or until soft peaks form. Then set momentarily aside while you prepare the pudding.


In a separate, medium mixing bowl, make pudding according to package directions, using the remaining 1 cup of milk. Then fold 1 cup of the prepared whip into the pudding.


Gently spread pudding mixture over the berries in the pie crust, taking time to make sure the mixture reaches the crust's edges.
Refrigerate pie until set (about 2 hours). Refrigerate remaining whip and berries, which will be used in the next step.
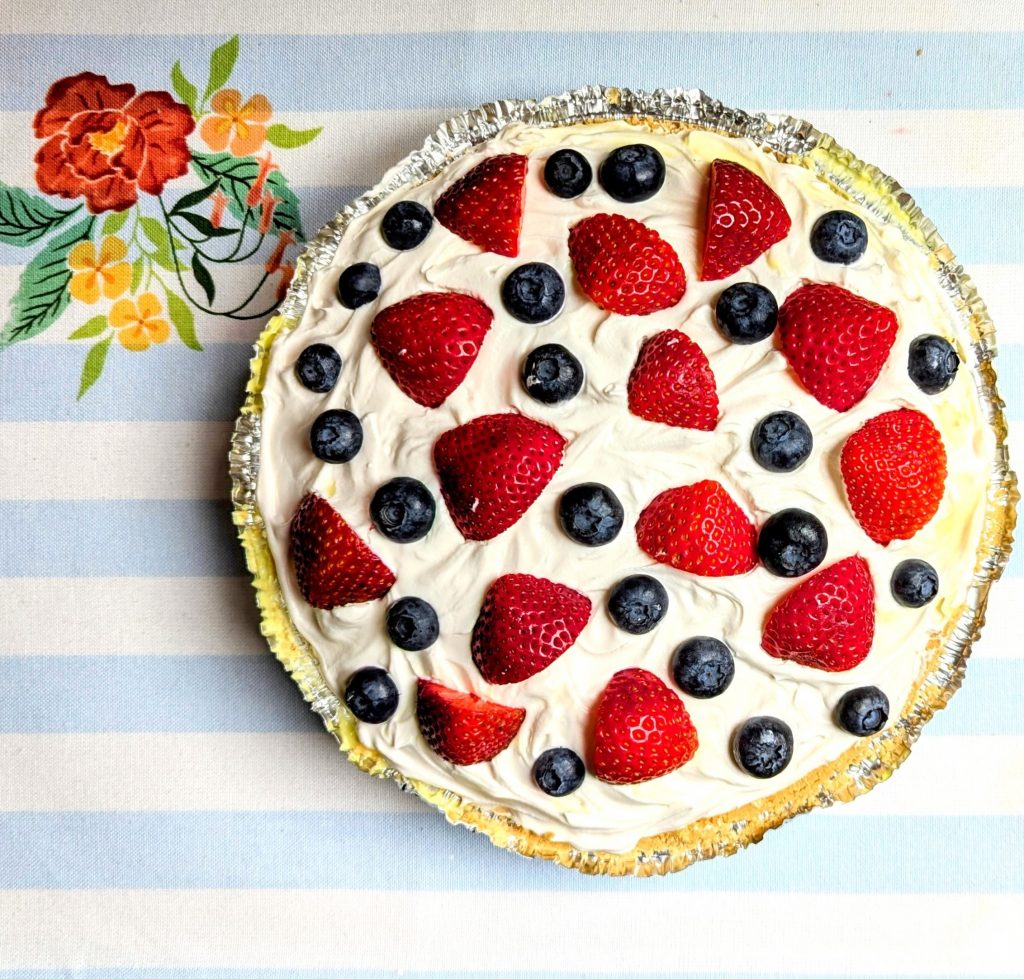
Once pie is set, spread the remaining prepared whip on top, sealing it to the edges. Then top with the remaining berries.
Summer Berry Lush Pie Leftovers?
Store in an airtight container and refrigerate for up to 3 days.
Love strawberry desserts? Then Strawberry Pear Spring Torte and Strawberry Pretzel Delight are calling your name!
Indulge in summer sweetness with this incredible Summer Berry Lush Pie! This layered dessert uses a ton of shortcuts that make it easy for any baker to present this beautiful pie at a summer get together. A store-bought graham cracker crust happily holds a cream cheese base, followed by fresh berries, then a sweet whipped lemon pudding layer--all before being topped with more whip and berries!
- 1 (8 oz.) bar cream cheese
- 2 tablespoons sugar
- 2 tablespoons milk
- 1 pre-made, store-bought graham cracker crust
- 2 cups halved strawberries, divided
- 1 cup fresh blueberries, divided
- 1 envelope Dream Whip Whipped Topping Mix
- 1/2 cup skim milk (for whip)
- 1/2 teaspoon vanilla extract
- 1 package (4-serving) lemon flavor instant pudding and pie filling
- 1 cup milk (for pudding)
Before starting:
Soften cream cheese on counter
Wash, hull and halve strawberries
Wash blueberries
In a medium mixing bowl, use a hand mixer on a low/medium setting to beat cream cheese, sugar and 2 tablespoons of milk until smooth. Then spread the mixture evenly into the bottom of the pre-made crust.
Gently press 1 cup of the halved strawberries and 1/2 cup blueberries into the cream cheese mixture. (The remaining berries are reserved for the topping.)
In a large mixing bowl, prepare the Dream Whip according to package directions: Combine the contents of the envelope, 1/2 cup skim milk and vanilla; use mixer on low speed to combine. Then beat on high speed for 4 minutes or until soft peaks form. Then set momentarily aside while you prepare the pudding.
In a separate, medium mixing bowl, make pudding according to package directions, using the remaining 1 cup of milk. Then fold 1 cup of the prepared whip into the pudding.
-
Gently spread pudding mixture over the berries in the pie crust, taking time to make sure the mixture reaches the crust's edges.
Refrigerate pie until set (about 2 hours). Refrigerate remaining whip and berries, which will be used in the next step.
Once pie is set, spread the remaining prepared whip on top, sealing it to the edges. Then top with the remaining berries.
Store leftovers in an airtight container and refrigerate for up to 3 days.
Please only use fresh berries for this recipe. Frozen berries are too watery and will affect the consistency of the pie.
When making the Dream Whip, be sure to use a hand mixer for at least 4 minutes or until soft peaks form.
I like to use a Keebler's Ready-Made Graham Crust as a shortcut, but feel free to make your own. Just keep in mind that the standard 9-inch pie plate is bigger than a store-bought crust.
Thank you for checking out this recipe! Enjoy!
~Betty


