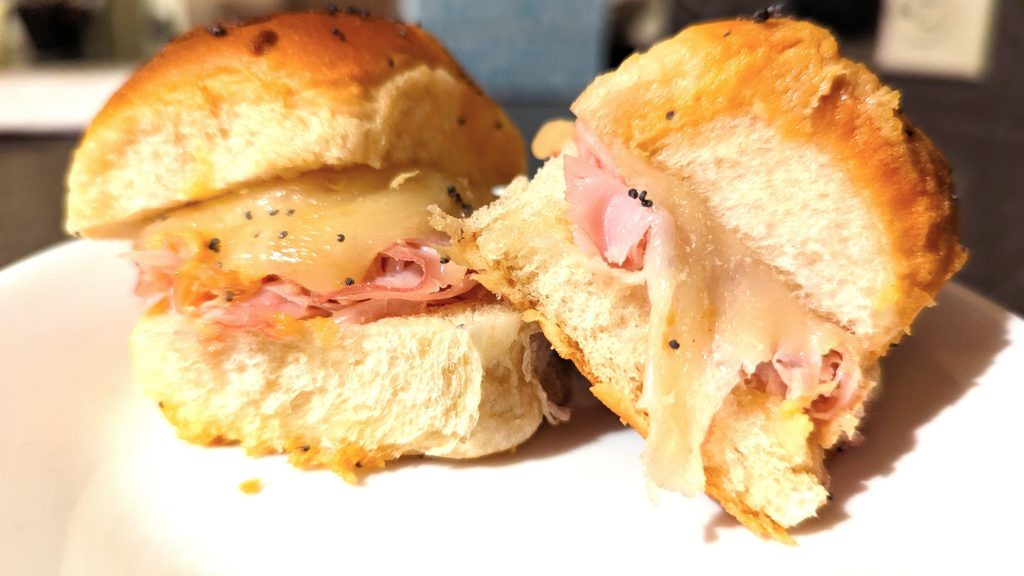
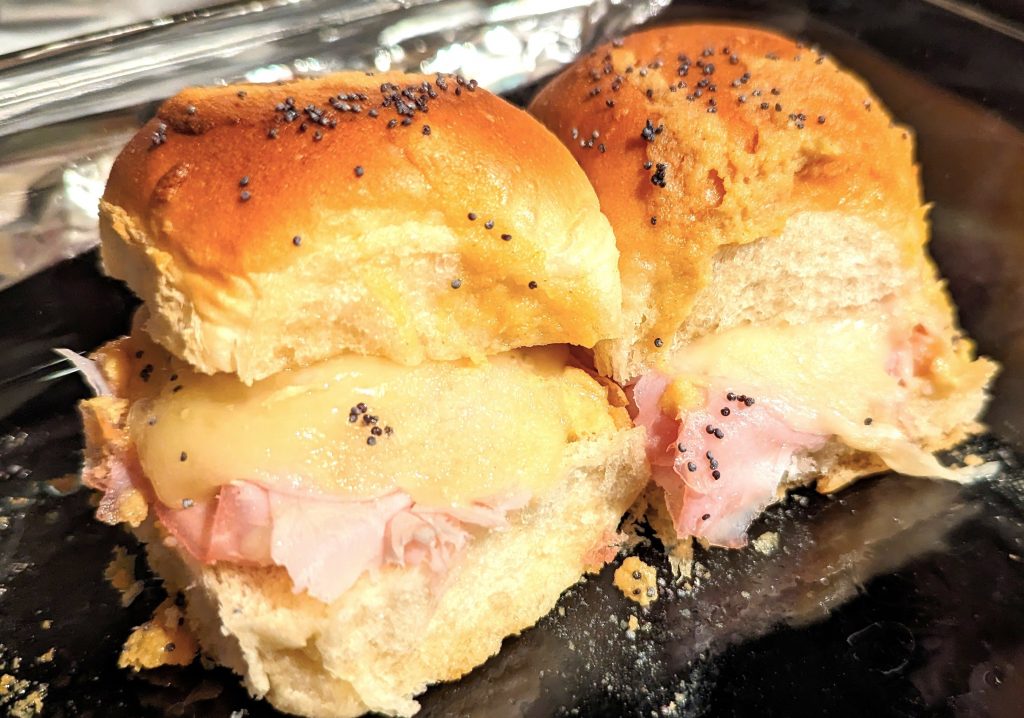
These delicious Ham and Swiss Cheese Sliders are to die for when topped with an amazing buttery dijon glaze!
Why We Love It
We just can’t get enough of these decadent, delicious sliders! They are hands down one our favorite meals, so much so that they have replaced the traditional ham dinner for us at Easter.
This is one of my husband’s favorite things I make–and trust me, that’s saying a lot! He has already told me if he ever has to order a last meal, these Ham and Swiss Cheese Sliders would be it. Why? Gone in just a few savory bites, each slider is a melted cheese lover’s dream! Hawaiian sweet rolls are filled with shaved ham and cheese and then self marinate in a buttery, dijon, garlic, poppy seed glaze before baking in the oven!
Why You’ll Love It
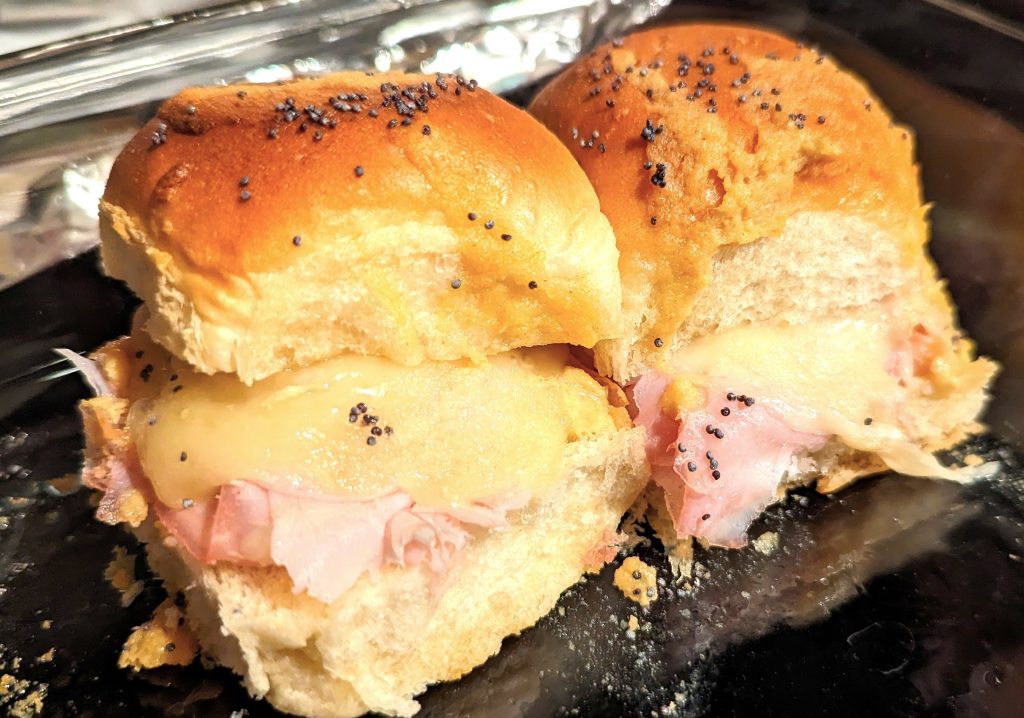
These Ham and Swiss Cheese Sliders are so easy to make. If you can make a sandwich and melt some butter, you can make these.
The recipe is easy to double (or triple!). And the best part? It’s made ahead of time. They marinate themselves overnight in the fridge, and then voilà: you are free the day you bake them to do other things–whether that’s preparing for a get together, feeding your goldfish, or checking out more delicious recipes on Kitchen Ready Betty, such as Asparagus Tomato Salad, which goes so well with these!


Ingredients for Ham and Swiss Cheese Sliders
- 1 (12 count) Hawaiian sweet rolls (King’s Hawaiian recommended)
- 3/4 pound low-sodium deli ham, shaved (Boar’s Head or other premium deli ham recommended)
- 12 slices (1/3 pound) swiss cheese, sliced thin
- 1/2 stick (1/4 cup) butter
- 1 tablespoon dijon mustard (Grey Poupon recommended)
- 1 tablespoon Worcestershire sauce
- 1/2 teaspoon garlic powder
- 1-2 tablespoons poppy seeds
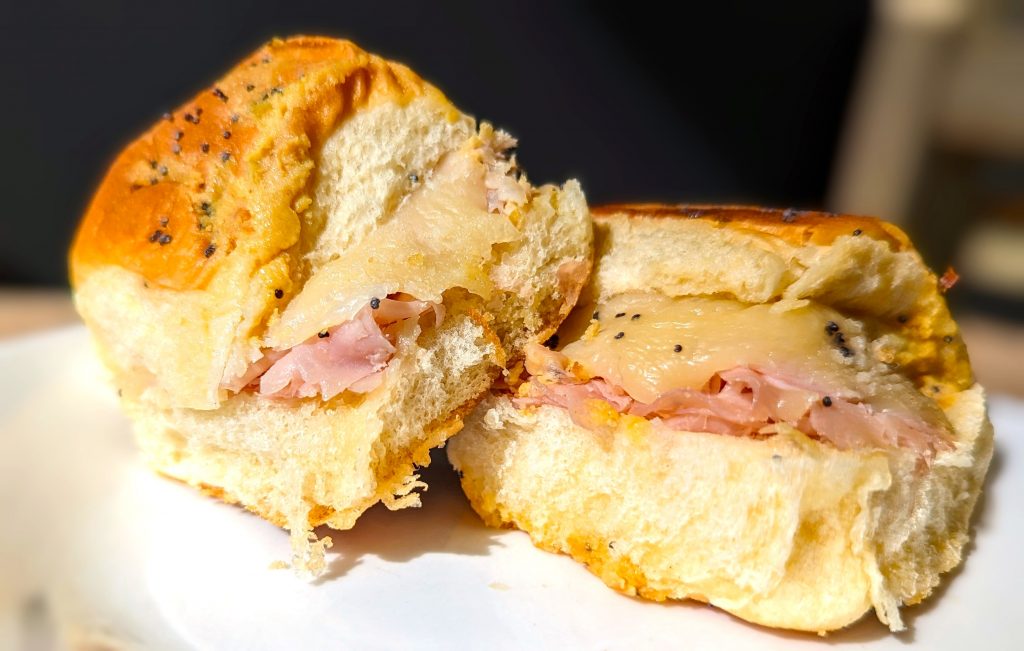
How to make Ham and Swiss Cheese Sliders
Kitchen Ready Betty tip: Assembling these the night before you bake them is strongly encouraged in order for the buttery marinade to work its magic (more on that down below)!
You’ll want to gather the following equipment:
- 13 x 9 in. pan
- cutting board
- long serrated bread knife
- small pot with lid
- stirring spoon
- pastry or basting brush (optional, but handy)


Unpackage those rolls! If you bought King’s Hawaiian (which I highly recommend), they will come out of the package perforated, but unseparated. Simply turn the entire set of rolls on its side. Use a bread knife to slice through all of them at once. Then individually separate the tops and bottoms.
Lightly grease a 9×13 pan. Then lay all the separated bread bottoms in the dish, cut side facing up.
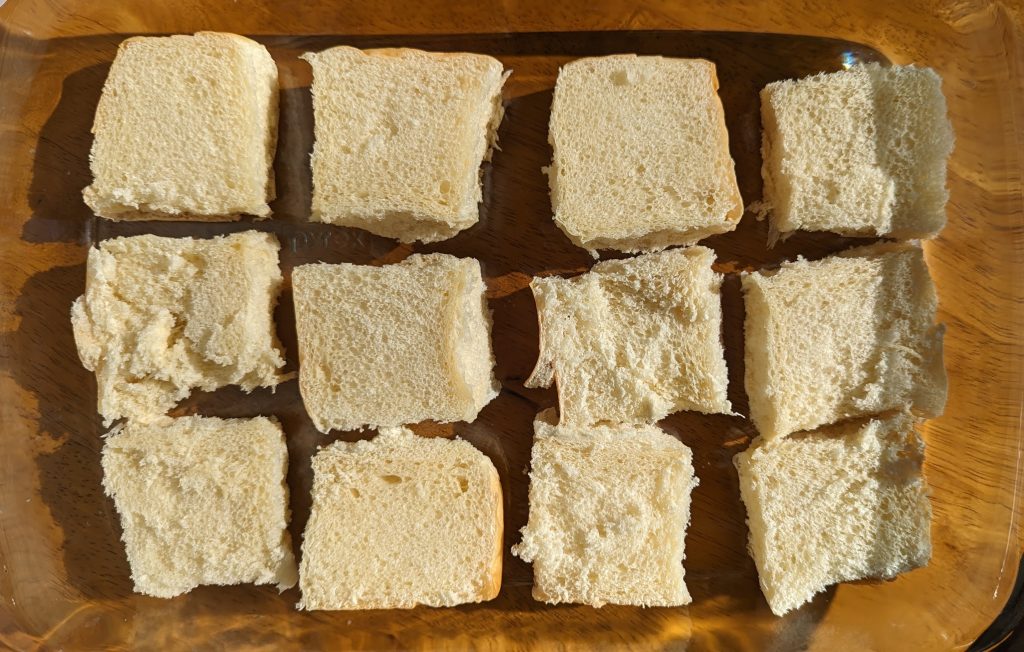
Kitchen Ready Betty Tip: You may use a glass or metal baking dish for this recipe. Whichever style you choose, make sure the sides are high enough to contain the sliders and the butter marinade.
Now here’s the fun part! It’s Ham and Swiss Cheese Sliders assembly time!
Unwrap your ham and cheese. Divide the ham over all twelve rolls as evenly as possible. It doesn’t have to be perfect and you can just eyeball it. I recommend shaved ham because it is not only easier to work with, it’s easier to eat!
Cut each slice of cheese into 4 pieces. Layer the four pieces over one ham/slider portion and repeat until all 12 ham portions have 4 mini slices of layered swiss on top.


Top each slider with a roll top. Then set this dish aside to make the marinade.
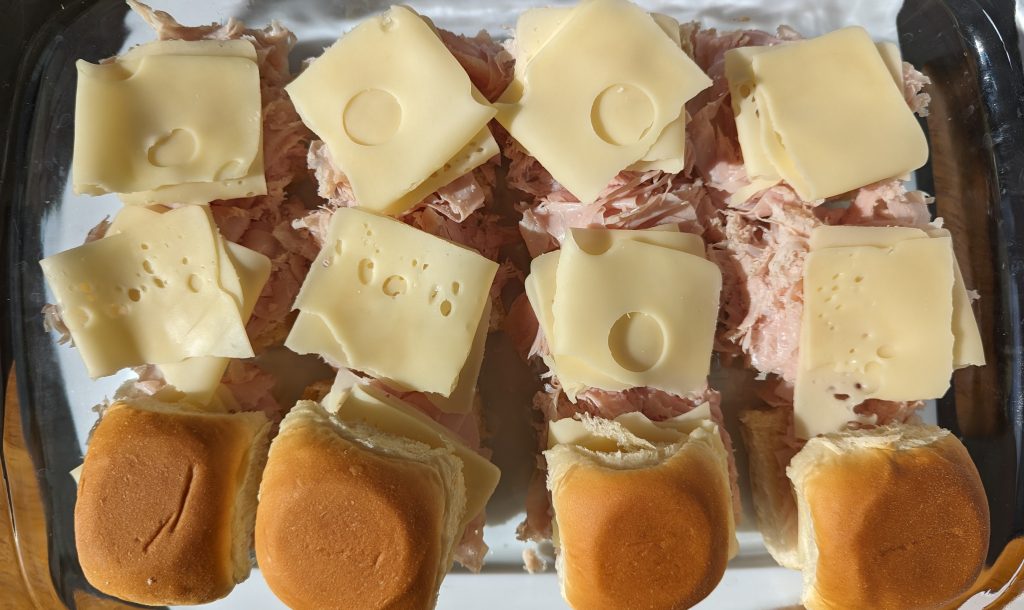
Melt the butter in a small pot over low heat. Then add the dijon, worcestershire sauce (a secret savory ingredient you shouldn’t omit), and garlic powder. Use a stirring spoon to incorporate these flavorful ingredients with the melted butter. Stir over low heat for 1-2 minutes. Remove the pot from the stove and pour the butter marinade over the tops of the rolls in the pan.
Kitchen Ready Betty Tip: Use a pot with a spout for easier pouring. If you don’t have a spouted pot, you could brush the marinade on top of each roll with a pastry or basting brush.


Mini retro science lesson here: Oil and water don’t mix. The butter and dijon will not fully incorporate, but it’s all good because whatever clings to the bottom of the pot (ahem, mostly dijon), you get to scoop out with a spoon and place on top of the rolls!
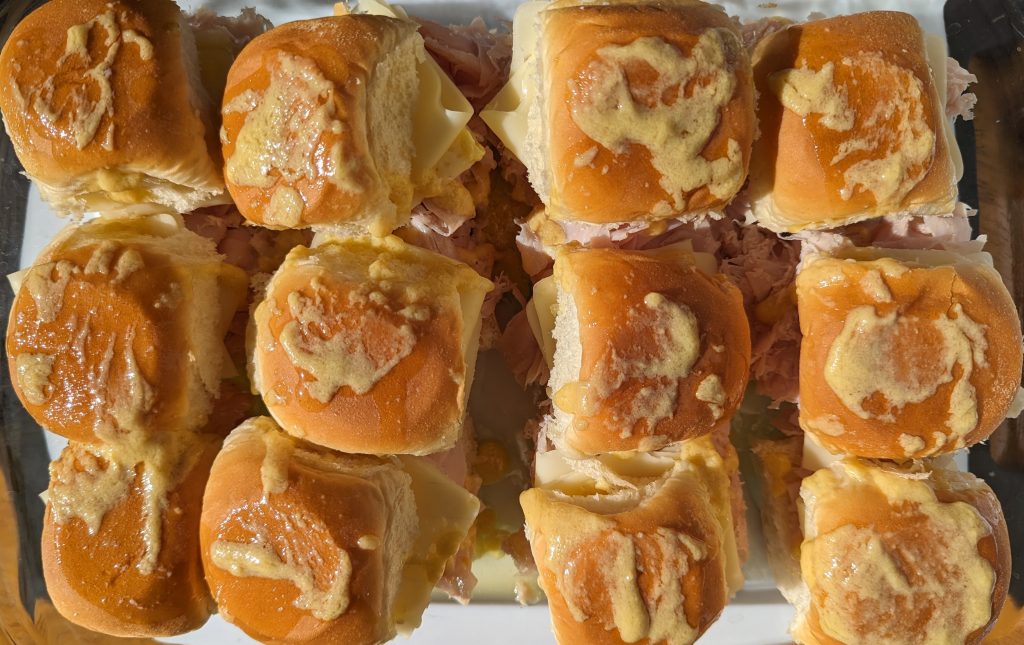
Sprinkle poppy seeds on top. Use 1-2 tablespoons for aesthetic appeal.
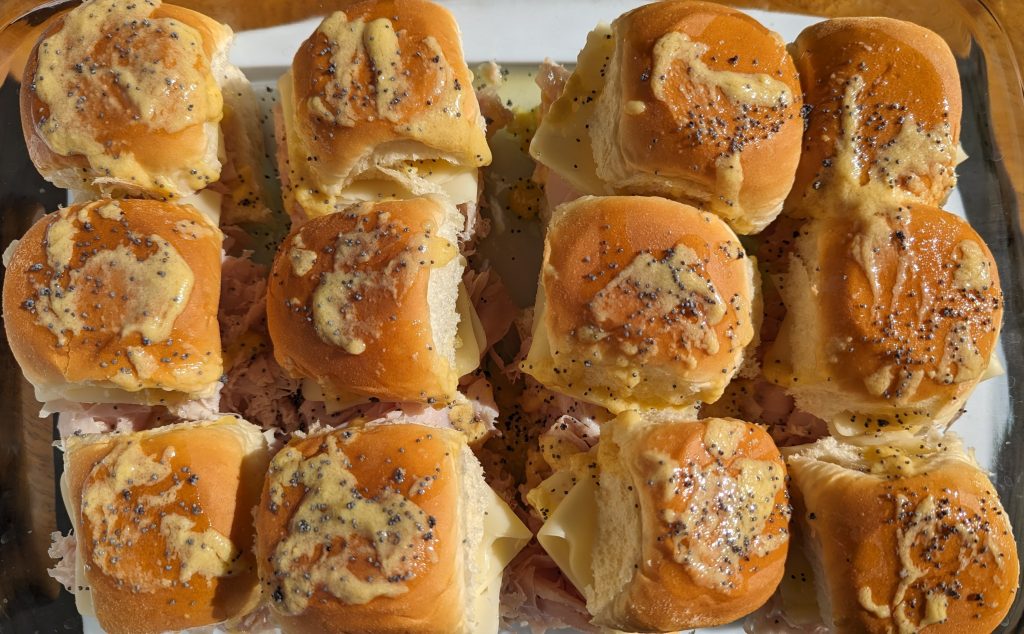
Instant gratification or marination? Now comes your decision time. You could bake Ham and Swiss Cheese Sliders right away in a 375 degree oven for about 15-18 minutes. They will taste good and you’ll be happy with them.
Or, you can follow my advice: let them sit overnight in the fridge. This allows some of the butter to seep to the bottom of the pan, thus creating a delicious, buttery marinade. The end result is a golden brown slider both on the top and bottom baked to perfection with a savory crunch in every single bite. If you can wait for this step, you’ll be in slider heaven!
Prepare the Ham and Swiss Cheese Sliders for their sleepover in the fridge. Place one toothpick (which will be removed before baking) in the center of each. Then cover your pan with foil, taking time to create a tent. The toothpicks help with this part. We take the time to do this step because we don’t want any of the foil touching the tops of the rolls with their glazed awesomeness.
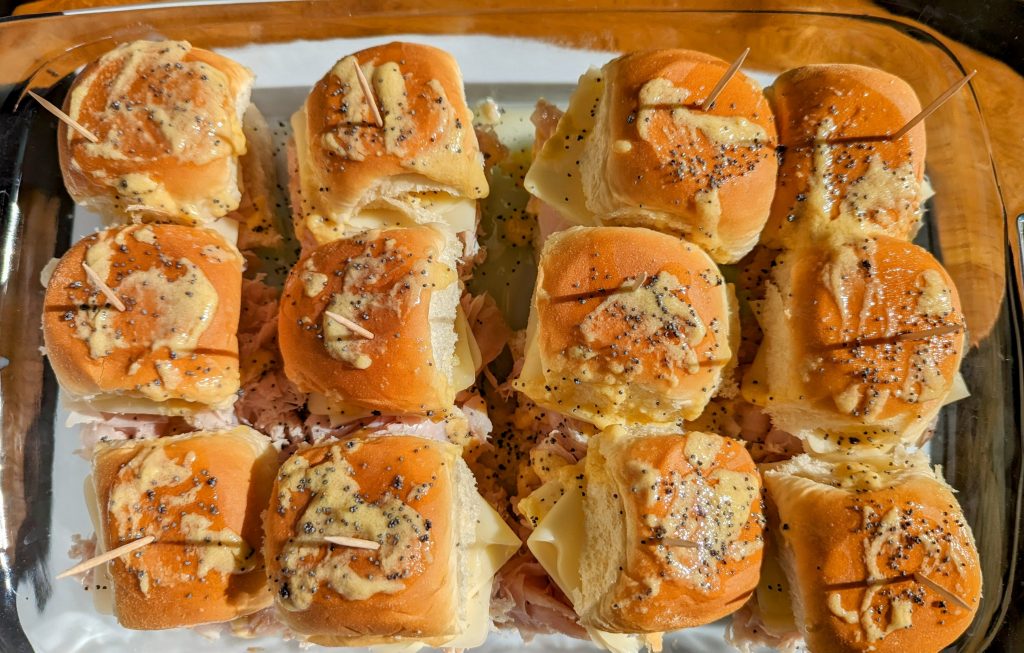
Bake the next day. Preheat your oven to 375 degrees. Get the sliders out of the fridge while the oven is preheating.
IMPORTANT: REMOVE THE TOOTHPICKS BEFORE YOU BAKE THE SLIDERS!!!!!
When your oven is ready, cover loosely with the foil and put the sliders in the oven WITHOUT the toothpicks. Bake for 15 minutes covered and then 2-3 minutes uncovered. Let stand for 5 minutes and then enjoy the deliciousness!
We enjoy eating Ham and Swiss Cheese Sliders with mac and cheese and Asparagus Tomato Salad!
Ham and Swiss Cheese Sliders Leftovers?
If you have some, lucky you, but they won’t last for long!
Store in an airtight container and refrigerate. Enjoy within three-five days.
Reheating instructions: Arrange in a single layer on a prepared pan, cover loosely with foil and bake at 325 degrees for 10 minutes. Uncover and bake an additional 2-3 minutes or until sliders are heated through (the melted cheese will be a good guide for this).
Deli Counter vs. Prepackaged: A Meaty Debate
There are many different luchmeats out there and let’s face it: they’re not all created equal. Prepackaged is usually cheaper, but usually not as good in terms of flavor, texture or quality.
I hesitate to say that any lunchmeat is actually good for you, but I definetly feel the deli counter has better options.
Don’t get me wrong: I buy prepackaged deli meat all the time for my kids’ sandwiches and even when I make Moagies (mom hoagies) for a quick family dinner. But when it comes to sliders, I have to go to the deli counter for a premium brand.
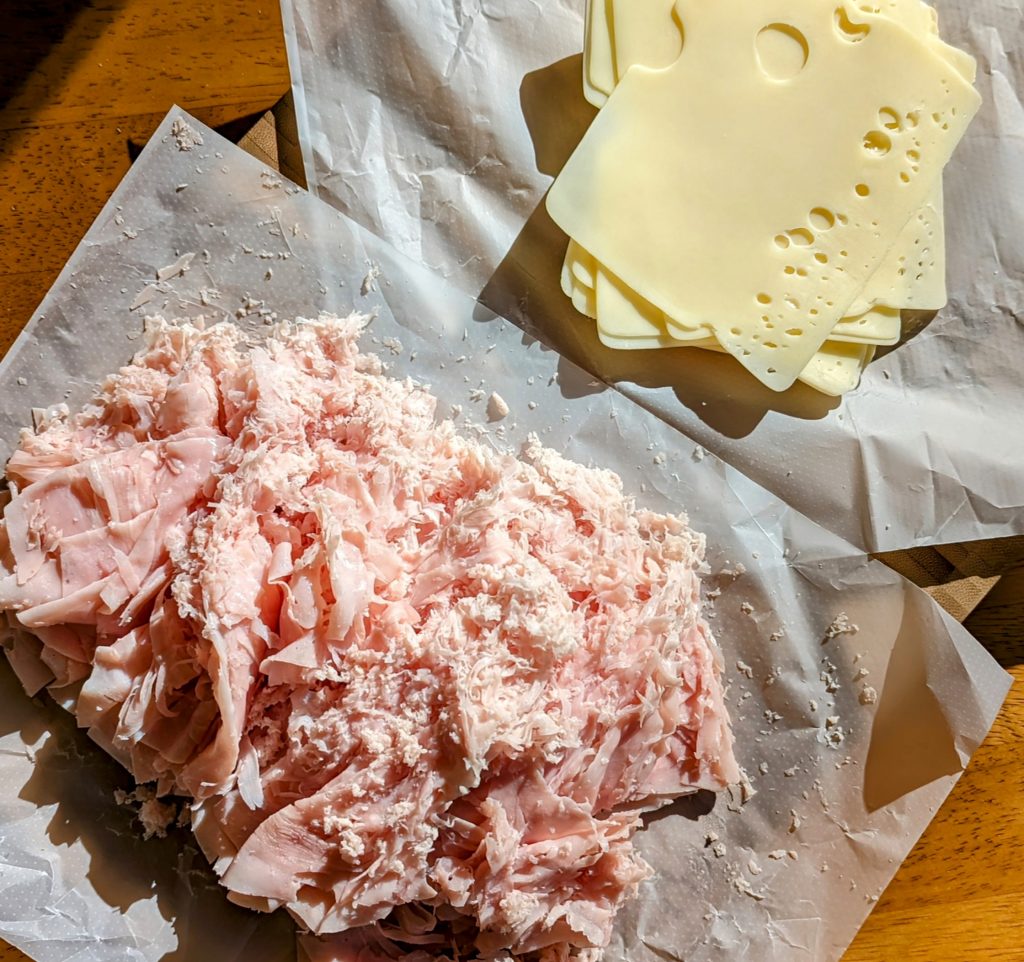
Sure, you COULD use prepackaged meat to make sliders, but they will be chewier. And you COULD get prepackaged cheese as well, but it won’t taste as fresh. Premium deli meat isn’t cheap, but you do get what you pay for.
Plus, by going to the counter, you can specify how you want your order prepared. Shaved ham and thin sliced swiss cheese are the best for this recipe. In fact, shaved meat is best for all lunchmeat-based sliders.
It does take a little bit of time to thinly slice meat, but it is SO worth it. If you’re lucky to have a local store that has Deli Order Ahead on its mobile app, order your meat and cheese ahead of time. You can specify what you want, how much, and how to slice it. It’s so easy! That’s what I almost always do when I make Ham and Swiss Cheese Sliders and my order always comes out just fine :).
Ham and Swiss Cheese Sliders
Description
Hawaiian sweet rolls are filled with savory ham and swiss cheese, but what will have you coming back for more is the amazing buttery dijon marinade that takes the pleasure of having a good sandwich to a whole new level. Easy to make, bake and take, you've got to try this one!
**If possible, prepare this the night before you plan to bake it. This gives the butter glaze time to marinate.**
Ham and Swiss Cheese Sliders
Instructions
Prepare the sandwiches!
-
Hawaiian rolls.
Use a bread knife to slice through the rolls. Separate the tops and bottoms. Arrange the bottoms in a slightly greased 9x13 pan.
-
Ham.
Evenly distribute the ham over all 12 rolls.
-
Swiss Cheese.
Divide each slice into quarters. Then layer 4 quarters on top of each slider. Repeat until all 12 sliders are each covered with four pieces of cheese.
-
Roll tops.
Place the tops of the rolls onto the sliders. Set aside.
Marinade.
-
Small pot.
Melt butter in small pot over low heat. Then add the dijon, worcestershire and garlic powder. Stir over low heat for 1-2 minutes.
-
Glaze time.
Pour the marinade directly from the pot (if spouted) over the top of the sliders. Alternatively, you may use a pastry brush to apply the marinade.
Some of the dijon will naturally want to stay in the pot. Simply spoon it out and place on top of the sliders. -
Poppy seeds.
Sprinkle 1-2 tablespoons of poppy seeds on top of the sliders.
Chill.
-
Marination
It is strongly suggested to cover sliders and place in the fridge before baking for at least a few hours, but overnight is best.
This allows the marinade to fully incorporate into the rolls for amazing presentation and flavor.
Bake.
-
Oven.
Bake covered in a 375 degree preheated oven for 15 minutes. Uncover and bake another 2-3 minutes or until sliders are heated through. Let stand 5 minutes before serving.
If you followed the instructions listed in the above post for tenting the foil with toothpicks, please remember to remove the toothpicks before you place the sliders in the oven.
Storage.
-
Refrigerate.
Store leftovers in an airtight container and refrigerate for up to 5 days.
-
Reheat.
Reheat covered in a 325 degree preheated oven for 10 minutes. Uncover and bake an additional 2-3 minutes or until sliders are heated through.
Note
This recipe easily doubles to accomodate a crowd. We typically eat 2-3 sliders each at one meal as a point of reference.
Please do not omit the worcestershire sauce. It's the secret ingredient that helps the marinade really taste amazing!
Strive to use shaved or chipped ham for easier assembling and eating!




User Reviews
This recipe sounds like one “to die for.” I’m definitely into making this.
That’s great to hear! You won’t regret it!