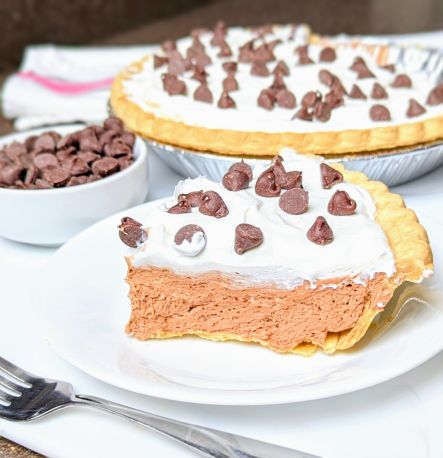

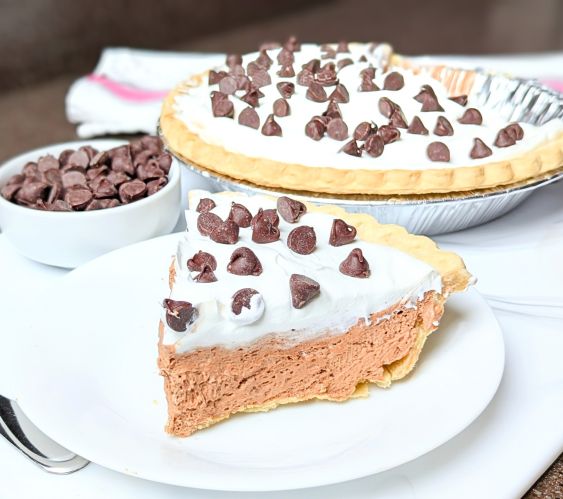
This easy French silk pie recipe is loaded with deep chocolate flavor and an irresistible creaminess. While similar in some aspects to a traditional chocolate silk pie, it has a couple handy shortcuts that help to make it easier to whip together.

If you’re a serious chocolate lover (aka a chocoholic like me), and you’ve never had a French Silk Pie, you’ve been missing out!
This is absolutely one of my favorite pies to make, despite the fact that it can be a bit messy putting it together! Its rich, silky smooth, chocolate flavor is incredible. Although it has a decadent taste, it isn’t too overbearing or filling. This pie has just the right amount of everything: chocolate, creaminess, and pure joy–all held together in a crispy, oven-baked crust.


But the best part about this easy French silk pie recipe is that it contains no heavy cream (goodbye extra fat and calories!). Instead we use reduced fat Cool Whip, which not only tops the pie, giving it that glowing white charm, but it also gets folded into the rich, chocolaty base, providing it with a light, creamy taste.
This tasty pie is perfect for your next holiday gathering or social, or simply just because you deserve something special!
Why You’ll Love It
| Simple, make ahead recipe- This silk pie is at its best when it has a chance to set in the fridge for a few hours. The only ingredient that needs to be baked is the crust (and we use a premade deep dish one to cut down on prep). Simply melt the chocolate in the microwave, use a mixer to blend everything together, fold in the whip and let it chill for later. Basic ingredients with a possible egg-ception- So, let’s get this out of the way right now: yes, this French silk pie has two raw eggs in it. I know that aspect of this recipe has fallen out of favor in some circles, especially with allergy and food safety concerns. Always use pasteurized eggs from the grocery store, which cuts down on health risks significantly. Please see the raw egg consumption disclaimer at the end of this post. Keeps well- Because this recipe uses Cool Whip, it keeps much longer in the fridge. Silk pies that rely on heavy cream change consistency rather quickly because whipping cream only stabilizes for so long. This version stays in tact and keeps well in the fridge for up to five days (provided the eggs aren’t past expiration). |
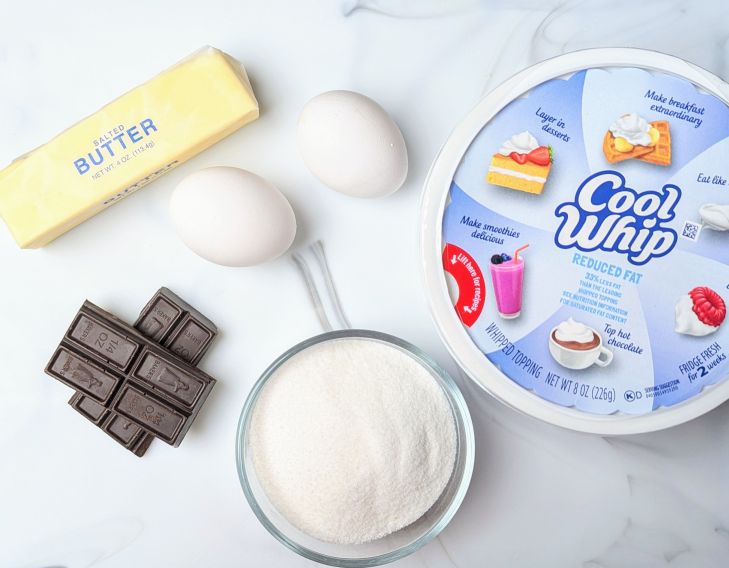
Ingredients for Easy French Silk Pie
Please note: pie crust isn’t pictured. For a complete list with measurements, see the printable recipe card below.
- baked, cooled pie crust- feel free to make your own–deep dish is best. I often buy a frozen pie crust from the store (which I defrost and bake) to save time and cut down on prep. Sometimes I use a premade Oreo crust when I’m craving even more chocolate flavor!
- salted butter- soften this ahead of time to make mixing easier
- sugar- sweetness for the chocolaty base
- unsweetened chocolate- use premium brand baking squares, such as Baker’s or Ghirardelli. Bittersweet chocolate would also work. Resist the urge to use those leftover semisweet baking chips that are sitting in your pantry. They don’t melt as well, and will give the pie a different taste.
- eggs- we use raw eggs for this recipe, but only two. Use pasteurized eggs from a grocery store, which are much safer.
- reduced fat Cool Whip- just enough cream and fluff to get the job done; it also helps this chocolate silk pie store well in the fridge because it’s a stabilized dairy topping product.
- chocolate garnish- I typically use semisweet chocolate chips on top for a sweet tasty crunch. If you’re feeling extra fancy, feel free to use a dusting of cocoa powder or chocolate shavings. You could even top this with those luxurious chocolate curls that you often see in a bakery or restaurant!
Click here for a list of equipment needed for this recipe
- deep dish pie plate (if not using frozen store bought, which comes in its own foil pie plate)
- microwave safe dish
- hand mixer or stand mixer–one of these is required for this recipe to fluff up the eggs; do not mix by hand
- large mixing bowl
- measuring cups
- mixing spoon
- rubber scraping spatula
How to Make Chocolate French Silk Pie
For a more complete set of instructions, see the printable recipe card below.
- Bake pie crust and allow to cool.
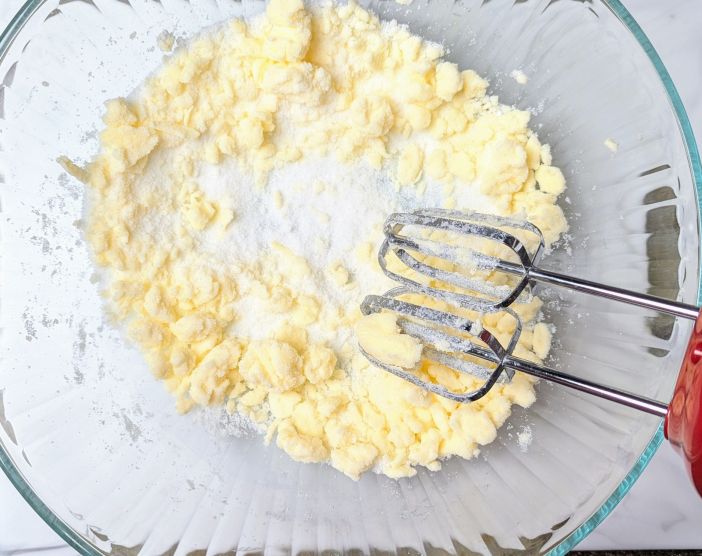
- Cream softened butter with the sugar.
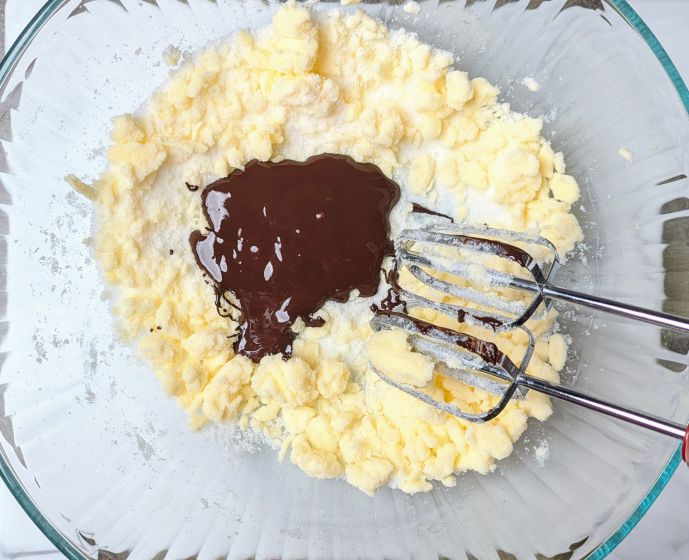
- Melt the chocolate in the microwave. Let it cool and then add it to the bowl; mix.
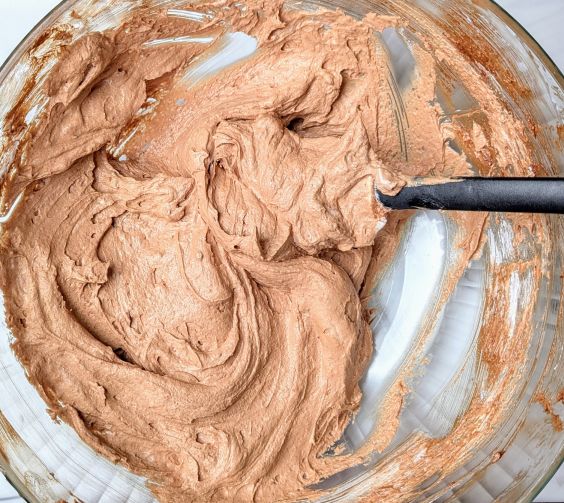
- Add eggs, one at a time, beating 5 minutes after each addition on high speed.
- Fold in half the Cool Whip and then pour the filling into the cooled pie shell.
- Allow the pie to set in the fridge for 2-3 hours before topping with remaining Cool Whip and chocolate garnish.
Helpful Tips for this Easy French Silk Pie Recipe
- If you have one, a stand mixer is the way to go with recipe since the filling needs to be beaten on high speed for 10 minutes total. This can get a bit messy with a hand mixer because you need to stop intermittently to scrape down the sides of the bowl with a rubber spatula. Be prepared for a little chocolate fluff to go flying!
- Let the chocolate cool before adding it to the creamed butter mixture. This is important so that when you add the eggs in the next step, the mixture isn’t warm.
- Be sure to let the pie set in the fridge for 2-3 hours before adding the final layer of Cool Whip. This is the key to achieving two completely separate layers.

Storing Chocolate Silk Pie
Loosely cover with plastic wrap or foil and keep the pie refrigerated for up to 5 days (provided that the eggs aren’t past expiration).
The pie can also be frozen. Just know that when you defrost it overnight in the fridge, the crust will be a little soggy and the filling’s consistency won’t be as fluffy.
What to Serve with Easy French Silk Pie
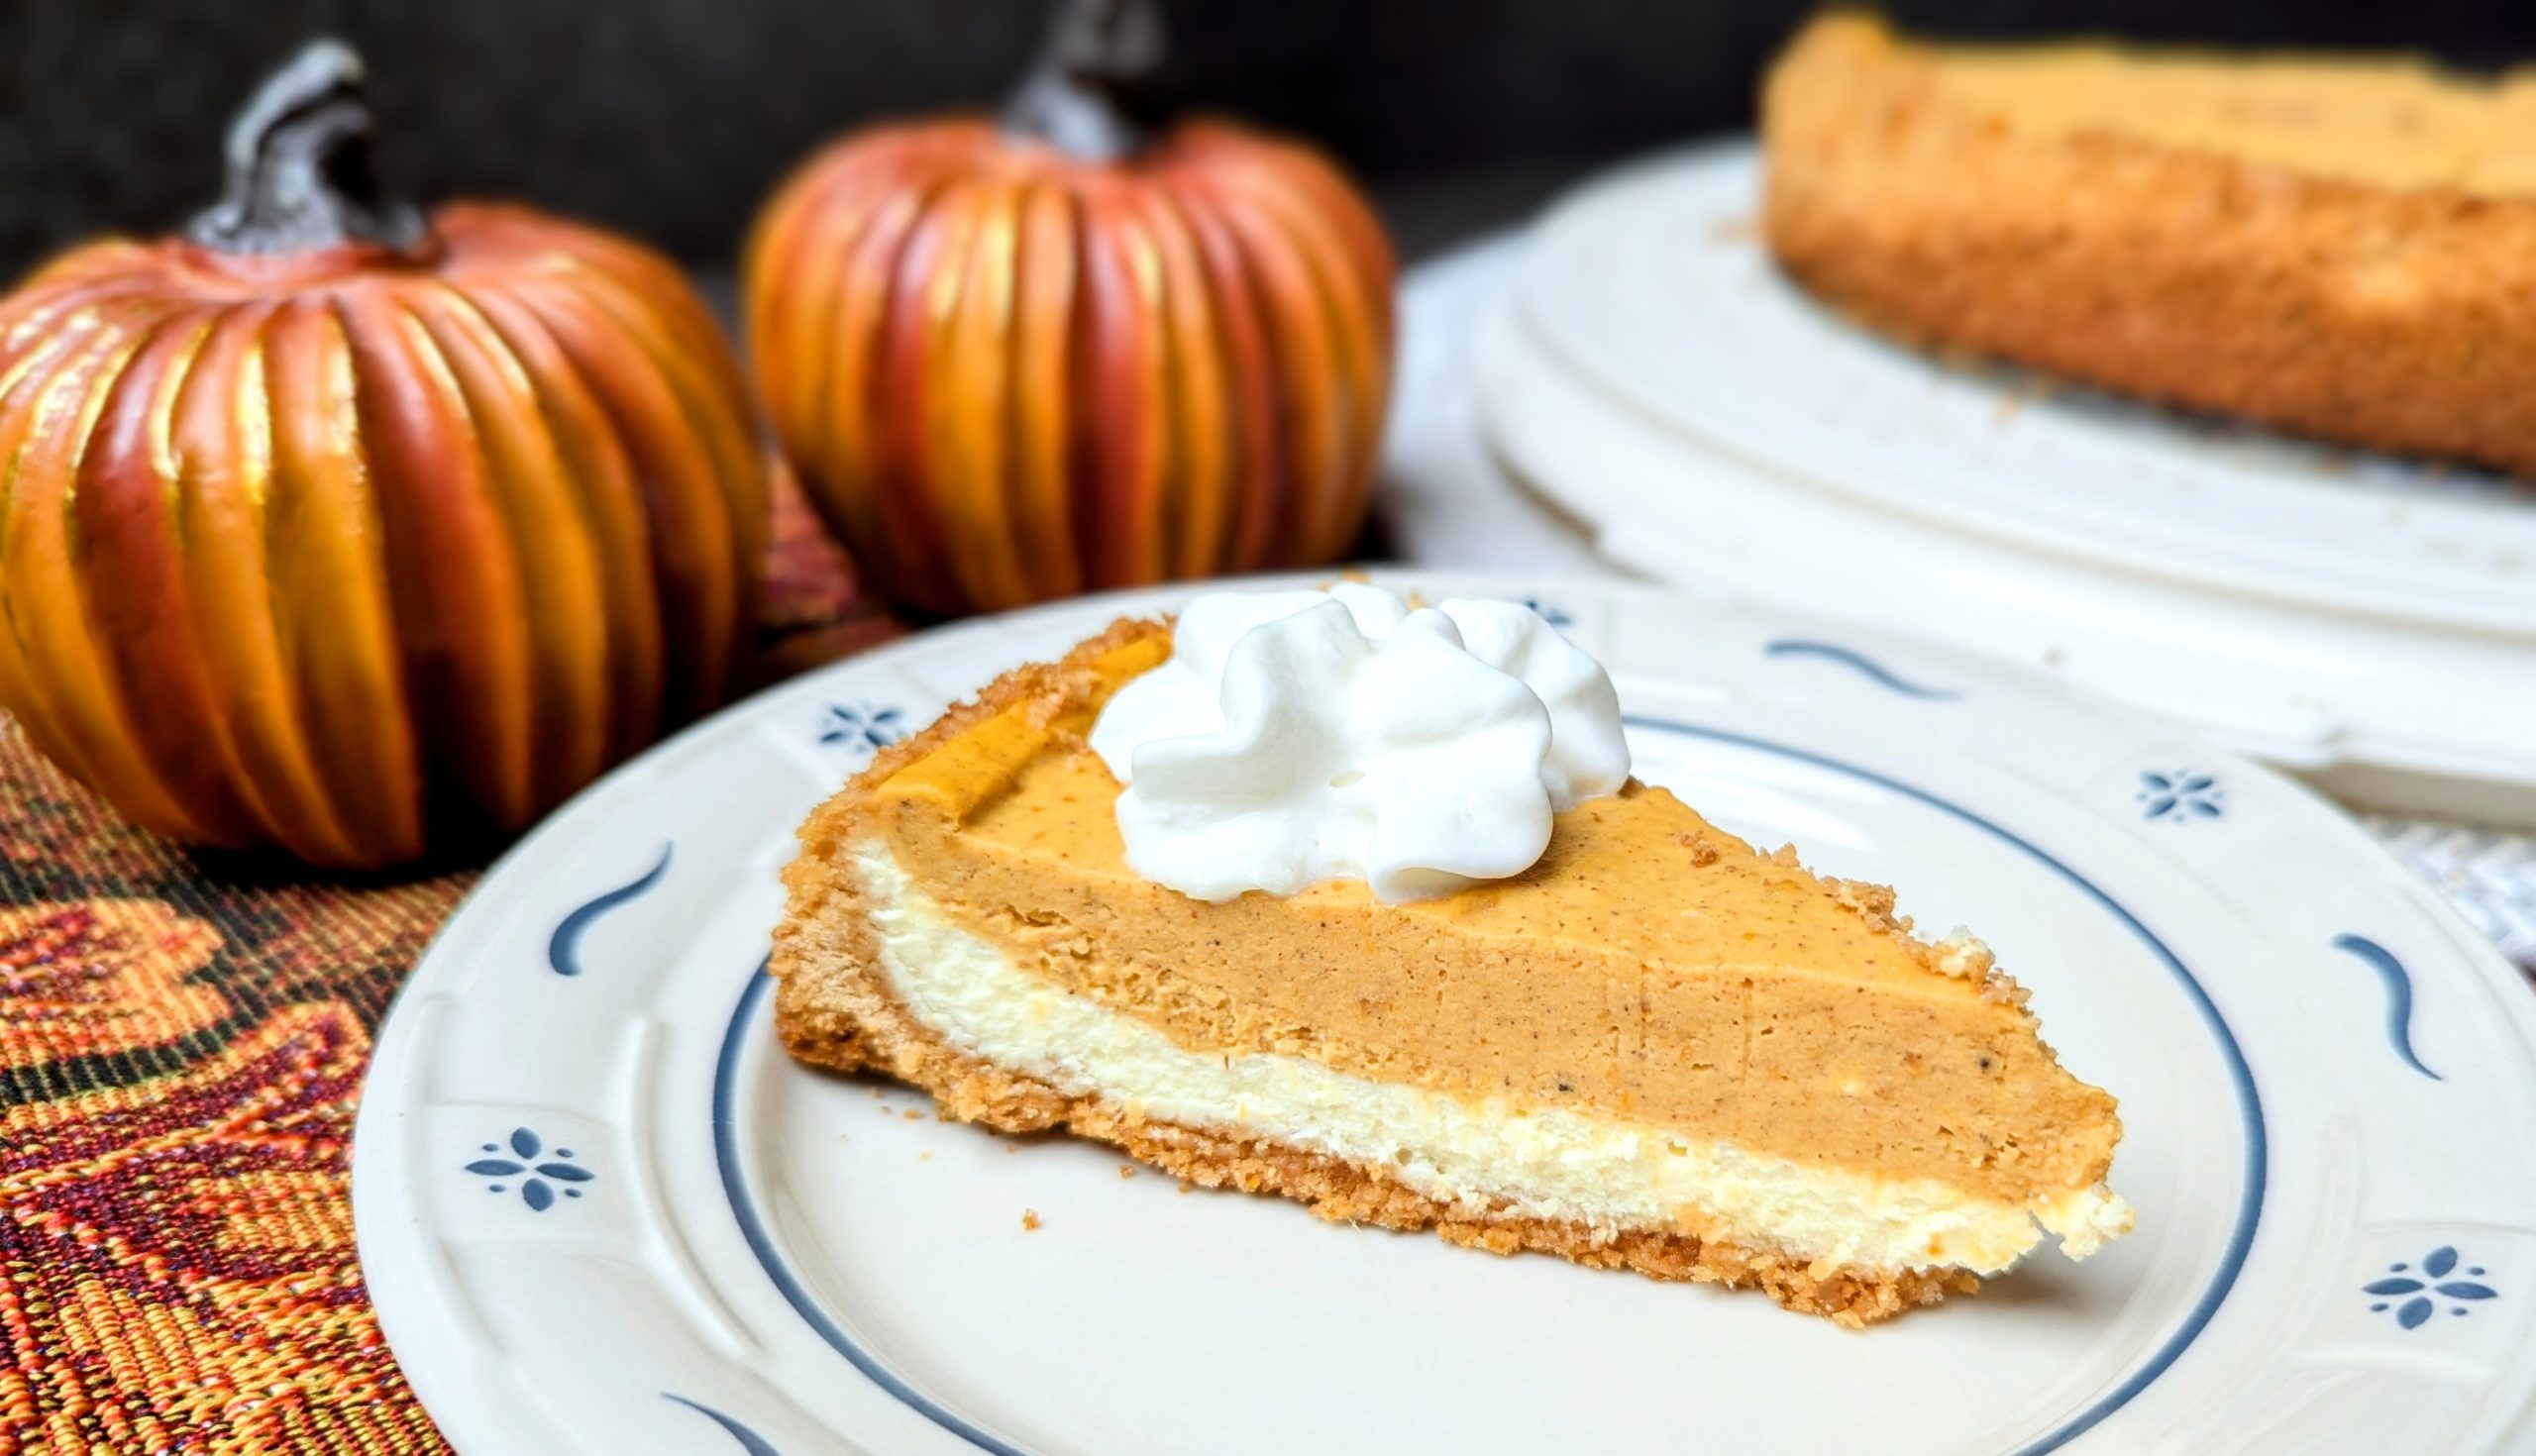
This elegant chocolate pie makes an excellent finishing touch to any meal! It’s a great choice for holidays, especially Thanksgiving (pumpkin and chocolate go really well together!).
If you would like to garnish the pie with whipped cream rather than Cool Whip, see the recipe for Easy Homemade Whipped Cream. I would still use Cool Whip in the filling though because it’s much more stabilized. If you choose to use whipped cream, put that on top just before serving.
Craving more chocolaty goodness? Be sure to check out Chocolate Peanut Butter Pie, Chocolate Raspberry Cheesecake and Chocolate Covered Cherry Cake!
| Raw Egg Consumption Disclaimer: This silk pie recipe contains raw eggs. It’s recommended that pregnant women, young children, older people, and those with compromised immune systems do not consume raw eggs. Please only use pasteurized eggs (that aren’t past expiration) bought at the grocery store for this recipe. |
Easy French Silk Pie
Description
This easy French silk pie recipe is loaded with deep chocolate flavor and an irresistible creaminess. While similar in some aspects to a traditional chocolate silk pie, it has a couple handy shortcuts that help to make it easier to whip together.
This tasty pie is perfect for your next holiday gathering or social, or simply just because you deserve something special!
Once you take one bite, you'll be reaching for your next slice!
Easy French Silk Pie
How to Make Easy French Silk Pie:
-
Bake pie crust and allow to cool.I use a frozen store bought pie crust, which I defrost and then bake to save time.
-
In a large mixing bowl, cream the softened butter with the sugar.
-
Melt the chocolate in a microwave-safe dish, let it cool and then add it to the creamed butter mixture; stir to incorporate.
-
Add eggs, one at a time, beating 5 minutes after each addition on high speed.Use a hand mixer (along with a scraping spatula) or stand mixer for this step.
-
Gently fold in half the Cool Whip and then pour the filling into the cooled pie shell.
-
Cover loosely with plastic wrap and allow the pie to set in the fridge for 2-3 hours before topping with remaining Cool Whip and chocolate garnish.
-
For leftovers, loosely cover with plastic wrap or foil and keep the pie refrigerated for up to 5 days (provided that the eggs aren't past expiration). The pie can also be frozen; defrost overnight in the fridge.
Note
- If you have one, a stand mixer is the way to go with recipe since the filling needs to be beaten on high speed for 10 minutes total. This can get a bit messy with a hand mixer because you need to stop intermittently to scrape down the sides of the bowl with a rubber spatula. Be prepared for a little chocolate fluff to go flying!
- Let the chocolate cool before adding it to the creamed butter mixture. This is important so that when you add the eggs in the next step, the mixture isn't warm.
- Be sure to let the pie set in the fridge for 2-3 hours before adding the final layer of Cool Whip. This is the key to achieving two completely separate layers.
- Please see the raw egg consumption disclaimer in the above post before making this recipe.