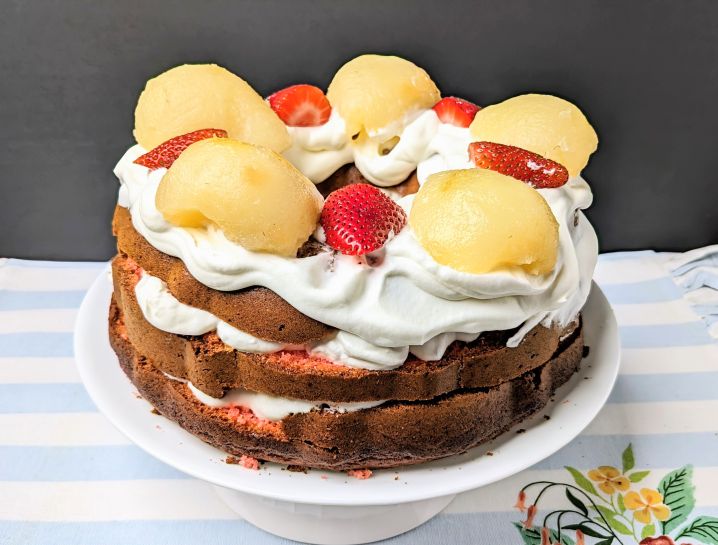
Strawberry Pear Spring Torte is a stunningly beautiful three layer cake that looks like it came from a bakery. But thanks to a ton of shortcuts, it’s fairly simple to make! The included video in this post walks you through how to slice the cake into three layers, so that you can create your very own bakery-style strawberry layer cake too! It’s really not that hard, I promise!
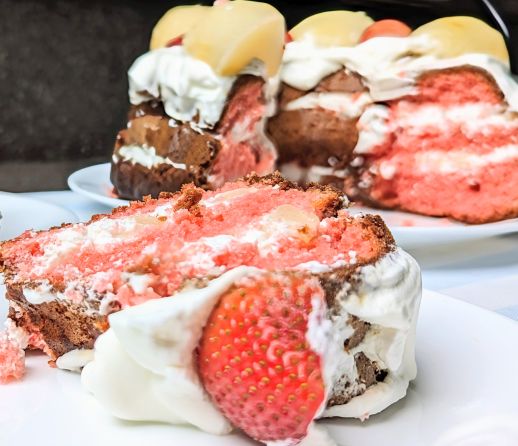
The baking shortcuts are the key to success in making this delicious cake. Strawberry gelatin adds sweetness and a vibrant pink color to a box of white cake mix. Easy to make homemade whipped cream (though you can use a large can of whipped cream to save time) and diced canned pears are smothered in between each layer, adding a touch of flavor and just the right amount of sweetness.
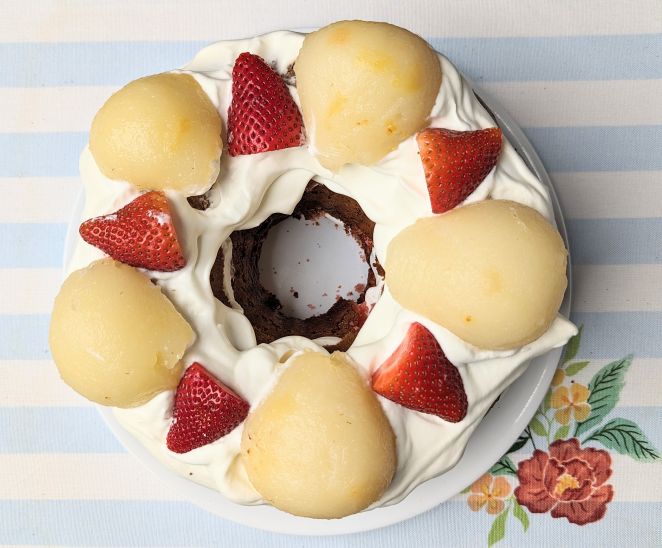
But the best part by far is the top of the cake, where fresh strawberries, along with more canned pears and whipped cream are plentiful, giving this three layer strawberry cake a spectacular presentation.
It doesn’t get much better than strawberries and whipped cream. This easy strawberry layer cake delivers that wonderful taste with each scrumptious bite. With each layer enveloped in cream and sweet berry flavor, it’s very easy to forget that you’re actually eating a box cake dessert!
For other great strawberry desserts, check out Strawberries and Cream Pie, Strawberry Pretzel Delight, and Summer Berry Lush Pie!
Why You’ll Love It
| Head turner- This cake’s presentation is quite impressive and always gets raves. It’s up to you whether or not you share all the secret shortcuts! Easy, simple ingredients- This three layer strawberry cake may look like a million bucks, but its ingredients are quite simple and inexpensive. From a box of white cake mix, canned pears and strawberry gelatin, to can of whipped cream (if you’re short on time), this fancy looking cake is actually quite simple at its core. Sweet and delicious- Anyone who loves berries and cream will love this strawberry cake! The pears add just the right amount of sweetness along with the homemade whipped cream (which, by the way, has only 2 ingredients!). |
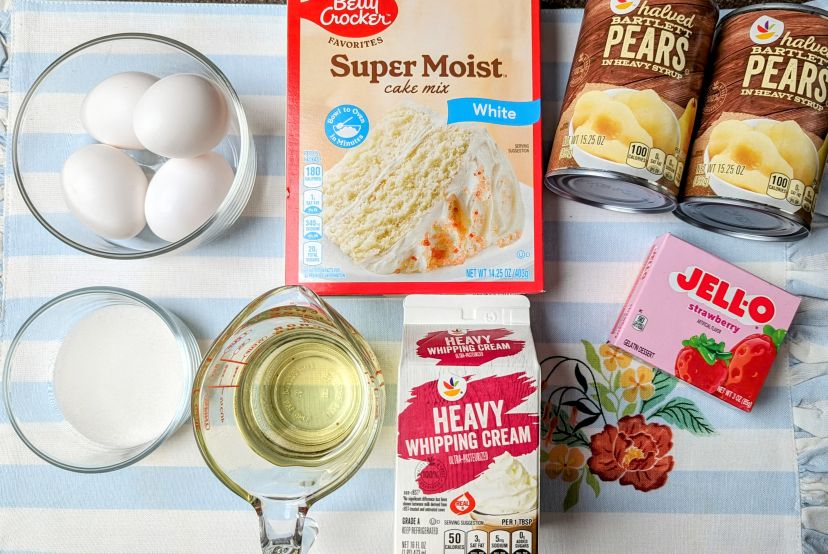
Strawberry Pear Spring Torte Ingredients
For a full list of ingredients and measurements, see the printable recipe card below
For the strawberry cake:
- Bartlett pear halves in heavy syrup
- 1 box white cake mix
- strawberry flavored gelatin
- vegetable oil
- eggs
For the homemade whipped cream:
- heavy whipping cream
- white granulated sugar
For the topping:
- pear halves (reserved from can)
- fresh strawberries, halved
How to Make Strawberry Pear Spring Torte
Click here for a list of equipment needed for this recipe
- Bundt/tube pan
- large mixing bowl
- medium mixing bowl
- small mixing bowl
- hand mixer
- can opener
- colander
- spatula
- mixing spoons
- measuring cups
- measuring spoons
- toothpicks
- long, serrated bread knife
- cake saver (optional, but handy)
Getting Started
Before you begin:
- Lightly grease and flour a Bundt/tube pan.
- Preheat oven to 350 degrees.
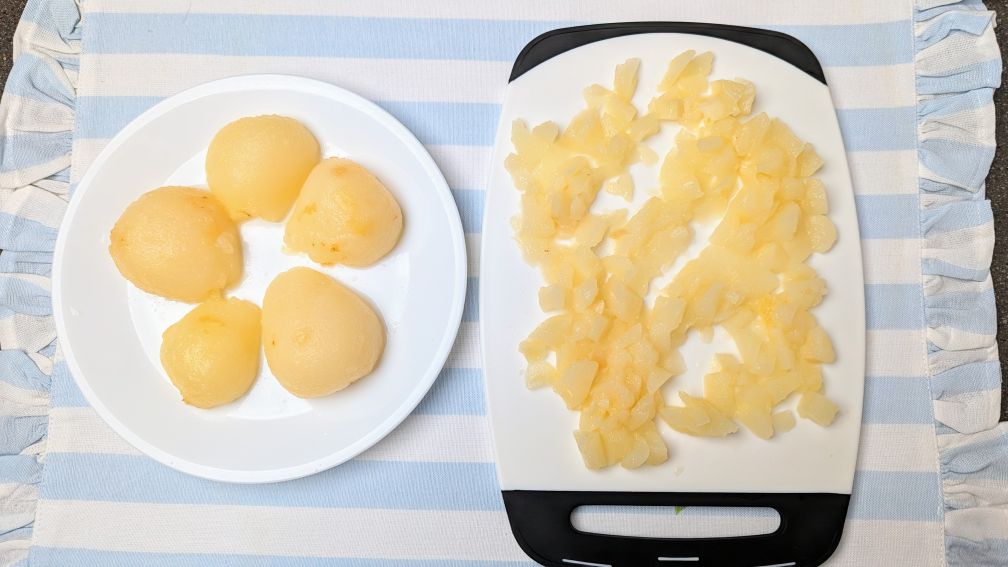
==>Start making the strawberry cake by prepping the pears. Drain pear halves, reserving 1/3 cup of syrup. Set aside 5 halves for garnish. Dice the remaining pears and set aside.
In a large mixing bowl, combine cake mix, gelatin, reserved pear syrup and oil.
Using a hand mixer, beat on low speed until just blended.
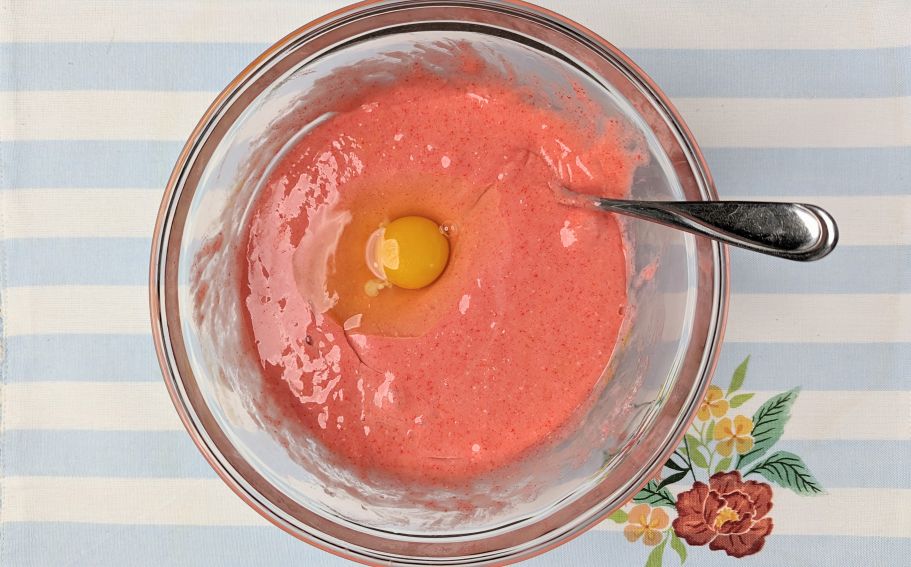
Add eggs one at a time, blending on low speed after each addition.
Once all eggs have been added, blend on medium speed for 2 additional minutes.
Pour the mixture into your prepared Bundt/tube pan.
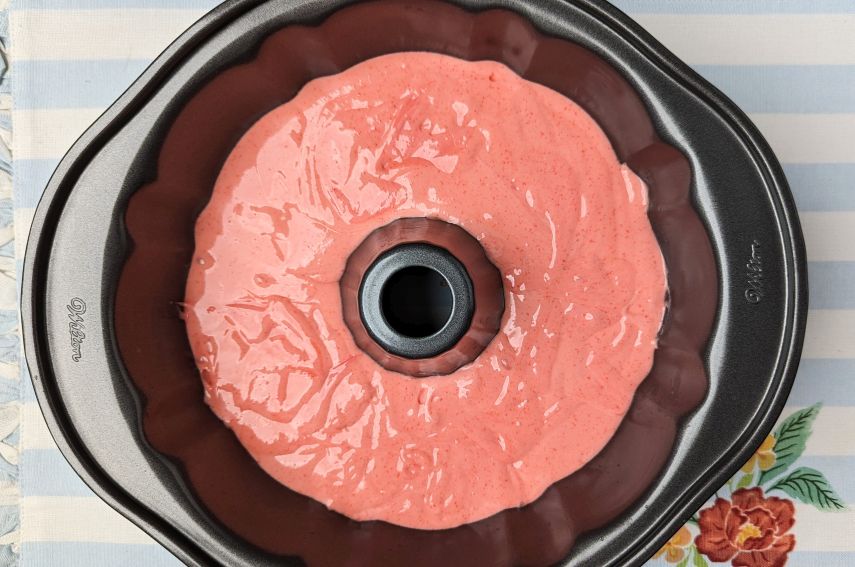
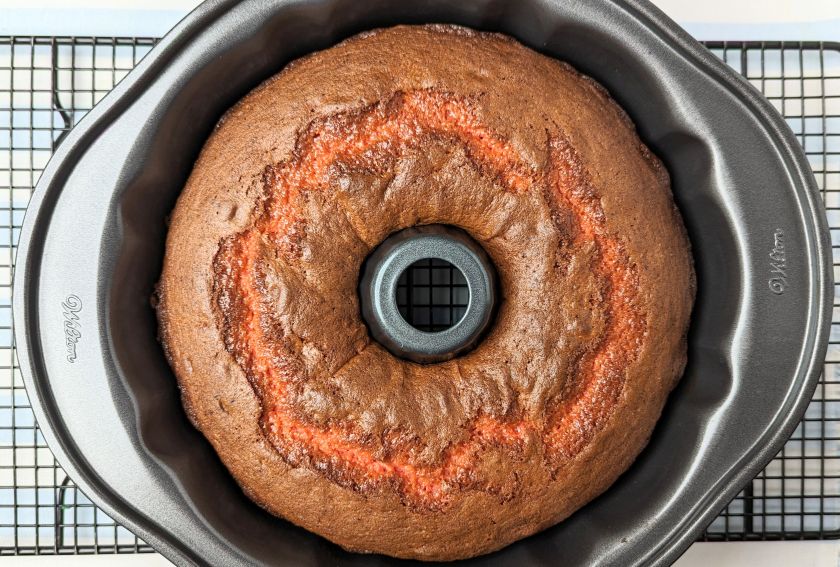
Kitchen Ready Betty tip: The mixture will be thick–almost like a taffy. Use a spatula to scrape the sides of the bowl to make sure you get all the cake batter into the pan!
Bake at 350 degrees for 45-50 minutes. Let the cake stand 5 minutes before inverting.
Once inverted, allow the cake to cool completely (at least 1 hour) before slicing it into 3 layers.
Cake Layer Slicing
Click here to read the steps on how to slice the baked and cooled strawberry cake into three layers.
- Get out 8 toothpicks. Insert 4 toothpicks in from the side 1/3 of the way up from the bottom at the 12 o’clock, 3 o’clock, 6 o’clock and 9 o’clock positions. You’ll want all the toothpicks sticking in about halfway.
- Insert the next 4 toothpicks in the same positions (12, 3, 6, 9) approximately 1/3 of the way down from the top.
- Now you should have 2 toothpicks in the 12, 3, 6 and 9 positions sticking out from the side with roughly an inch in between them vertically.
- The toothpicks will be your guide for slicing the cake into 3 layers. Gently rest the tip of your long, serrated bread knife on one of the toothpicks that is positioned 1/3 of the way down from the top.
- Push the knife in above the toothpick and start slicing very slowly across. Repeat this process with all the toothpicks for the top layer, checking periodically with your hands to see if you can lift it. Once the top layer is removed, repeat the same steps with the second layer.
Watch the video “How to Slice a Cake into 3 Layers” from the Kitchen Ready Betty YouTube channel!
Once finished, you will have 3 layers. Don’t worry if they’re not completely even–the whipped cream can hide many slicing imperfections!
==>Make the homemade whipped cream. Pour the heavy cream in a medium mixing bowl. Using a hand mixer on its highest setting, whip the cream until it thickens.
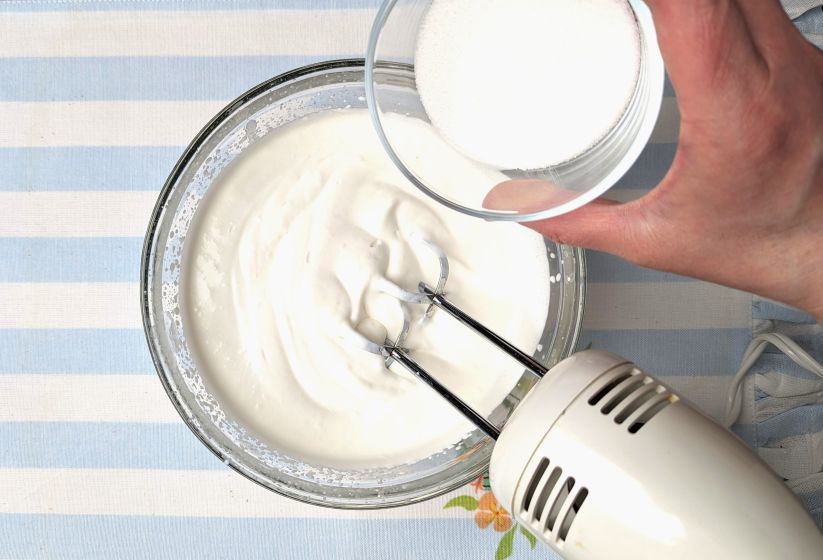
Next, add 2-4 T. of white sugar (choose your sweetness). Use the mixer again on its highest setting until the whip thickens.
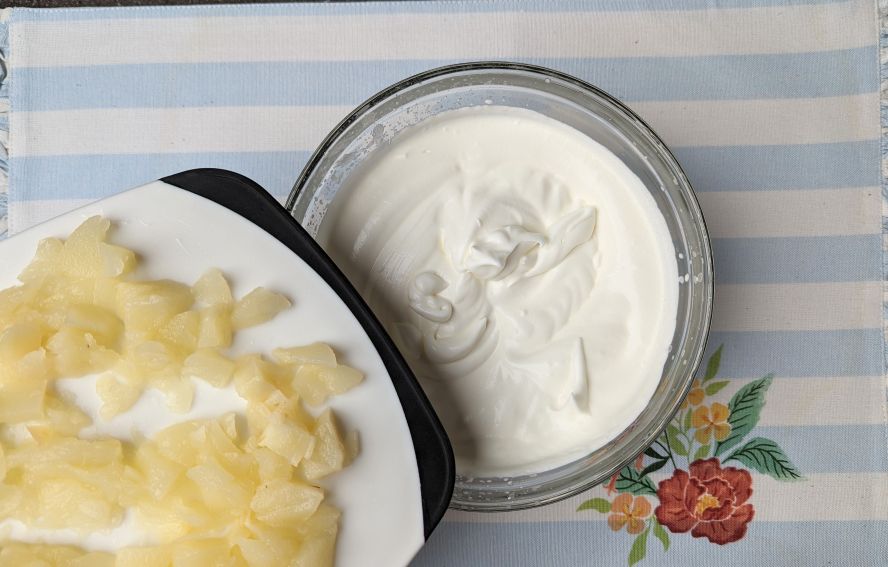
Remove 1/3 of the whipped cream for the topping. Fold the diced pears into the remaining whipped cream in your medium mixing bowl.
Strawberry Layer Cake Assembly
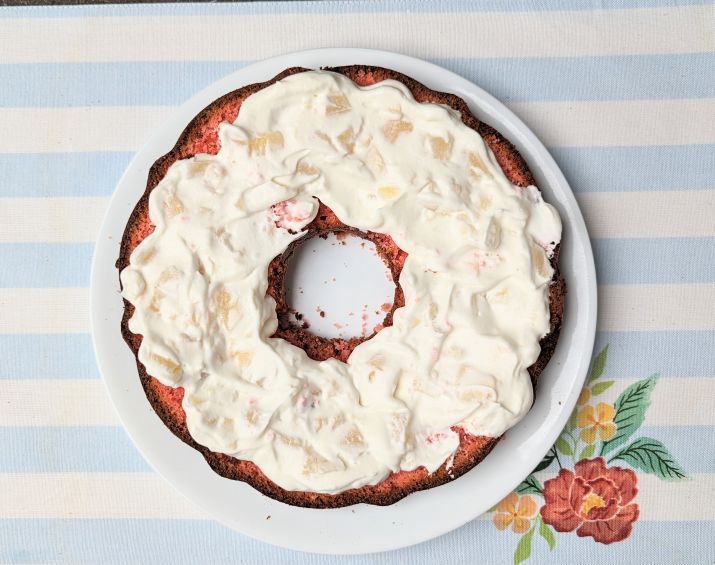

Place the bottom cake layer on a plate. Spread half of the diced pear/whipped cream mixture on top. Then repeat this step for the middle layer.
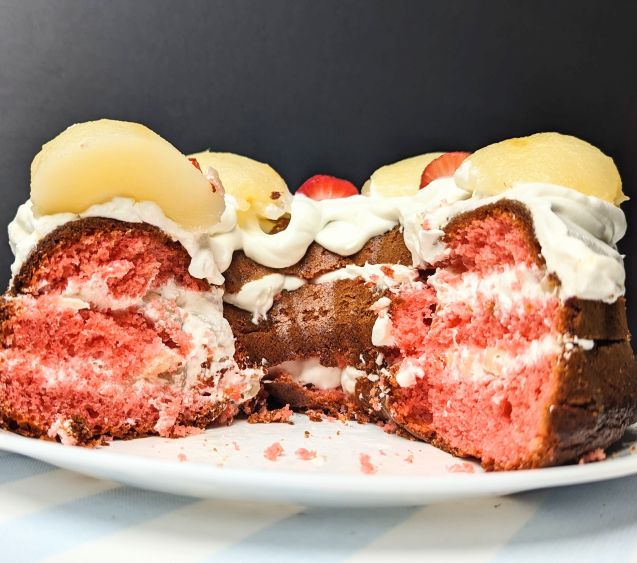
Place the top layer on the cake. Spread the reserved whipped cream on top. Then decorate with the reserved pear halves and sliced strawberries!
Storing Strawberry Pear Spring Torte
Store in an airtight container. Refrigerate and enjoy within 3 days.
Kitchen Ready Betty tip: This is a very tall cake and it is stored best in a cake saver!
Strawberry Pear Spring Torte Variations
Click here
- Because the batter is thick, I encourage you to bake this in one pan. However, you could attempt just slicing the cake in the middle (for two equal cake parts instead of three) following the toothpick method described above. If you choose this option, reduce the whipping cream to 1 cup and reduce the sugar accordingly.
- If you’re not super into pears, use 1 (15 oz.) can of diced pears instead. Still use the same amount of reserved syrup in the cake batter. Fold all the diced pears into the filling. Then decorate the top with all strawberry halves. This will also be absolutely delicious and will look just as stunning!
- You could also add shredded coconut to the cake. Fold 1/2 c. of it into the filling. Then tint an additional 1/4 c. with a drop or two of red food coloring. Dip the pear halves in the tinted coconut before arranging them on the top of the cake.
Strawberry Pear Spring Torte
Description
Strawberry Pear Spring Torte is a stunningly beautiful three layer cake that looks like it came from a bakery. But, thanks to a ton of shortcuts, it's fairly simple to make! The included video in this post walks you through how to slice the cake into three layers, so that you can create your very own bakery-style strawberry layer cake too!
The baking shortcuts are the key to success in making this delicious cake. Strawberry gelatin adds sweetness and a vibrant pink color to a box of white cake mix. Easy to make homemade whipped cream (though you can use a large can of whipped cream to save time) and diced canned pears are smothered in between each layer, adding a touch of flavor and just the right amount of sweetness.
Strawberry Pear Spring Torte
For the strawberry cake:
For the homemade whipped cream:
For the topping:
How to Make Strawberry Pear Spring Torte:
Before you begin:
-
Preheat oven to 350 degrees.
-
Grease and flour bundt/tube pan.
-
Drain pears, reserving 1/3 c. of syrup. Set aside 5 halves for garnish. Dice the remaining and set aside.
Make the strawberry cake:
-
In a large mixing bowl, combine the cake mix, gelatin, reserved pear syrup and oil. Using a hand mixer, beat on low speed until just blended.
-
Add eggs one at a time, blending on low speed after each addition.
-
Blend an additional 2 minutes on medium speed.
-
Pour the mixture into prepared bundt/tube pan.
-
Bake at 350 degrees for 45-50 minutes. Let cake stand 5 minutes before inverting.
-
Allow cake to cool completely (minimum 1 hour) before slicing into 3 layers.
For slicing instructions, please reference the above post or the Kitchen Ready Betty YouTube video.
Make the homemade whipped cream:
-
Pour heavy cream into a medium mixing bowl. Use a hand mixer on its highest setting to whip cream until it thickens.
-
Add 2-4 T. sugar to the bowl. Use the mixer again on its highest setting until whip thickens.
-
Remove 1/3 c. of whip from bowl and set aside. Fold diced pears into remaining whipped cream.
Strawberry Pear Spring Torte cake assembly:
-
Place the bottom cake layer face up on a plate. Spread half of the whipped cream with diced pears on this layer. Then place the middle layer on top and repeat.
-
Place the top layer on the cake. Spread reserved whipped cream (without diced pears) over top of cake.
-
Arrange pear slices and sliced strawberries in a pattern on top.
Storage:
-
Keep cake refrigerated until ready to serve. Store any leftovers in an airtight container and refrigerate for up to 3 days.
Because the cake is tall, it is helpful to store it in a cakesaver.
Note
You can swap out the homemade whipped cream for a large can from the grocery store.
Instead of decorating the top of the cake with pears and strawberries, you may choose to just use strawberries. You will only need one (15 oz.) can of diced pears for the cake then.
Instead of strawberry gelatin, try using lime instead!
