
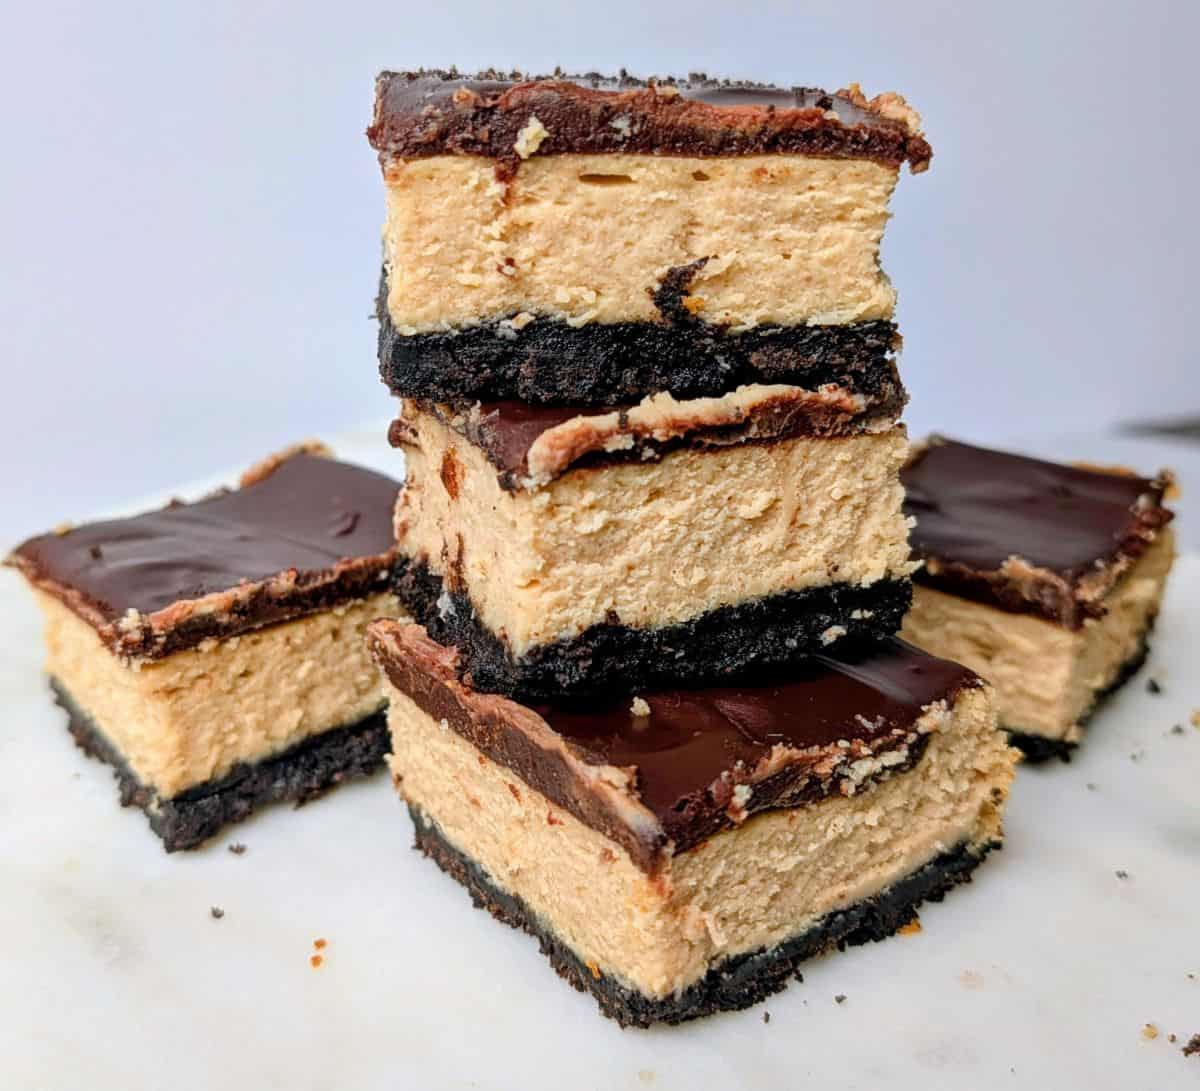
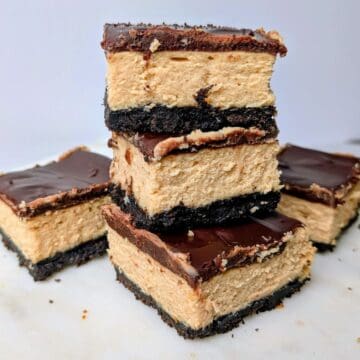
Get ready for pure decadence because these homemade peanut butter cheesecake bars bring bakery-style quality right to your kitchen. With an Oreo crust and silky ganache, these chocolate peanut butter cheesecake bars skip the fussy water bath completely. Baked in a 13x9 pan, they're the perfect special treat for feeding a crowd of chocolate and peanut butter lovers!
Jump to:
- 😍Why You'll Love These No-Fuss Peanut Butter Cheesecake Bars
- 🍫Three Decadent Layers (Including A Silky Chocolate Ganache!)
- 🤎The Perfect Dessert For A Crowd
- 🥘Ingredients Needed
- 🔪How To Make Peanut Butter Cheesecake Bars
- 🌿Healthy Ingredient Substitutions
- 📖Easy Recipe Variations
- 🍽Essential Equipment Needed
- 🍶Storing Your Peanut Butter Cheesecake Bars
- ✅Betty's Top Tip: How To Slice Your Cheesecake Bars Like A Pro
- ❓Peanut Butter Cheesecake FAQ
- 🥄More Chocolate Peanut Butter Desserts
- 🍴Pairing Suggestions
- 📋Recipe With Step-By-Step Instructions
- 💬 Comments
😍Why You'll Love These No-Fuss Peanut Butter Cheesecake Bars
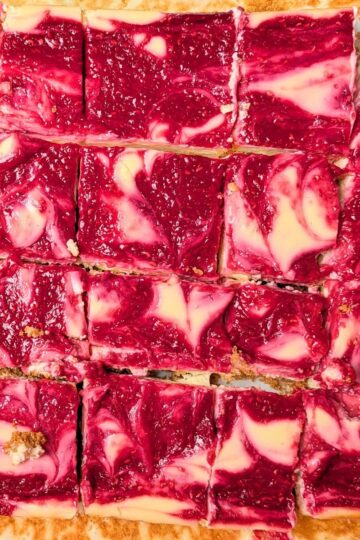
These peanut butter cheesecake bars deliver all the rich, creamy flavor of a traditional cheesecake without any of the usual hassle. By baking them in a standard 13x9 pan, you can completely skip the finicky water bath while still achieving a perfectly smooth texture. Just like our Raspberry Lemon Cheesecake Bars, it's the ultimate foolproof dessert that guarantees bakery-quality results for both beginner and experienced bakers alike.
🍫Three Decadent Layers (Including A Silky Chocolate Ganache!)
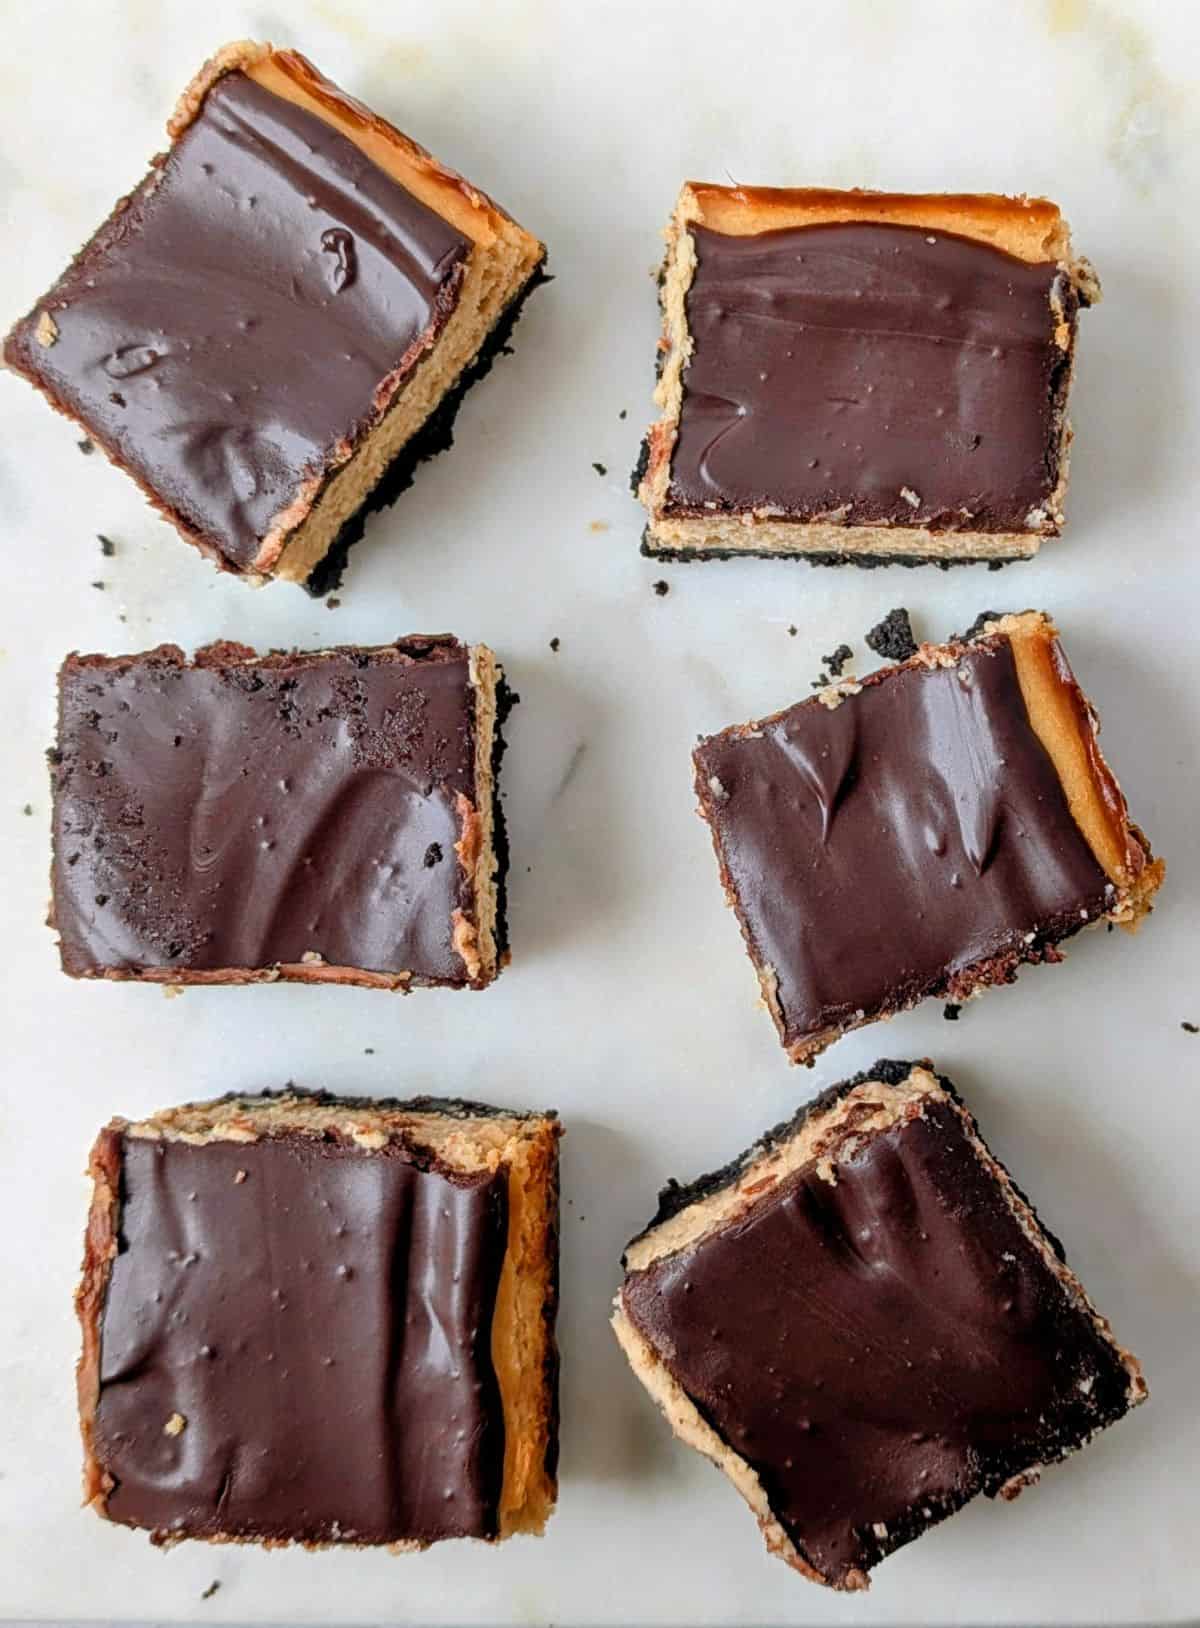
Every bite offers the perfect balance of textures, starting with a chocolate buttery crust made with whole crushed Oreos. The middle layer features a dense, tangy cheesecake filling packed with rich, creamy peanut butter for an irresistible savory-sweet contrast. Topping it all off is a luxurious, two-ingredient semi-sweet chocolate ganache that adds a flawless, glossy finish (very similar to the ganache found on top of our popular Chocolate Raspberry Cheesecake).
🤎The Perfect Dessert For A Crowd
Baking these rich peanut butter cheesecake bars in a rectangular pan makes them incredibly easy to slice and serve to a large group. You can easily cut them into neat, uniform squares (tips provided below), yielding plenty of portions for potlucks, holiday parties, or family gatherings. Because they're so decadent and rich, even smaller pieces are guaranteed to have your guests asking for the recipe! (If they love Reese's Cups or our Peanut Butter Footballs, they will be instantly hooked!)
🥘Ingredients Needed
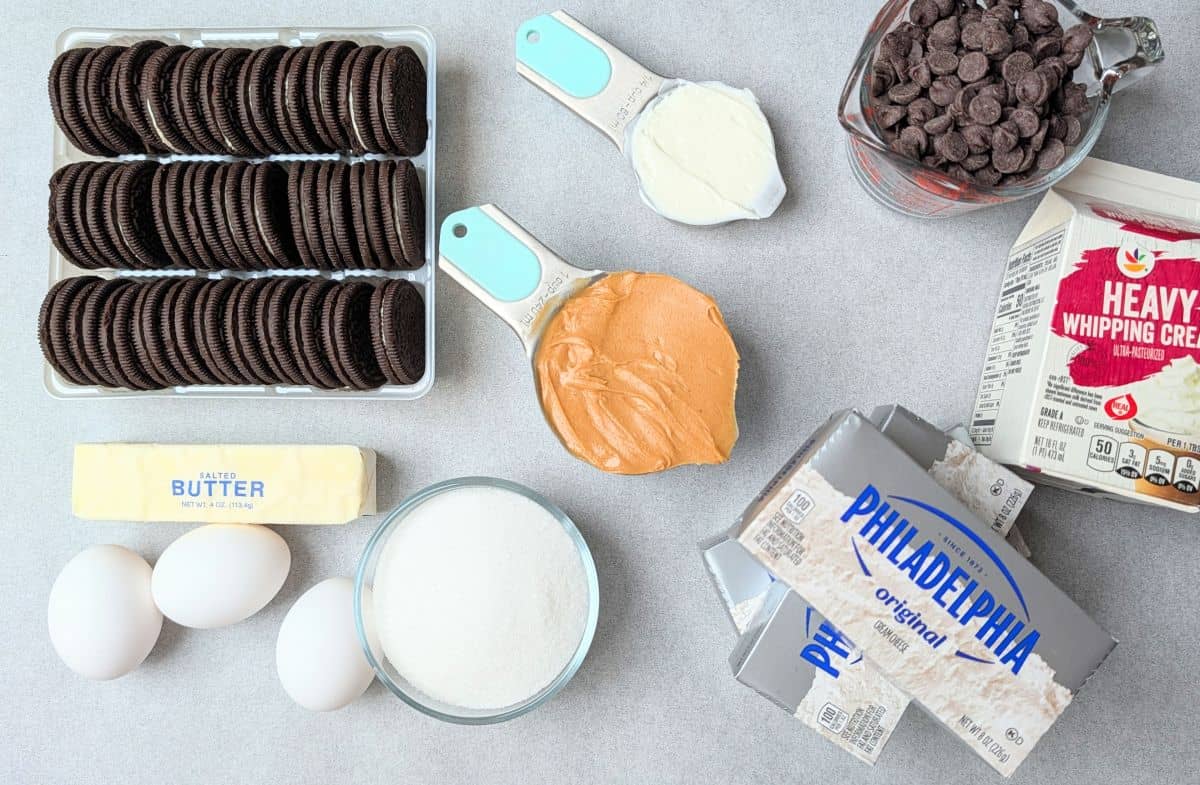
- regular Oreos - we will be using the WHOLE cookie, which includes the cream, just like when we make Oreo Lasagna
- butter - binds the crushed cookies together to create a perfectly crisp and sturdy base
- full fat cream cheese - essential for achieving that rich, dense, and ultra-creamy texture you want in a classic baked dessert
- white granulated sugar - balances the tangy and savory flavors in the cheesecake filling
- plain Greek yogurt or sour cream - brings a subtle tanginess and an ultra-creamy texture that gives the bars that classic cheesecake feel
- creamy peanut butter - traditional, no-stir creamy peanut butter blends smoothly into the batter to deliver a rich flavor without separating or turning greasy
- pure vanilla extract - high-quality vanilla enhances the peanut butter and chocolate flavors while adding a warm, bakery-style aroma
- room temperature eggs - using room temperature eggs ensures they incorporate seamlessly into the batter, which helps prevent overmixing and keeps the cheesecake velvety smooth
- semi-sweet chocolate chips & heavy whipping cream - these two ingredients create a rich, silky chocolate ganache topping that pairs beautifully with the peanut butter
See recipe card for quantities.
🔪How To Make Peanut Butter Cheesecake Bars
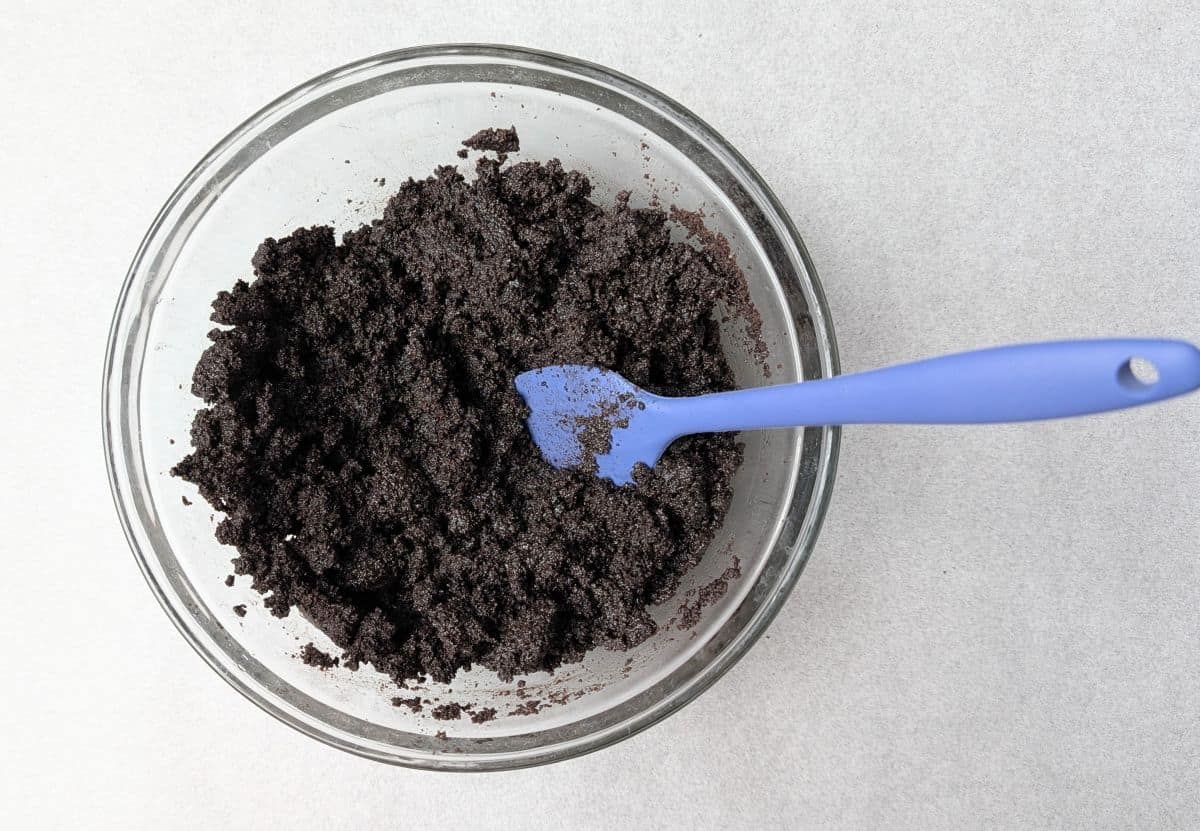
Step 1: Use a food processor to crush Oreos into crumbs; mix with melted butter. Press into the bottom of baking pan. Bake crust while you work on the next steps.
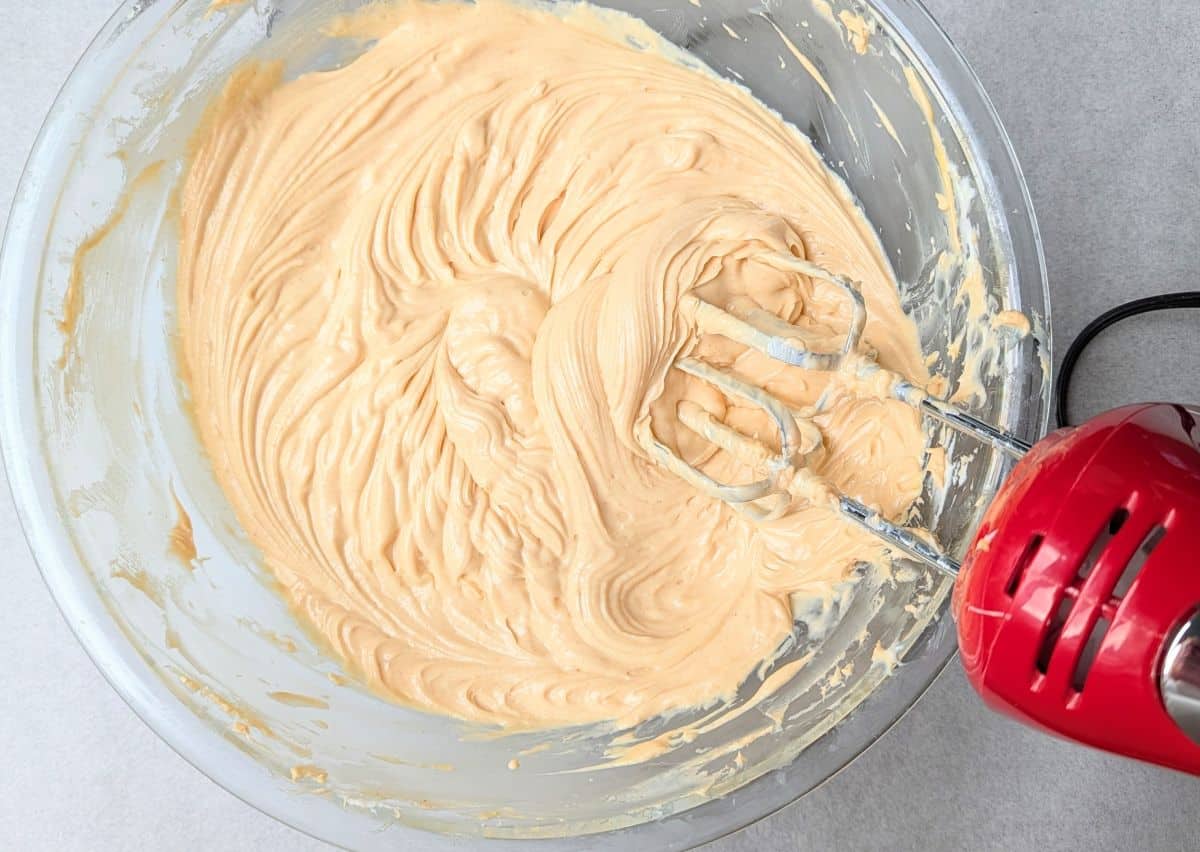
Step 2: Mix softened cream cheese, sugar, yogurt, peanut butter and vanilla until well blended. Add room temp eggs, one at a time; mix until just combined.
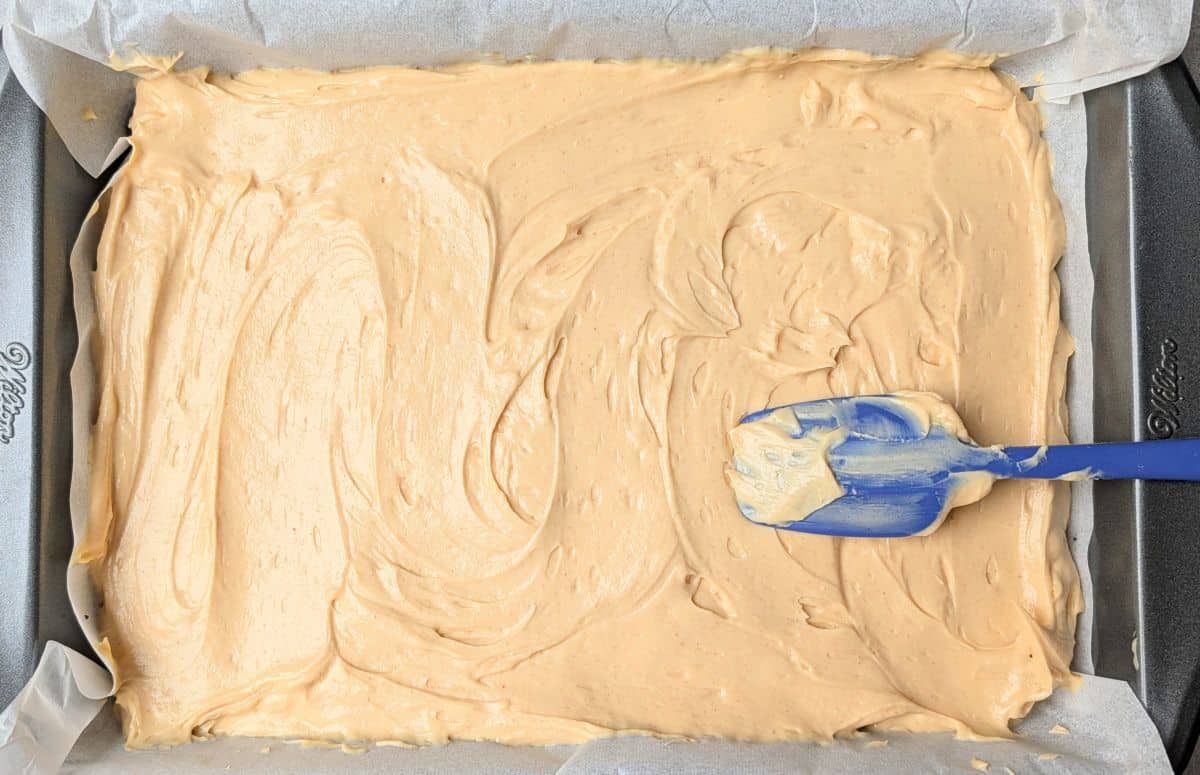
Step 3: Smooth peanut butter cheesecake mixture on top of partially cooled crust. Return pan to oven and bake until set. Allow pan to cool before placing it in the fridge to set.
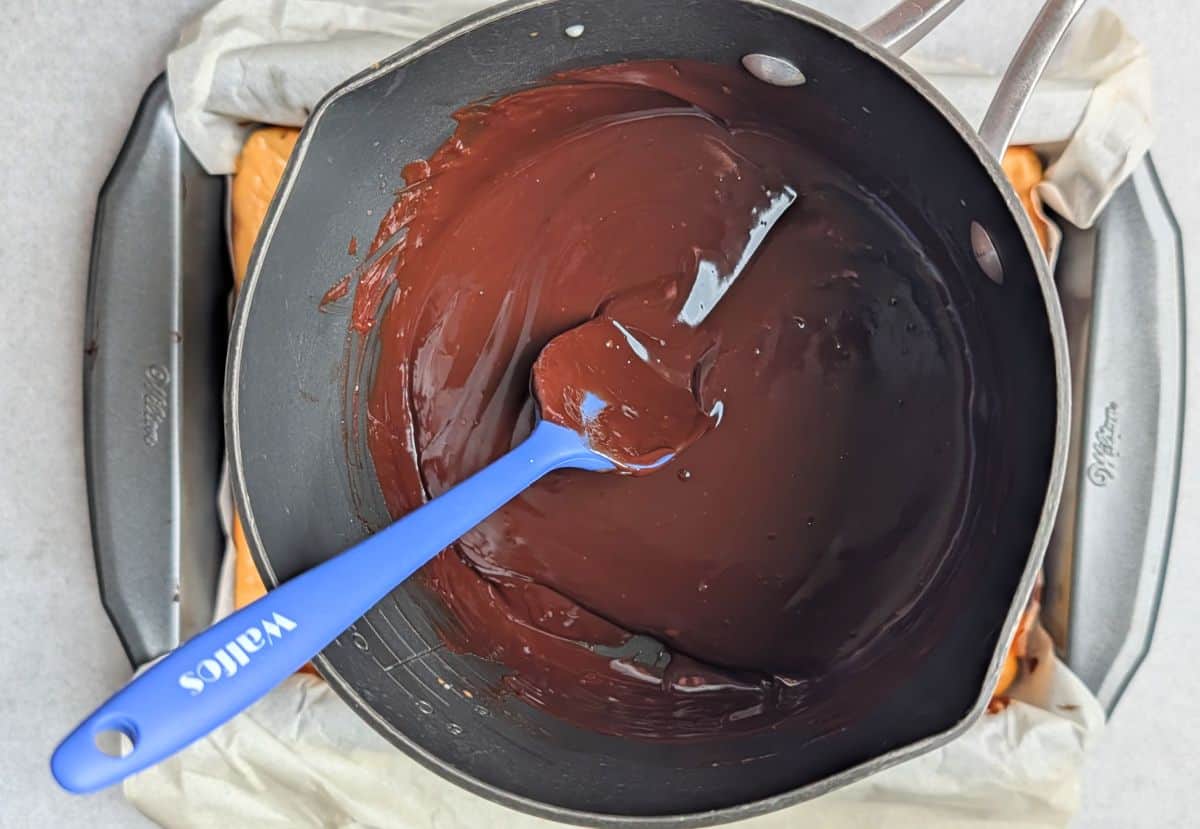
Step 4: Once cheesecake is fully chilled and set, make the ganache. Stir chocolate chips and heavy cream over low heat until a thick, smooth glaze is formed. Then pour this over the cheesecake. Return pan to the refrigerator for ganache to set.
For step-by-step instructions, see the printable recipe card below.
Hint: Be careful not to overbeat the eggs once you add them to the batter! Overbeating whips too much air into the mixture, which will cause your cheesecake bars to puff up rapidly in the oven and then sink and crack as they cool. For the perfect dense, velvety texture, mix the room temperature eggs in on medium speed until just blended (this is especially important for the last egg added).
🌿Healthy Ingredient Substitutions
- Reduced-Fat Cream Cheese: You can easily swap the full-fat cream cheese for Neufchâtel (which has a third less fat) to lighten things up. The cheesecake will not be as creamy, rich or dense with this option.
- Monk Fruit Sweetener: If you're watching your sugar intake, a 1-to-1 sugar substitute like monk fruit works perfectly in the cheesecake filling to keep things sweet but low-glycemic.
- Dark Chocolate: Swap out the semi-sweet chips in the ganache for a high-quality dark chocolate (70% cacao or higher) to cut down on refined sugar and add a nice antioxidant boost!
📖Easy Recipe Variations
- Peanut Butter Cup Explosion: If you're looking to take these chocolate peanut butter cheesecake bars to the next level, fold a cup of chopped peanut butter cups right into the batter before baking, or sprinkle them over the warm ganache!
- Salty-Sweet Pretzel Crust: Swap out the Oreo base for a buttery pretzel crust. The salty crunch pairs so perfectly with the sweet chocolate peanut butter cheesecake filling for an absolutely irresistible treat.
- White Chocolate Topping: Switch up the top layer of your peanut butter cheesecake bars by using white chocolate chips for the ganache instead of semi-sweet. It's a super easy swap that looks gorgeous and tastes amazing!
See Chocolate Peanut Butter Pie for an easy, frozen no bake treat!
🍽Essential Equipment Needed
- food processor
- microwavable bowl
- sturdy 13x9 baking pan, lined with parchment paper
- large mixing bowl
- hand mixer
- nonstick saucepan
🍶Storing Your Peanut Butter Cheesecake Bars
- In the Fridge: Keep these cheesecake bars chilled! Store them in an airtight container in the refrigerator for up to 4-5 days. For the best texture and to keep the chocolate ganache perfectly firm, serve them straight from the fridge.
- In the Freezer: These bars freeze beautifully, making them a great make-ahead dessert! To freeze, slice the bars into individual squares, wrap each one tightly in plastic wrap, and place them in a freezer-safe zip-top bag or airtight container. They will keep in the freezer for up to 3 months. When you're ready for a treat, simply thaw them overnight in the refrigerator before serving.
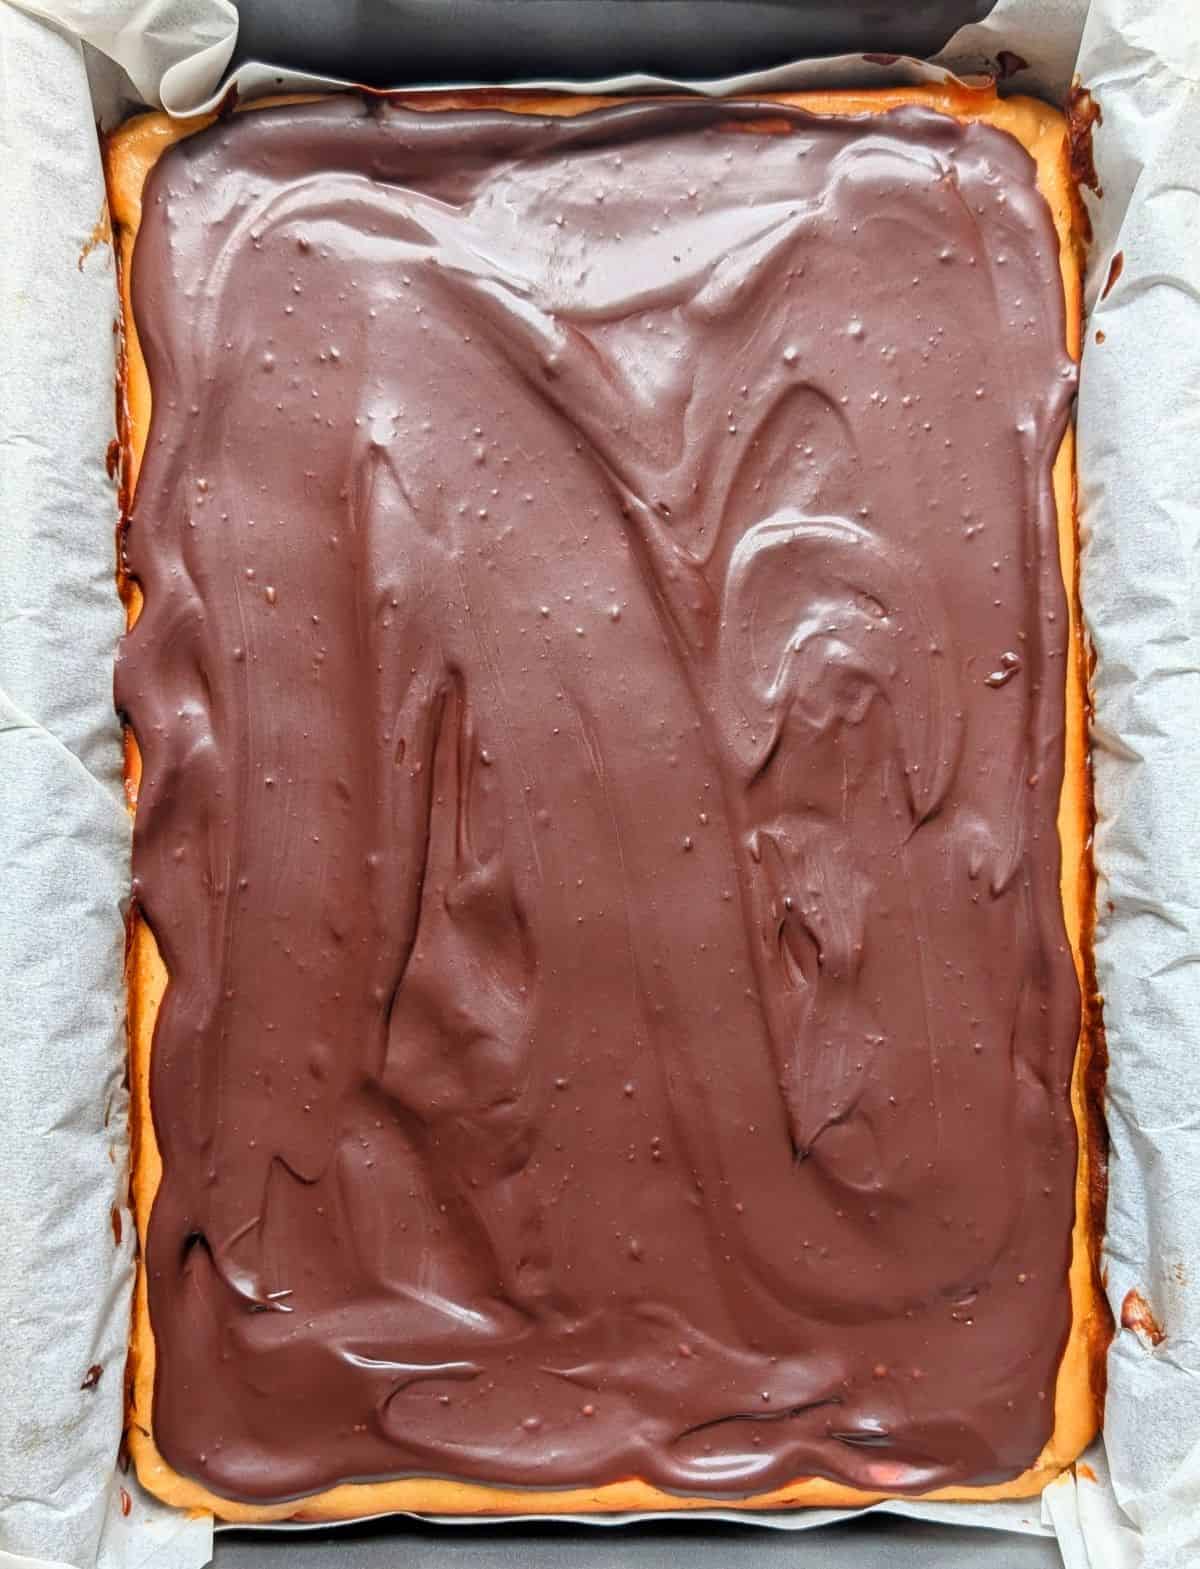
✅Betty's Top Tip: How To Slice Your Cheesecake Bars Like A Pro
For bakery-worthy, picture-perfect squares, the secret is all in the temperature of your knife!
First, make sure your cheesecake bars are completely chilled and set (straight from the fridge is best). Lift the entire block out of the pan using the parchment paper overhang and place it on a sturdy cutting board.
Grab a large, sharp chef's knife and run the blade under hot water for a few seconds to heat the metal, then wipe it completely dry with a clean kitchen towel. The hot blade will glide effortlessly through the firm chocolate ganache and dense peanut butter cheesecake without cracking the top layer.
The most important rule: Wipe the blade completely clean and re-warm it under hot water between every single cut. It takes a little extra patience, but it prevents you from dragging crumbs and filling across the top, guaranteeing perfectly clean, professional edges!
❓Peanut Butter Cheesecake FAQ
Yes, absolutely! Because cheesecake contains dairy and eggs, it must be stored in the refrigerator. Keeping the bars chilled not only ensures they are safe to eat, but it also helps the dense cheesecake filling and the chocolate ganache topping maintain their firm, sliceable texture.
For this recipe, it's highly recommended to stick with standard, no-stir creamy peanut butter (like Jif or Skippy). Natural peanut butters tend to separate and have a lot of oil sitting at the top, which can make your cheesecake batter greasy or cause it to separate while baking, ruining that perfectly smooth and creamy texture.
You want to look for edges that are completely set and slightly puffed, while the very center of the pan still has a slight "jiggle" to it when gently shaken. (It's OK if there's a few cracks.) Don't worry-the center will continue to cook and firm up completely as the bars cool down in the pan!
Definitely! If you prefer a more traditional cheesecake base, you can easily swap the crushed whole Oreos for the same amount of crushed graham crackers. The baking time for the crust will remain exactly the same.
🥄More Chocolate Peanut Butter Desserts
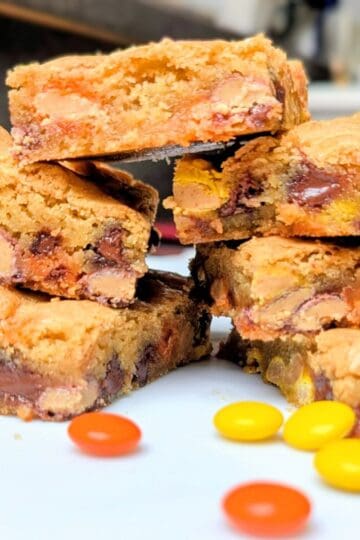
Looking for other recipes like this? Try these:



🍴Pairing Suggestions
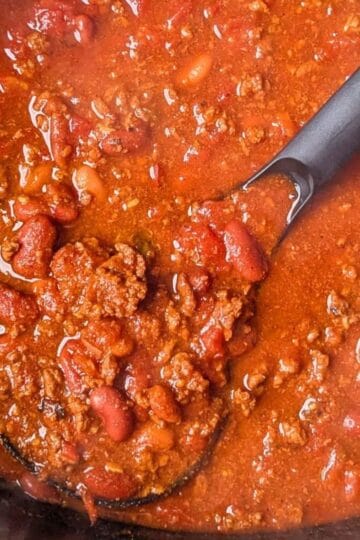
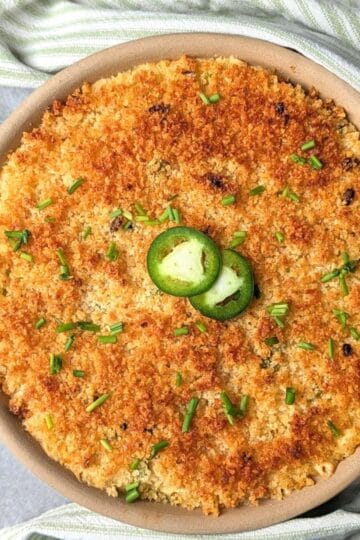
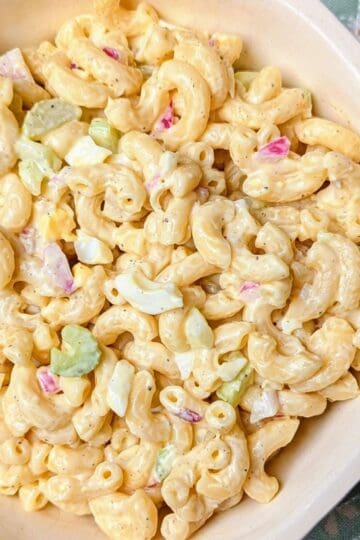
These are my favorite dishes to serve with Peanut Butter Cheesecake Bars at potlucks, holiday parties, and on game day:

📋Recipe With Step-By-Step Instructions
Chocolate Peanut Butter Cheesecake Bars
Equipment
- medium mixing bowl
- 13x9 nonstick sturdy metal baking pan (lined with parchment paper for easy removal)
- wire rack
- large mixing bowl
- medium nonstick saucepan
As an Amazon Associate, I earn from qualifying purchases. I only recommend products I truly love and use in my own kitchen!
Ingredients
- 1 (13.29 oz) pkg. regular Oreos (not Double Stuffed); we will be using all cookies in the package, which is typically 33
- 1 stick (½ c) butter melted
- 3 (8 oz) bars full fat cream cheese softened to room temperature before using
- 1 cup white granulated sugar
- ¼ cup plain low fat Greek yogurt OR sour cream; at room temperature
- 1 cup creamy peanut butter (not crunchy or natural)
- 1 & ½ teaspoons pure vanilla extract
- 3 large eggs bring to room temperature before using
- 1 & ⅓ cup semi-sweet chocolate chips
- ¾ cup heavy whipping cream
Instructions
- Preheat oven to 350℉.
- Add all Oreos (with cream filling) to large food processor. Pulse until cookies are fine crumbs.
- Transfer cookie crumbs and melted butter to medium mixing bowl. Use a scraping spatula or spoon to mix until well blended. Firmly press this mixture into the bottom of parchment-lined baking pan. Use the bottom side of a sturdy measuring cup to pack down and smooth the crumb mixture. Bake for 10 minutes. Then allow to slightly cool on wire rack. Keep the oven on.
- To a large mixing bowl, add the softened cream cheese, sugar, yogurt, peanut butter, and vanilla extract. Use a hand mixer or stand mixer with a scraping attachment to blend the ingredients on medium speed until smooth and fully combined.
- Add the eggs, one at a time. Beat on medium speed until JUST combined (this is especially important for the last egg added).
- Pour the cheesecake mixture over the slightly cooled crust. Smooth mixture over crust with spatula. Bake for 33-38 minutes, or until edges are puffed up, slightly browned and center is set (it should jiggle slightly when pan is lightly shaken). It's okay if there are some cracks along the sides.
- Cool on wire rack for 1 hour, then refrigerate for at least 3 hours for cheesecake to properly set. You can also have the cheesecake refrigerate overnight. If choosing this option, loosely cover it with foil.
- Once the cheesecake has fully set, make the ganache. To a medium nonstick saucepan, add the chocolate chips and heavy cream. Stir constantly over low heat until chocolate is melted and mixture has slightly thickened (about 5 minutes). Allow mixture to slightly cool, then gently spread it over chilled cheesecake.
- Return the cheesecake to the refrigerator for about 1 hour (or 30 minutes in the freezer) for ganache to firm up and become solid. Allow additional setting time if needed before slicing into squares.
Notes
Nutrition
Please note that nutritional information is provided by a third party service and is intended for guidance purposes only. KitchenReadyBetty.com makes no claims to its accuracy.
David @ Spiced says
Woah! Why are these cheesecake bars not in my fridge right now?! I need this dessert in my life - ASAP! These look so creamy and delicious, and of course peanut butter + chocolate go together like Scooby + Shaggy!
Kitchen Ready Betty says
Hi David! You are so right—peanut butter and chocolate are the ultimate combo, just like Scooby and Shaggy! I hope you get a chance to whip up these Peanut Butter Cheesecake Bars soon. The combination of the creamy peanut butter filling, Oreo crust, and rich chocolate ganache makes it a dessert you definitely need in your fridge. Let me know how they turn out if you give them a try!
Barbara says
These sound devilisly delicious. The ingredients go so well together. My mouth is watering now.
Kitchen Ready Betty says
Hi Barbara! Thank you so much! I completely agree...the combination of the Oreo crust, creamy filling, and rich chocolate ganache makes these peanut butter cheesecake bars absolutely irresistible. They are definitely a favorite peanut butter dessert around here! I hope you get a chance to bake a batch soon. Let me know how they turn out!