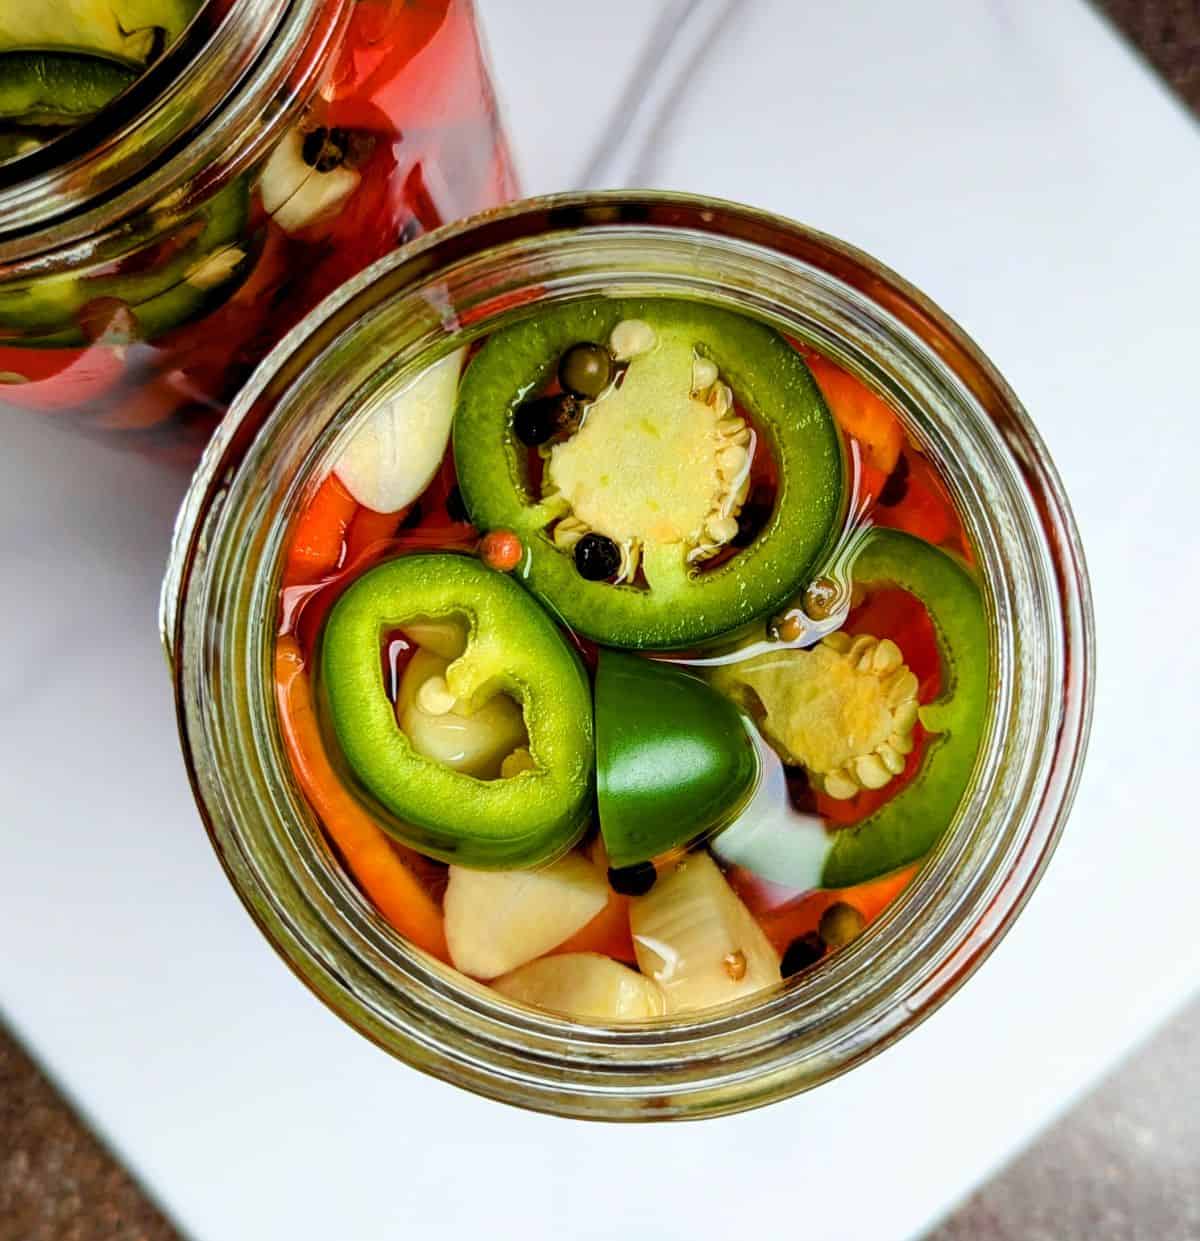
Marinated in a spicy, seasoned brine featuring garlic, peppercorns, and jalapeño, Pickled Red Bell Peppers make the perfect burger topper or savory snack. Pile the deliciously seasoned, colorful and crunchy pepper rings high on top of your favorite sandwich--or enjoy them straight out of the jar. They're just that darn good.
Summer sandwiches demand garden fresh flavor. What better way to get a tasty burst of it than by making a jar of homemade, low calorie, spicy pickled red peppers?
This quick and easy refrigerated pickled peppers recipe is not only a great way to extend the life of your peppers, it also provides a very savory and flavorful way to enjoy them.
You really can use any colored bell pepper, but red is my preferred choice. It's the sweetest of the bell varieties, and counteracts the flavorful, spicy brine in this simple recipe quite nicely.
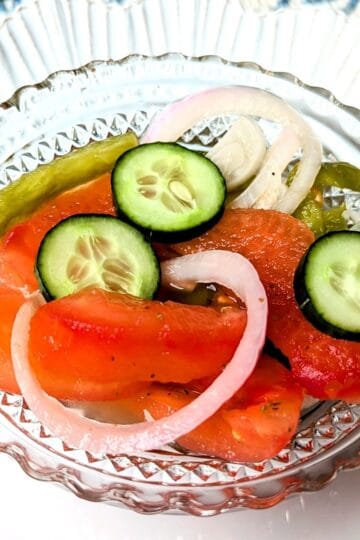
This recipe was inspired by my Fire and Ice Tomato Salad, and Pickled Red Beet Salad--two of my favorite pickled summer sides.
Jump to:
👪Why you'll love it
| Quick and easy recipe: Slice and dice the fresh ingredients. Boil the the brine and simmer for two minutes before pouring it into two mason jars. It's seriously that simple. Keeps well: This refrigerated pickled pepper recipe keeps well in the fridge for months! Elevates any sandwich, omelet, pizza, snack time, and more: You'll be saying, "Hello, flavor!" when you top your faves with these crunchy, savory peppers. Plus, they're low in calories--so you can totally indulge. |
🥘Ingredients
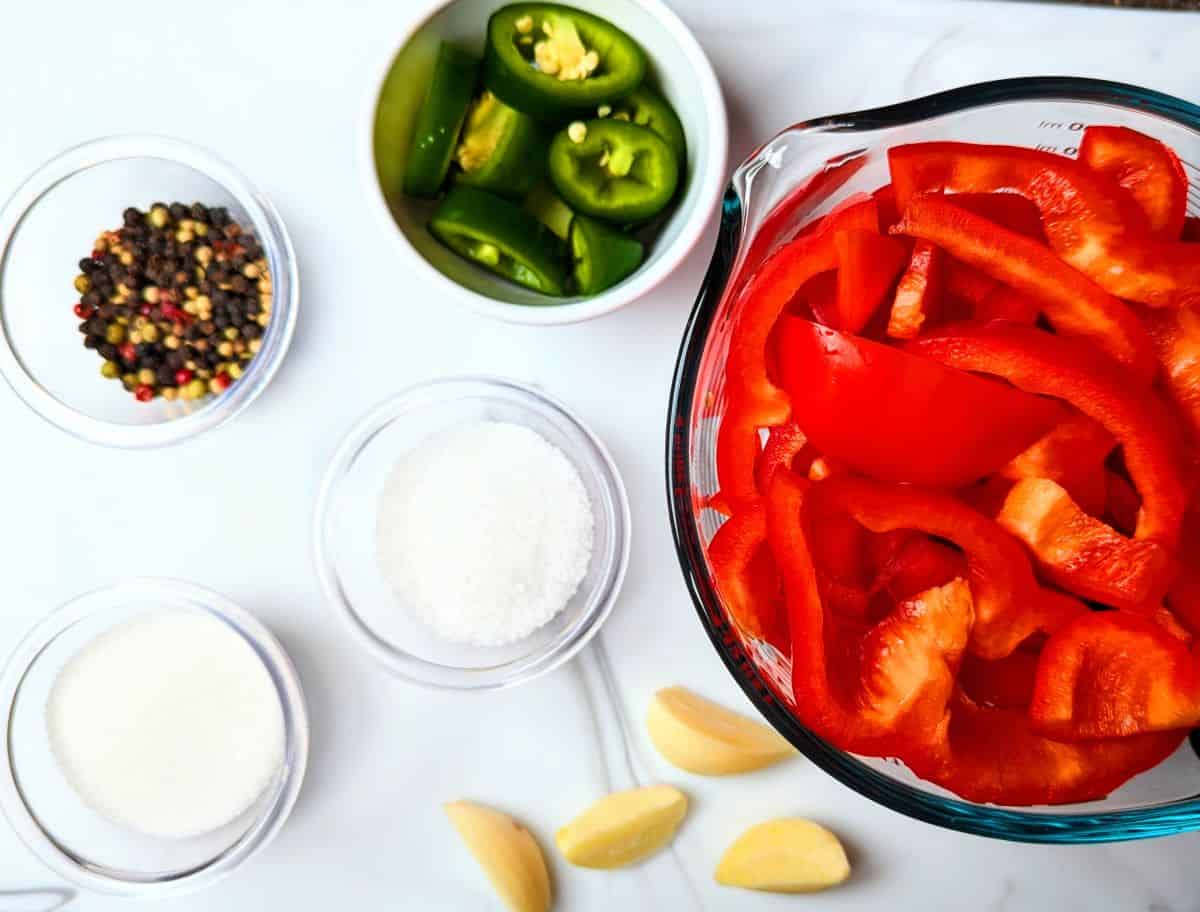
- red bell peppers- fresh is best; wash them well, then slice them into thin rings for a sandwich topper, or into strips for a snack
- jalapeño- I like to keep it spicy, so I keep the membranes and seeds in; for a less spicy version, remove them
- fresh garlic- slice or smash the cloves for a savory brine
- water
- distilled white vinegar- you can also use white wine vinegar
- sugar- a little extra sweetness to counteract the vinegar's acidity
- kosher salt or pickling salt- choose one of these for best results
- whole peppercorns- add extra flavor to the brine; I like using multicolored ones
See recipe card for quantities.
🔪Instructions
For a complete set of instructions, see the printable recipe card below.

- Step 1: Place sliced peppers and garlic in two wide-mouth mason jars.
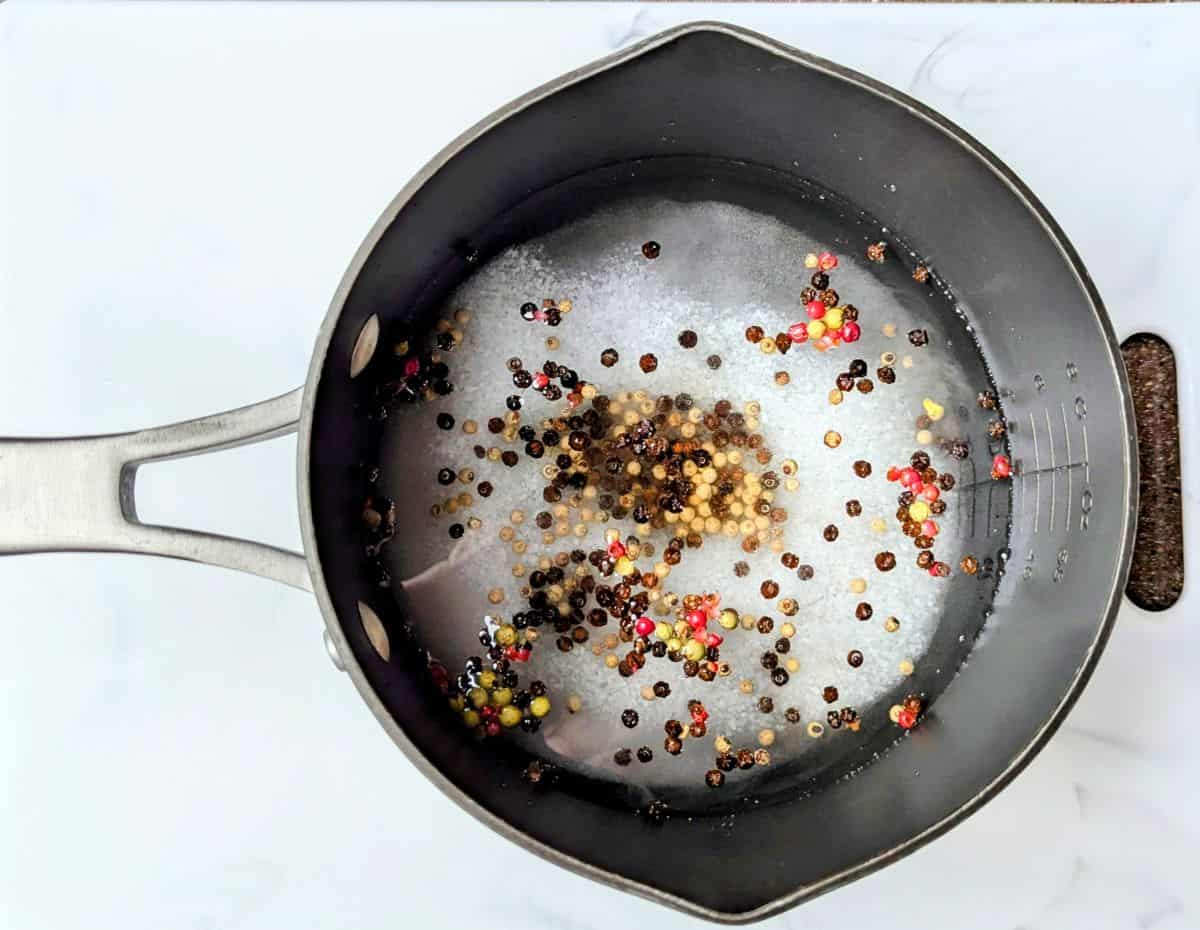
- Step 2: Heat the brine ingredients on the stove; bring to a rolling boil and then simmer.

- Step 3: Pour the brine into a large spouted measuring cup for easier pouring.
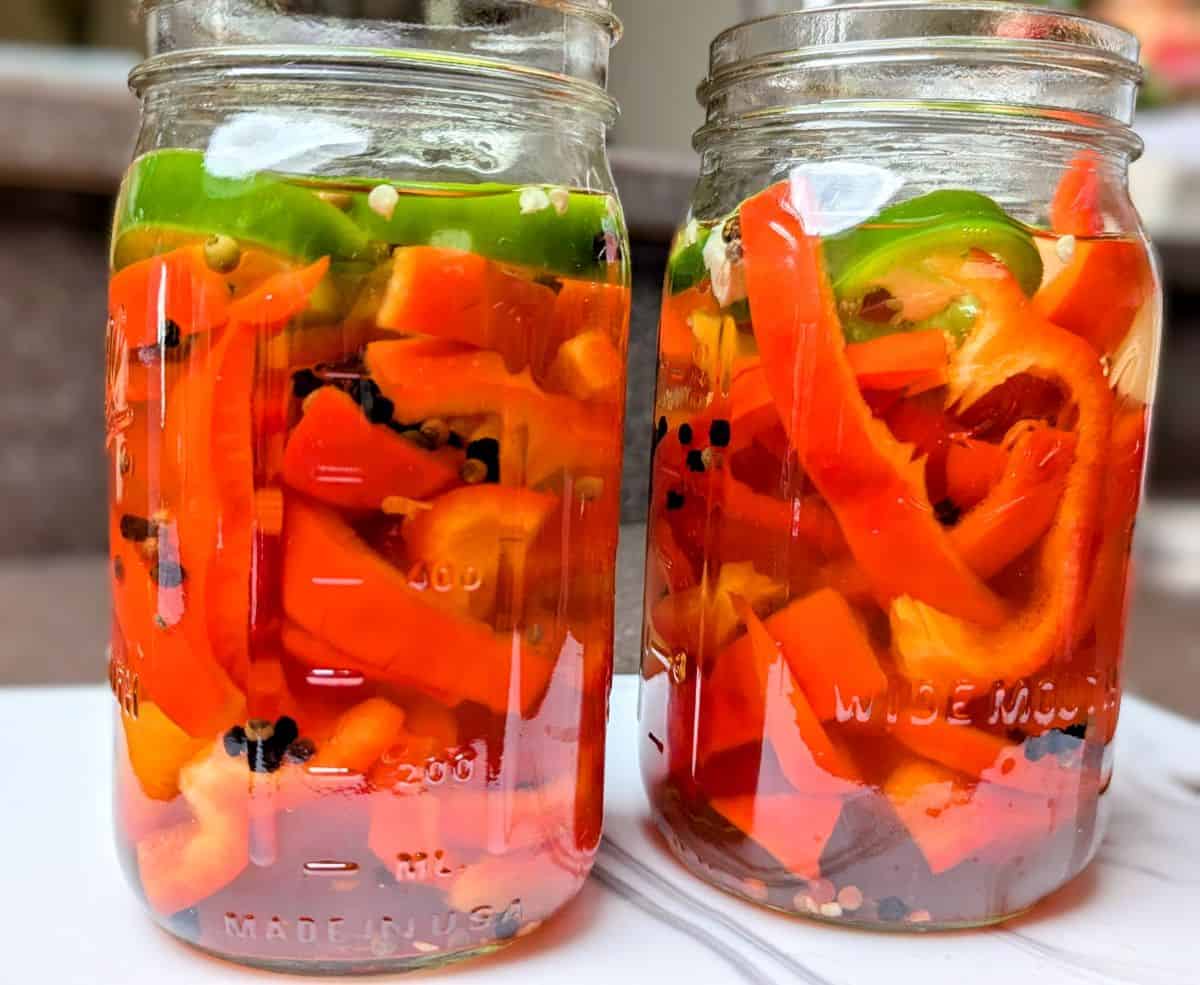
- Step 4: Pour the brine into the two jars; evenly distribute.
Hint: Allow the jars to cool on your counter for at least one hour before sealing and refrigerating them. This is best practice to prevent bacteria growth.
Make sure all the contents in the jar are covered by the brine for best results.
📖Variations
- Spicy - Turn up the heat by adding sliced chili peppers
- Mild - Omit the jalapeños and consider adding a bay leaf for added flavor
- Multicolored - Use 1 red, 1 yellow, and 1 orange bell pepper for a super colorful jar
See Mexican Stuffed Peppers for a delicious baked pepper entrée!
🍽Equipment
- chef's knife
- cutting board
- 2 (1 qt) wide mouthed mason jars with lids- sterilize jars and lids in boiling water for a ½ hour before using them, or run them through the dishwasher
- medium saucepan with lid- spouted pan is best for easier pouring
- 4 cup capacity spouted measuring cup- for easier pouring into jars
🍶Storage
Keep pickled pepper jars in the refrigerator for up to 2-3 months. Best enjoyed after a minimum of 24 hours; for maximum pickling flavor, enjoy after 1 week.
Please note that this is not a shelf stable recipe. It has not been tested for canning/shelf safety.
💭Top tip
When removing peppers from the jar, use a fork and do not touch the brine with your fingers. This keeps bacteria from your skin and nails out of the jar and keeps the pickled peppers fresh for longer. This also means that you can reuse the brine for more pickled peppers! (You can also use the brine in recipes.)
🗨️FAQ
Yes! They are low in calories, a good source of fiber and antioxidants, and are fairly low in sodium.
Usually they stay about the same, though sometimes the pickling process (mainly from the vinegar and salt) can dial back the spice a little.
Yes. Remove the top and bottom. These are thickest parts of a bell pepper and aren't very pleasing to eat.
🥄Related
Looking for other recipes like this? Try these:

🍴Pairing
These are my favorite summer side dishes to serve with Pickled Red Bell Peppers:


📋Recipe With Step-By-Step Instructions

Pickled Red Bell Peppers
Equipment
- cutting board
- 2 (1 qt) wide-mouth mason jars with lids (sterilize jars and lids in boiling water for a ½ hour before using them, or run them through the dishwasher)
- medium saucepan with lid (spouted pan is best for easier pouring)
- 4 cup capacity spouted measuring cup (optional; for easier pouring into jars)
As an Amazon Associate, I earn from qualifying purchases. I only recommend products I truly love and use in my own kitchen!
Ingredients
- 4 cups red bell peppers, washed thoroughly and sliced (about 3 medium)
- 1 jalapeño, washed and sliced
- 4 garlic cloves, sliced or crushed
- 2 cups water
- 2 cups distilled white vinegar (may also use white wine vinegar)
- 4 tablespoons sugar
- 4 tablespoons kosher or pickling salt
- 2 tablespoons whole peppercorns (I like multicolored)
Instructions
- Wash bell peppers; remove stems, membranes and seeds. Slice into rings or strips.
- Wash jalapeño; remove stem. Slice into rings. (Remove seeds and membranes if you don't want the pickled ingredients to be super spicy).
- Slice or mash garlic cloves.
- Add the peppers and garlic to two sterilized mason jars.
- In a medium saucepan, add the water, vinegar, sugar, salt, and peppercorns.
- Bring to a rolling boil; then reduce heat and simmer for 2 minutes.
- Pour mixture into spouted measuring cup for easier pouring into jars.
- Evenly distribute the brine into jars, covering the contents in both.
- Allow to cool for 1 hour; then seal and refrigerate.
- Pickled peppers will keep in the refrigerator for up to 3 months.
Notes
Nutrition
Please note that nutritional information is provided by a third party service and is intended for guidance purposes only. KitchenReadyBetty.com makes no claims to its accuracy.


Susan M. says
These pickled peppers are incredibly flavorful! We love them as a snack right out of the jar.