This article will walk you through the best tips for success with the roll and cut method of butter cookies. From achieving the right dough thickness, to key decorating tips and proper storing techniques, this is a must-read before the next time you get out your rolling pin!
When it comes to cookies, nothing beats homemade. This is especially true of butter cookies. I've made several batches over the years, but I'll be the first to admit that making these tasty cookies can be a little labor intensive--especially when you only make them occasionally.
I've been making my grandmother's vintage Butter Cookies recipe since I was a kid (found on the blog as Christmas Butter Cookies). Luckily, I've learned quite a bit along the way!
In this post, I share key techniques and advice to help anyone achieve the best roll and cut butter cookies, as well as some tips for decorating and storing them.
Jump to:

The difference between butter cookies and sugar cookies
When it comes to roll and cut cookies, the question I get asked the most is:
What is the difference between a butter cookie and a sugar cookie?
While both of these cookies contain butter, sugar cookies typically have a higher ratio of flour to butter. As a result, sugar cookies are easier to roll and cut after just being mixed.
Butter cookie dough, because of its higher ratio of butter to flour, needs to firm up before being worked with. After baking, butter cookies are typically crisp on the edges and have a more distinct, rich, buttery taste.
My below tips will help achieve success for roll and cut butter cookies AND sugar cookies. However, the article is more geared toward butter cookies--not only because it's my preferred choice between the two--but also because butter cookies, due to their higher butter to flour ratio, require more skill and practice to master.
10 tips for success with butter cookie dough
Whether you choose to make my Christmas Butter Cookies (which can be easily customized for any holiday/occasion by switching out the cutters and decor), or your own special recipe, the following tips are extremely helpful:
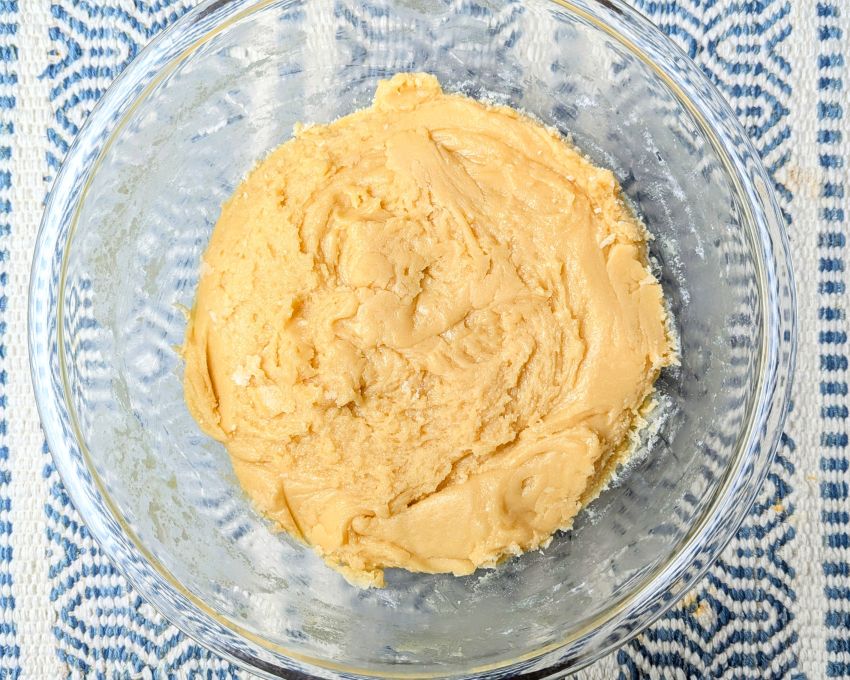
Tip #1: FREEZE THE DOUGH
Because of that high butter to flour ratio, butter cookie dough is often soft, more than a little slippery, and often just down-right DIFFICULT to initially work with.
So how do you fix that?
After making the dough, cover your mixing bowl with plastic wrap and place it in the freezer for 30-60 minutes so the dough firms up (the time varies depending on the size of the batch). After the dough firms, remove the bowl from the freezer. Allow it to sit on the counter for about 5-10 minutes and then you'll be good to go.
(Alternatively, the dough can be chilled in the fridge for several hours or overnight.)
Tip #2: PREPARE YOUR WORKSPACE
Place a large piece of parchment paper (your best friend in this whole endeavor due to its nonstick powers) on your table or counter. You may find it helpful to sprinkle a light dusting of flour on the parchment paper and your rolling pin for smoother rolling. (In a pinch, use wax paper, but opt for parchment if you can!)
Tip #3: WORK WITH A LITTLE BIT OF DOUGH AT A TIME
Scoop out roughly one third of the dough from the bowl and place it in the center of the parchment paper. Flatten it slightly with your hands; then use the rolling pin to smooth it out and flatten it to about ¼ inch thickness.
Working from the center, roll the dough out towards the edges, lifting the rolling pin up and away from the dough before starting again in the center. Smooth out any air bubbles (sometimes you need to lift up an edge of the dough to achieve this).
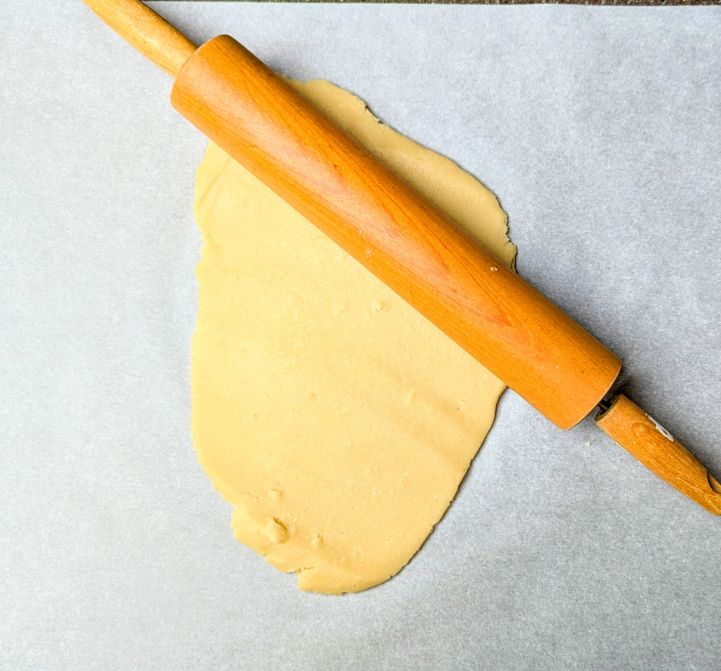
Tip #4: AIM FOR ¼ INCH THICKNESS ALL AROUND
This is one of the most important roll and cut butter cookies "tips for success" on this list. The dough must be evenly rolled out to ¼ inch thickness ON ALL SIDES before using cookie cutters. Otherwise, some cookies will be thicker than others, which will affect the baking time and results.
Why does this matter?
If the dough is too thick, the cookies will become cake-like and you won't yield as many from the batter. On the other hand, if the dough is too thin, the cookies will be hard to transfer to the pan and will get too brown and crisp when baking.
The best rule of thumb here is, if you feel that the dough is rolled out too thick OR thin, reform it into a ball and start over.
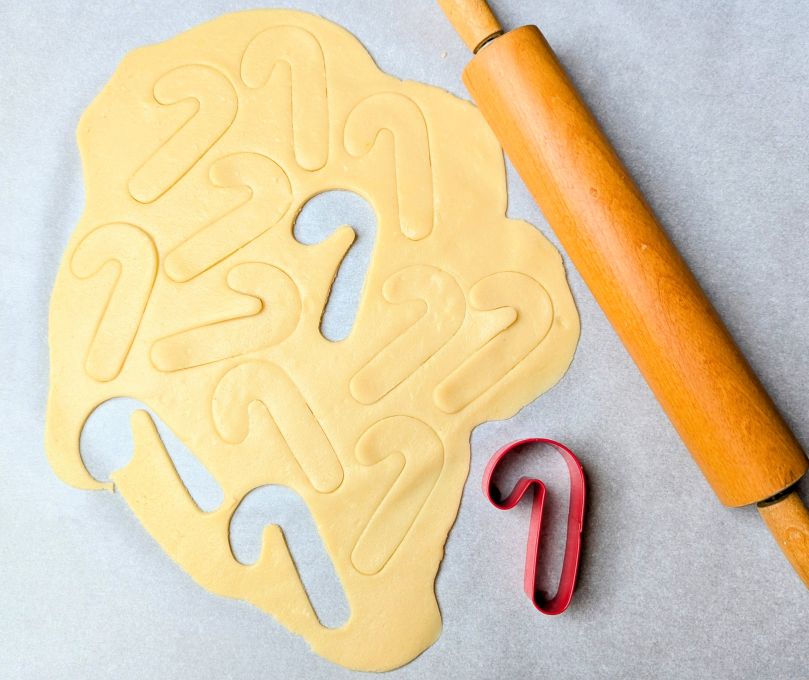
Tip #5: WORK SMARTER, NOT HARDER, WITH THE COOKIE CUTTERS
When cutting the dough, press the cookie cutters (sharp, hollow designs preferred) down in different directions (even backwards) to maximize each rolled out sheet. Then carefully transfer the dough to the baking pan (gentle hands are best so the dough doesn't get squished) and space cookies about ½ inch apart.
Don't forget to gather the remaining scraps left on the workspace to reshape, flatten and roll again to cut out more cookies (adding some extra dough is often helpful for this part).
A common question with this tip:
Do Butter Cookies spread when baking?
While that can happen with butter cookies, I find that it doesn't happen much when the dough is initially frozen, as I recommend. The fact that the cookies don't really spread when you take this extra step comes in handy when arranging unbaked cookies on the pan--you don't have to allow for much additional space in between.
Tip #6: RECHILL THE DOUGH AS NEEDED
This is especially important if you're working with a doubled recipe or large batch. The longer the dough sits out after initially setting, the less firm it will be. Place it back in the freezer for about 15 minutes so it can solidify for easier handling as needed.
Tip #7: LARGE, HEAVY-DUTY, NONSTICK RIMMED BAKING SHEETS OR JELLY ROLL PANS WORK BEST
Have you ever had a baking sheet warp from your oven's heat? (It usually sounds like a large "pop".) That tends to happen with thinner pans, which in turn can disrupt the content baking on them. Use sturdy, premium pans to avoid this problem.

Tip #8: BAKE ONLY ONE SHEET IN THE OVEN AT A TIME
If you have a conventional oven, bake one large sheet at a time on the middle rack. Avoid the temptation to put multiple cookie sheets in at the same time on multiple racks. The cookies never bake evenly that way and some will potentially burn!
How do I know when butter cookies are done?
A batch of butter cookies is done when the cookies are slightly brown around the edges and puffed up a little in the center (they will continue to bake a little on the pan after being removed from the oven).
Tip #9: TRANSFER WITH DUE DILIGENCE AND SET YOUR TIMER
Allow cookies to cool on the pan for 1-2 minutes ONLY; then use a sturdy spatula to carefully transfer them to a wire rack.
Failing to remove them from the pan within this timeframe may cause baked cookies to break and/or stick to the pan.
Tip #10: ALLOW AMPLE TIME FOR COOLING BEFORE DECORATING WITH ICINGS AND STORING COOKIES
Decorating with icing and gels is optional, but if you choose to, allow the cookies to cool for at least 1 hour before doing so. Also allow ample time for cookies to set and cool before transferring to storage containers.
5 decorating tips

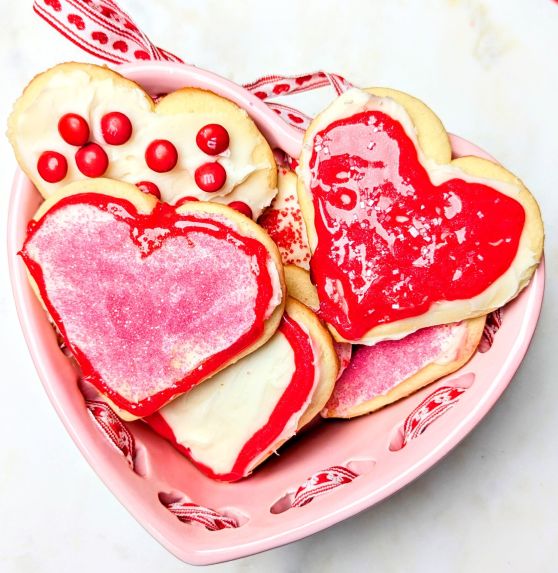
Did you know that many professional bakers choose not to decorate butter cookies with icing, saying that they're rich enough already? Well, I say a little decorating never hurt anyone! I enjoy the buttery flavor along with the festive accents and tasty decor!
Here are a few of my favorite tips for butter cookie decorating:
| 1. This first one was mentioned above, but it bears repeating: Before you begin decorating with icing or gels, it’s important to make sure that the butter cookies have cooled completely. At a bare minimum, you should allow an hour before starting. 2. Have a variety of colors, icings and decorative accents. I used to make my own icing, but have found so many great, squeezable products these days that taste great, look pretty and save time. I use a variety of cookie icings and gels (I especially like the sparkle versions). I also buy a variety of sprinkles in terms of shape and color. You don’t have to break the bank with these options either. A certain, large brick and mortar retailer has a great selection in their own brand of may decorating gels and sprinkles to choose from, as pictured above! 3. Less is more and vary it up. Start out with simple designs and take it from there. Remember, butter cookies have a rich foundation to begin with, so you don’t need to overdo it with the icing. 4. Decorative accents, like sprinkles and mini M&M’s, add a nice touch. Be sure to place them on shortly after applying the icing so that they stick. This is especially important when using cookie icing, which has a lot of cornstarch in it and therefore sets very quickly. I should note here that if you're only interested in using small, simple sprinkles and no icing, the sprinkles should be applied to the raw cookie dough shapes halfway through baking so that they "stick". 5. Allow ample time for cookie decorations to set. The time will vary, but I usually have my decorated, iced cookies sit out for a few hours just to err on the side of caution. (Sometimes I put them back on the cooled cookie sheets so that they’re easy to move.) Make sure decorated cookies are not stacked on top of each other during the setting process! |
Storing advice
- Compared to most cookies, butter cookies keep incredibly well when stored in an airtight container. Those without any icing typically stay fresh for one week. Cookies that have been decorated with icing will keep a little longer, but tend to get softer as time goes on (that's because the cookies absorb the fats in the icing).
- It's helpful to use parchment paper in between layers of decorated cookies to prevent them from sticking to each other and to maintain the decorating integrity.
- You can also freeze butter cookies (both with and without icing) for two to three months, though the ones without decorations will hold up better--especially when they defrost.
- My final piece of advice for butter cookie storage is very important--especially around the holidays. Butter cookies make a great gift, but avoid putting them in a special tin until you're ready to "deliver the goods". Tins look pretty, but most of them don't have airtight seals to keep cookies fresh.

The final word
The roll and cut method always yields great, memorable cookies (even the misshapen ones!). From festive shapes, to fun, decorative accents, a special cookie can be created for any occasion. In a pinch, refrigerated cookie dough can come in handy when you're short on time or resources, but the cookies that taste best are the ones made with love from scratch.
I hope these tips bring you success with the next batch of roll and cut butter cookies you make. If you have helpful tips that work for you, feel free to leave them in the comments section below.
Happy baking!
Charlie L. says
Great tips here. I never thought about freezing the dough... what a good idea!
Kitchen Ready Betty says
It really does help with butter cookie dough!