Love baking pies but hate when the edges burn? You need an aluminum foil pie crust shield. This simple tool protects your crust perfectly. This article will teach you how to make a pie shield in minutes. It's a quick and easy process. You can finally say goodbye to burnt pie edges forever!
As bakers, we've all been there. You put time and effort into baking the perfect pie. You measure exactly and carefully monitor your oven. The kitchen smells incredible as the pie bakes. You wait patiently for the kitchen timer to go off. But when you open the oven, the crust is completely burnt. 😔
This is a very common baking problem. Thankfully, there's a fast and simple fix. Making your own DIY shield takes just seconds.
Jump to:
- 🤔 What Is an Aluminum Foil Pie Crust Shield?
- ✅What You'll Need
- 🤫 Moment of Truth: My Pie Crust Confession
- 👩🍳 Step-by-Step: How to Make a Pie Shield
- 😀Using Your New Aluminum Pie Crust Shield
- 🚫 Common Mistakes to Avoid
- ♻️ Can You Reuse a Foil Pie Shield?
- ❓Aluminum Pie Crust Shield FAQ
- 🥧Related Recipes
- 🥧No-Bake Pie Favorites
- 💬 Comments
🤔 What Is an Aluminum Foil Pie Crust Shield?
A pie crust shield is a fantastic kitchen tool. Every home baker should know how to use one. It covers the outer rim of your pie crust. This protects the delicate edges from over-browning or burning.
You can buy store-bought shields made of silicone or metal. These can range in price from $5 to $20. But why spend the money? It's incredibly easy to make one at home. When you make your own, it fits your pie plate perfectly.
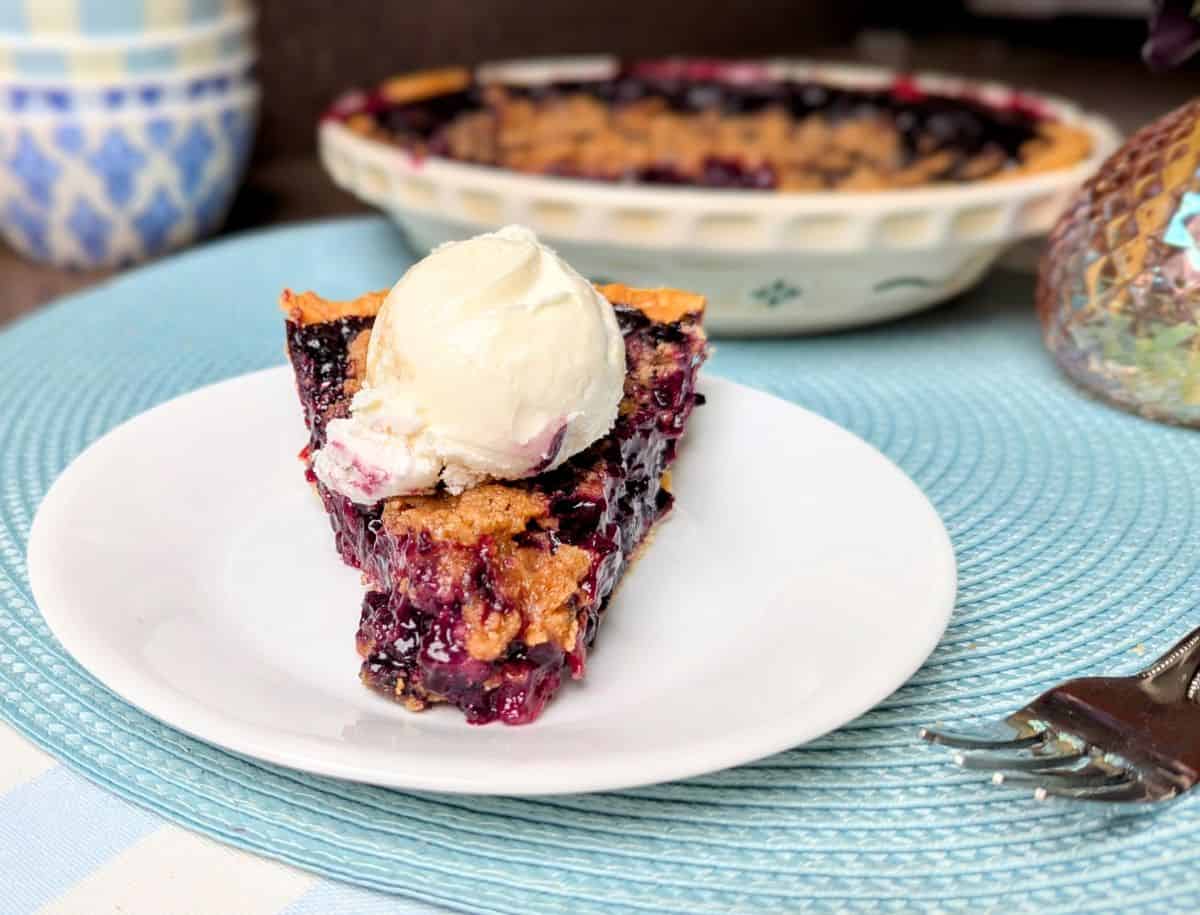
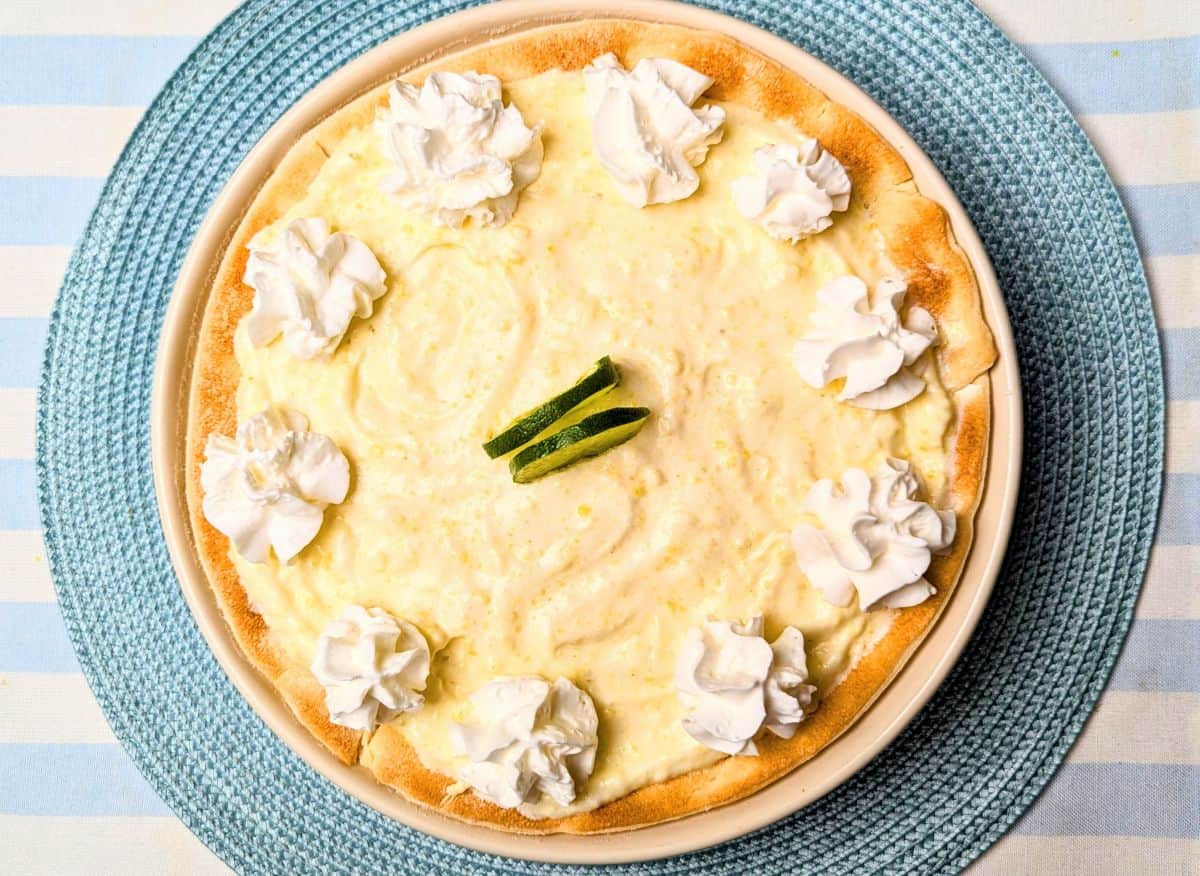
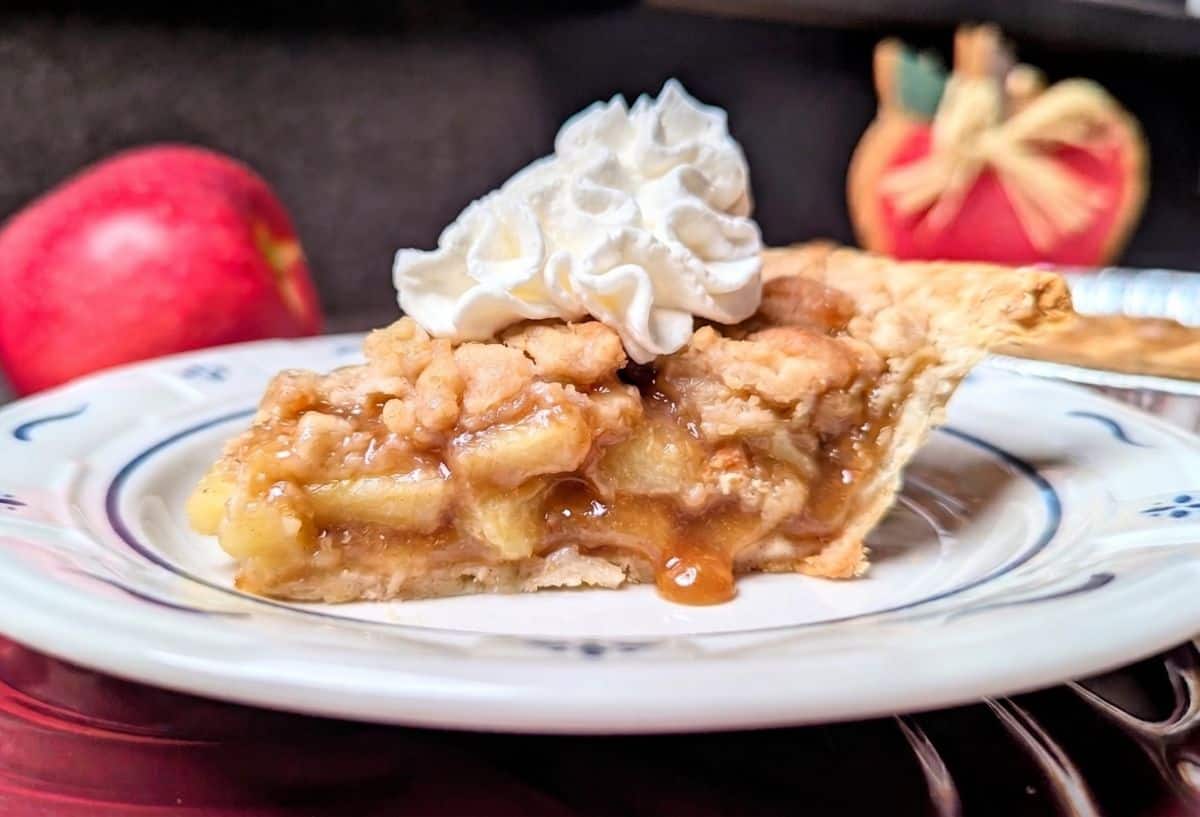
Of course, you also need a good pie recipe, like Dutch Apple Crumb Pie or Blueberry Crumble Pie (both bake fabulously, by the way, with this DIY pie shield😉).
✅What You'll Need
You only need a few basic items. You likely already have them in your kitchen.
- Clean, empty pie plate: Use the exact plate for your recipe. Do this before making or unrolling a premade crust.
- Aluminum foil: Wide foil works great for this kitchen hack. Standard width foil works well too. If using standard foil, just overlap two pieces together. Regular foil is usually easier to mold than heavy-duty foil.
- Kitchen shears or scissors: You will need a good pair of scissors to cut the center hole out of your molded foil ring. Regular kitchen shears work perfectly for this step.
🤫 Moment of Truth: My Pie Crust Confession
I have a little confession to make about my pie baking: I almost always use store-bought, refrigerated pie crusts for my recipes! I used to make my own dough from scratch all the time. However, that's an extra, messy step that I just don't need anymore. Refrigerated pie crusts taste absolutely great and save so much time. After all, the delicious filling is the real star of the show, not the crust!
👩🍳 Step-by-Step: How to Make a Pie Shield
It's very easy to create your own pie crust shield. Just follow these simple steps before you bake.
Step 1: Turn your clean, empty pie plate upside down. Let it rest flat on the counter.
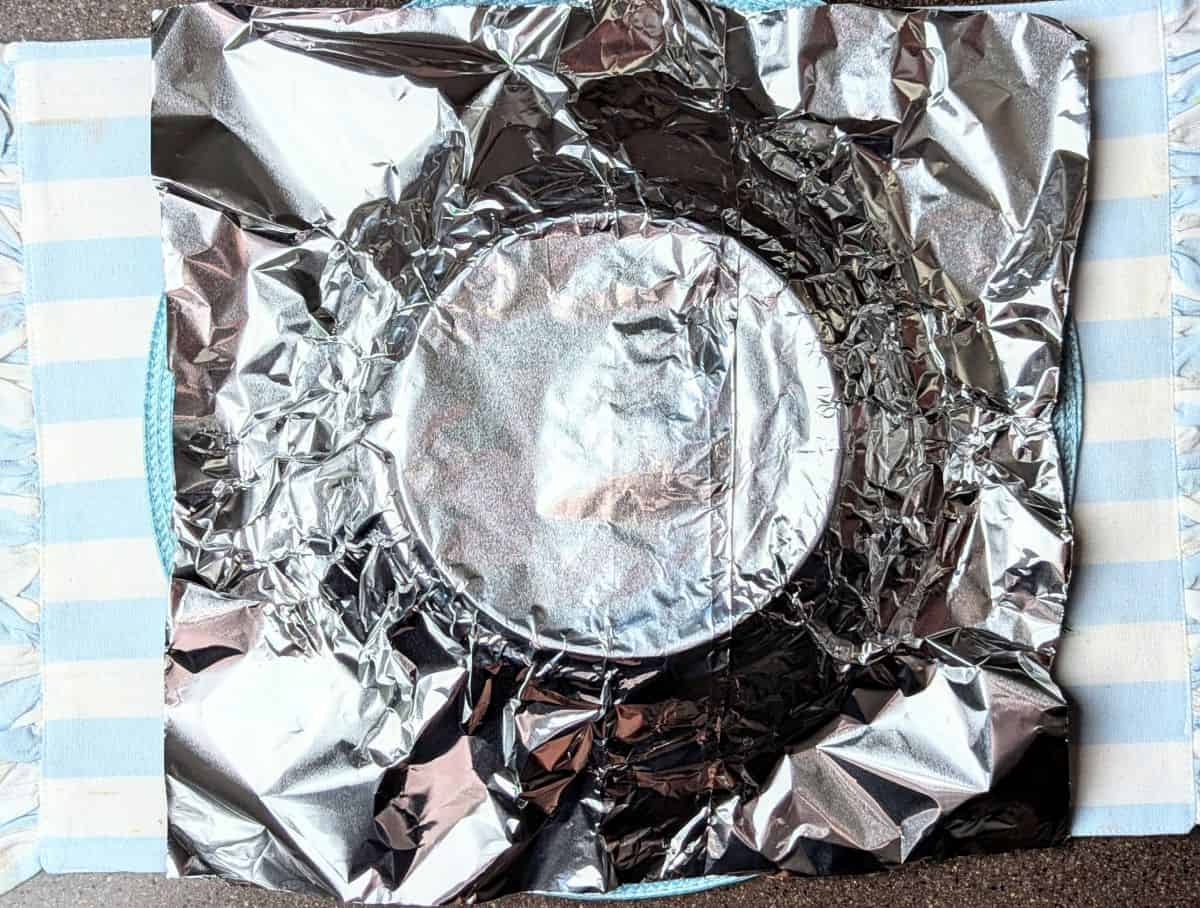
Step 2: Unroll enough foil to extend past the pie plate. Cut the sheet and lay it over the upside-down plate.

Step 3: Gently press and crimp the foil. Crimp it around the bottom of the pie plate. Create a defined, round shape mirroring the plate's base.
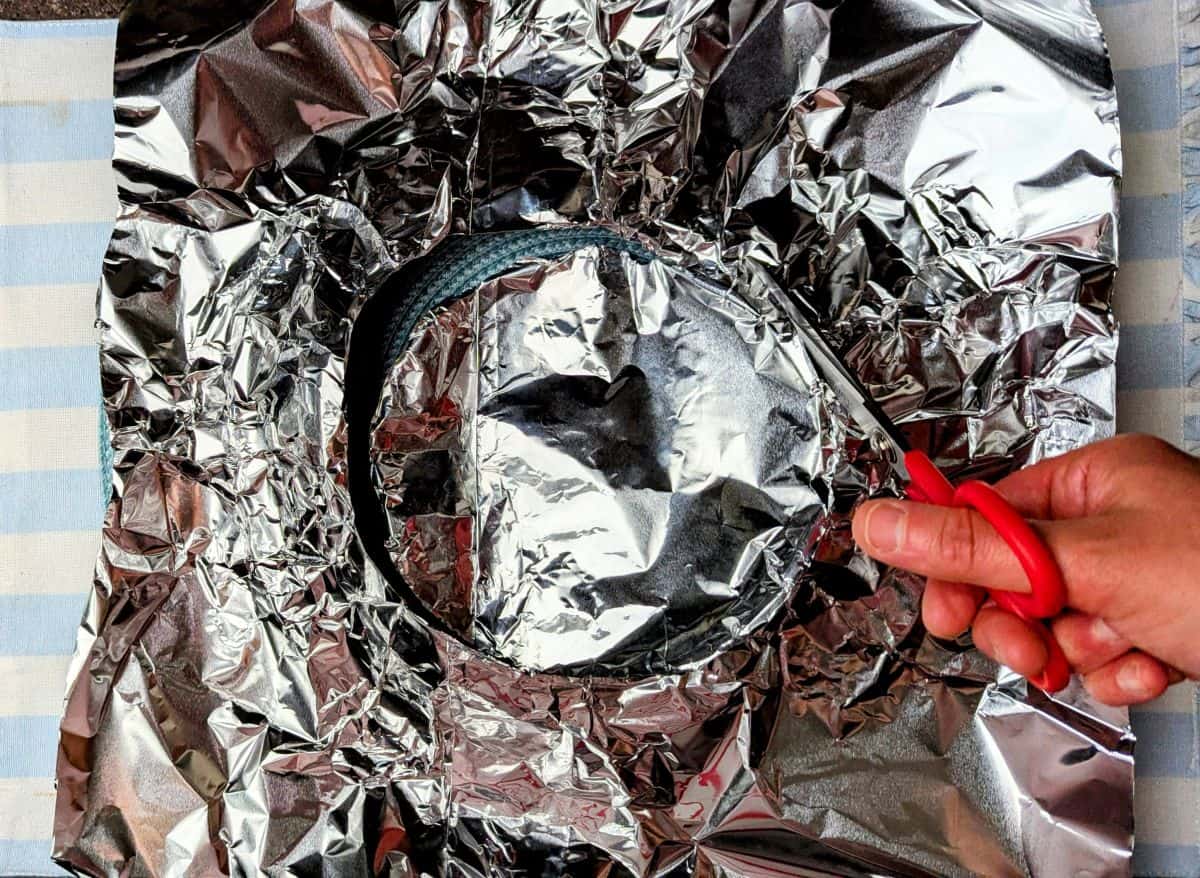
Step 4: Lift the molded foil sheet off the plate. Use scissors to carefully cut a hole in the center. Follow the creased circle you just crimped.
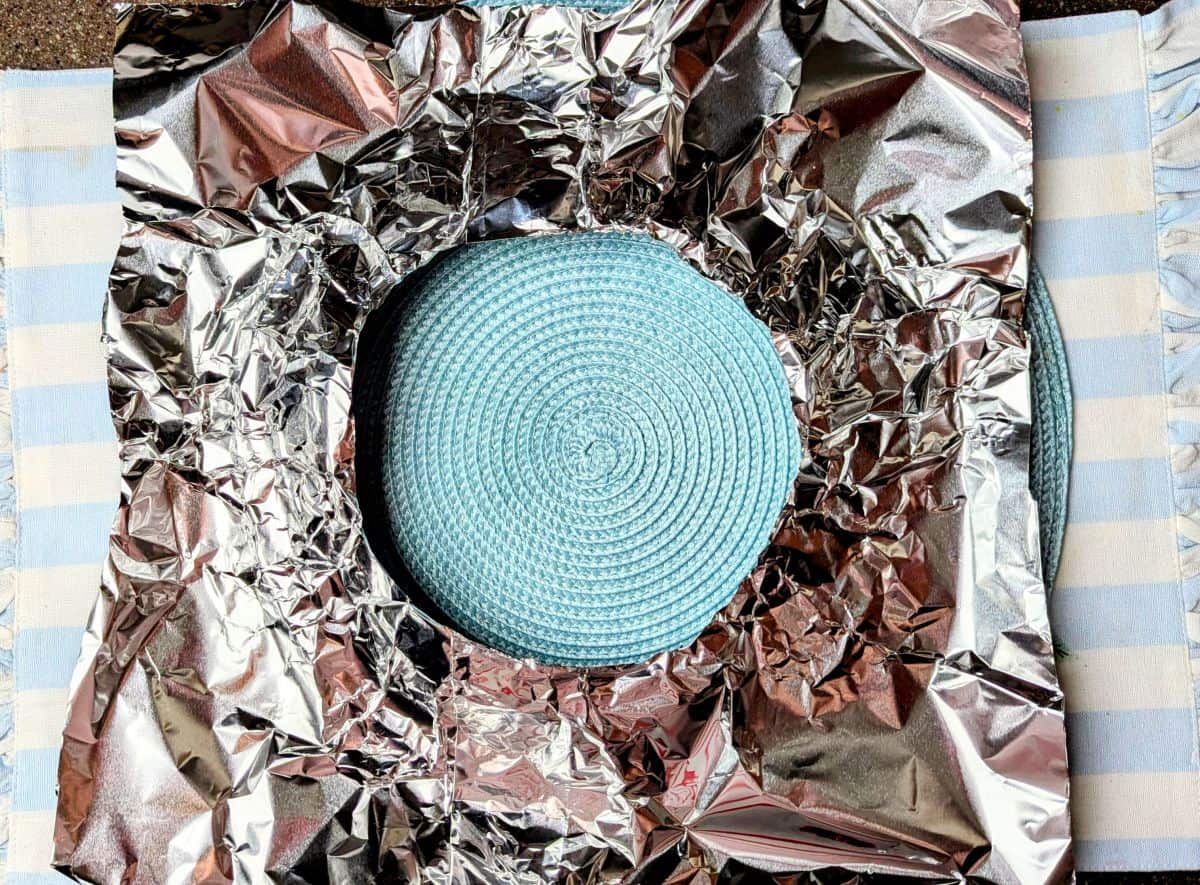
Step 5: You now have an aluminum foil pie crust shield. It should look like a large foil ring.
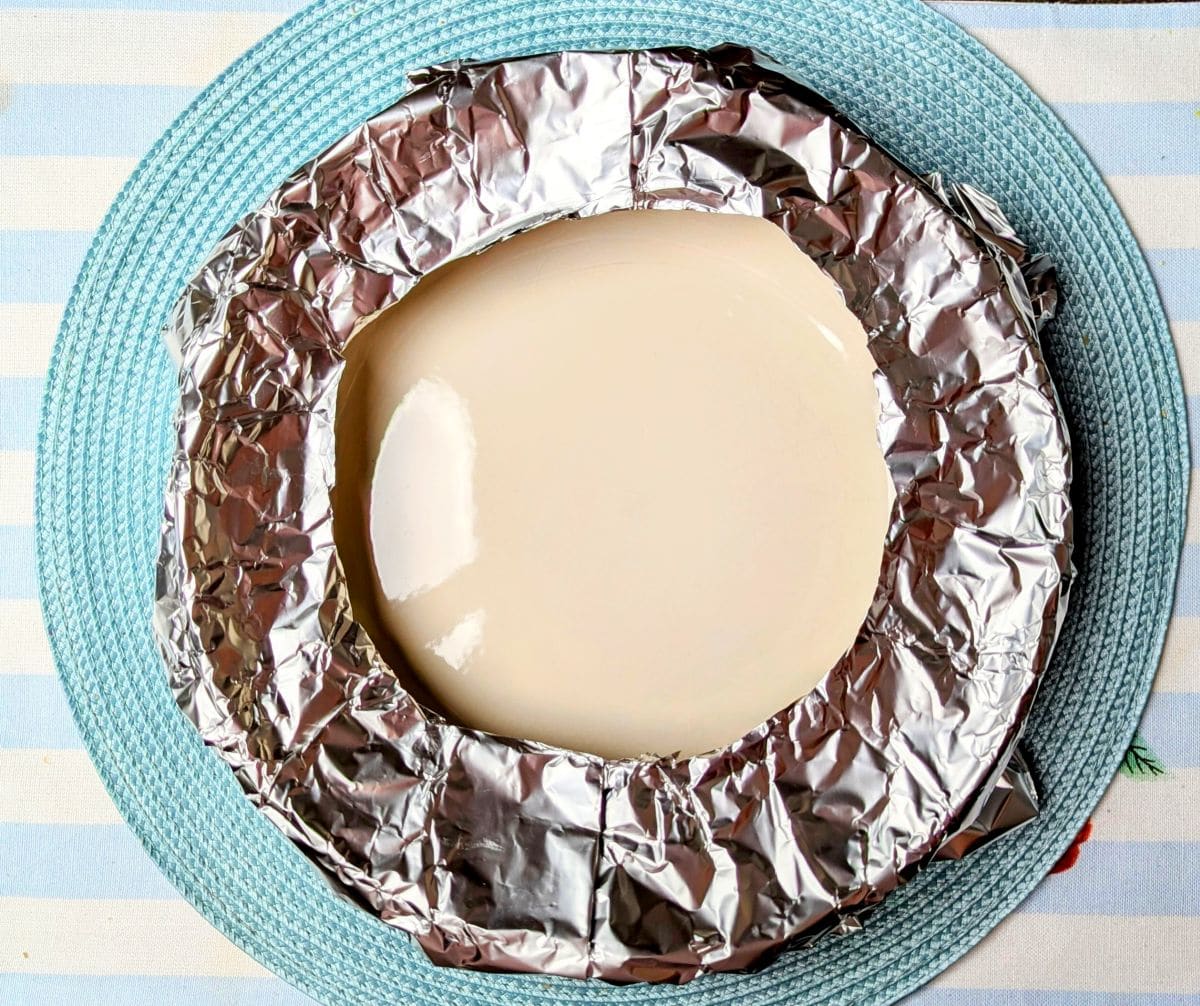
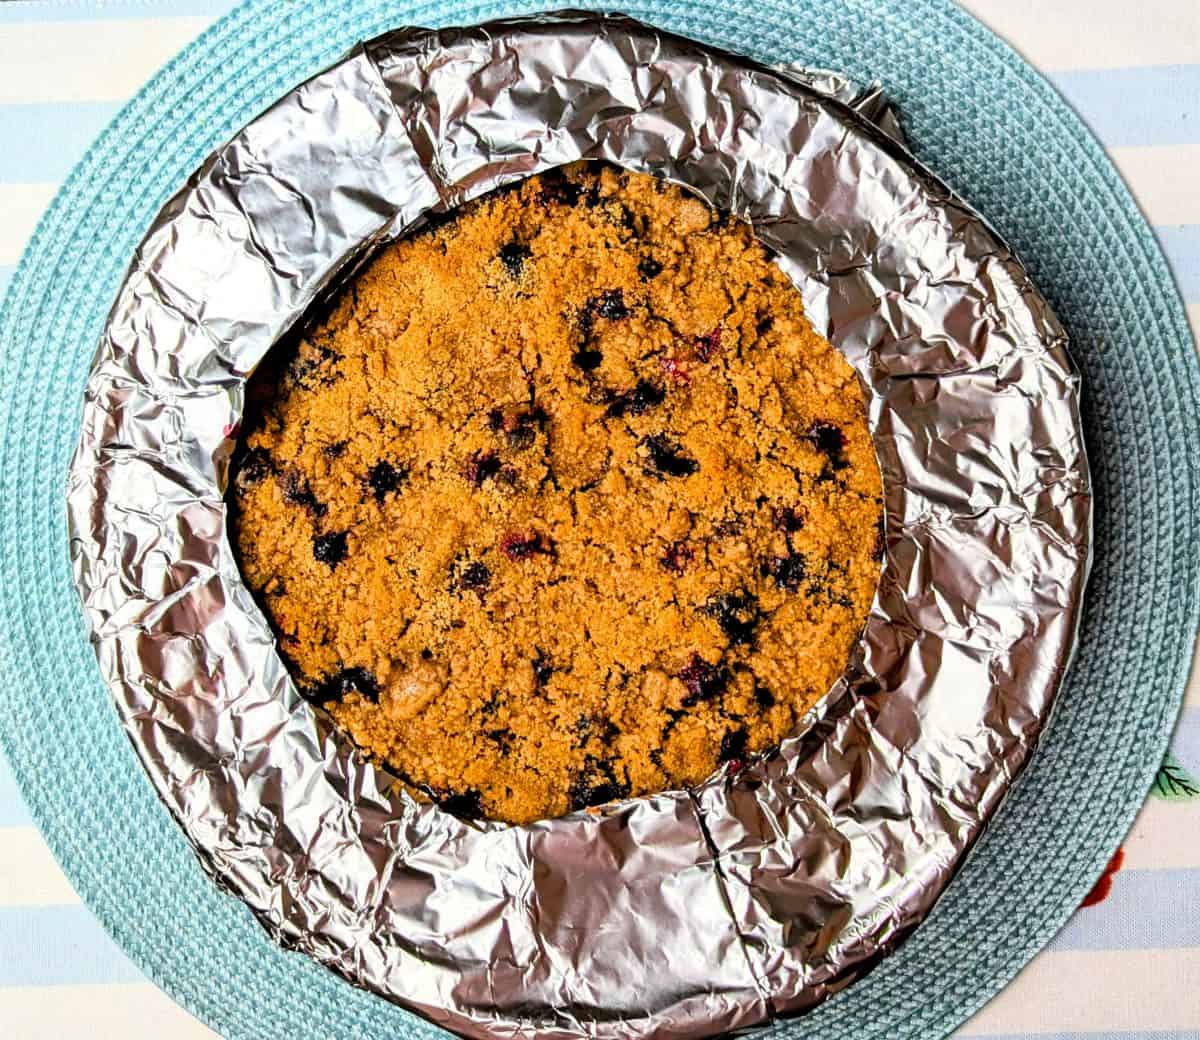
Step 6: Flip the pie plate right side up. Test the shield by placing it on top. Center it and fold the outer edges down gently.
😀Using Your New Aluminum Pie Crust Shield
Recipes can vary significantly. Always check your specific recipe instructions first, and follow the baking advice provided for the best results.
Generally, I don't use a shield the entire baking time. Leaving it on too long stops the filling from baking evenly.
You can use it from the start and remove it halfway. Or, you can add it halfway through baking. Add it when you notice the edges turning golden brown.
🚫 Common Mistakes to Avoid
Making a DIY shield is incredibly easy. However, there are still a few common mistakes you should avoid.
- Using pieces that are too small: If your foil tears, it will not protect the crust properly. Make sure your foil overlaps generously if you are combining two standard-width sheets.
- Crimping the foil too tightly: Do not press the aluminum foil directly into the raw dough. The foil might stick to the crust as the pie bakes. Always leave a little breathing room around the edges.
- Burning your fingers: Oven racks are dangerously hot. Please be careful if you add the shield halfway through baking. Always use oven mitts or tongs to place it over the hot pie.
♻️ Can You Reuse a Foil Pie Shield?
Yes, you absolutely can reuse your DIY shield! This is another reason why I love this simple kitchen hack so much.
If your sweet pie filling doesn't bubble over, your shield will stay clean. Simply lift the foil ring off your pie plate very carefully. Store it in a safe, flat spot in your pantry or cupboard. You can easily reuse it for your next baking project. This trick saves you even more time and aluminum foil!
❓Aluminum Pie Crust Shield FAQ
Yes, they are definitely worth it! A burnt crust ruins the taste and look of a pie. Many recipes need high temperatures to bake the filling. This high heat dries out the crust and causes burning. Using an aluminum foil pie crust shield solves this problem entirely.
Technically, you can use parchment paper. However, I don't recommend it. Parchment paper does not stay in place well. Foil is a much better choice. You can easily mold foil to fit your exact pan. This ensures the shield will not slide around in the oven!
You want your pie crust to turn a lovely golden brown. When it starts turning medium to dark brown, you should quickly cover it with your shield. Alternatively, it might be time to remove the pie entirely.
Store-bought silicone shields work very well. However, they're not necessarily better. A DIY aluminum foil shield is free and fully customizable. You can easily mold foil to perfectly fit any pie pan size or shape!
Yes, this trick works perfectly for deep-dish pies! You just need to ensure you start with a large enough square of aluminum foil. It needs to completely cover the wider diameter of your deep-dish pan.
Absolutely. You can use this exact same foil hack to protect the crust of a frozen pie. Just mold the foil shield over the frozen crust before putting it in the hot oven.
🥧Related Recipes
Don't forget you need a great recipe to test this out! Here are some of my favorite recipes to use with a pie shield:

🥧No-Bake Pie Favorites
Sometimes you just want a delicious dessert without turning on your oven at all. When you're not looking to bake from scratch, these easy no-bake pies are an absolutely perfect solution. Because they use convenient pre-made crusts, you can completely skip the oven and the pie shield!
- No-Bake Strawberry Cream Pie with Cream Cheese
- Chocolate Peanut Butter Pie
- Berry Cool Whip Pie
- Easy Cranberry Mini Pies
- No Bake Summer Berry Lush Pie
- Easy French Silk Pie
For more sweet inspiration, be sure to check out our dedicated from scratch desserts page and easy desserts page!
Have you tried making this aluminum pie shield? Drop me a line in the comments below! (I'd also love to hear about the pie you made 😍.)

Barbara K says
Thanks for the tip. No wonder that my foil paper rim cover keeps falling apart.
Kitchen Ready Betty says
Happy to help! This foil method definitely works.