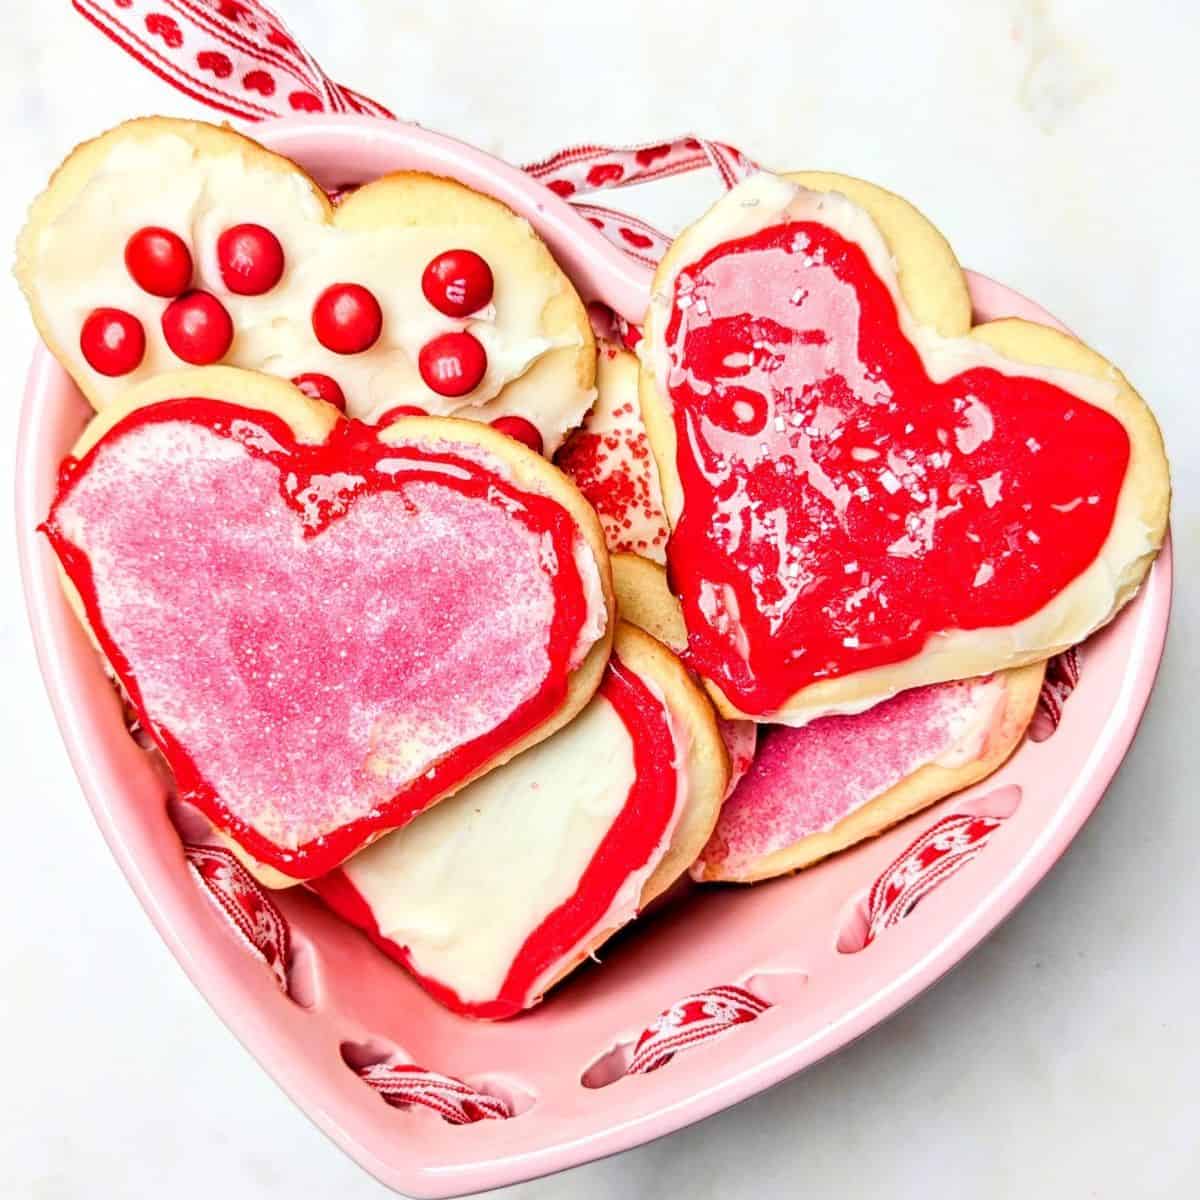
These beautiful Valentine Butter Cookies are proof that the best treats start with the simplest ingredients. Based on a classic family recipe, this homemade dough delivers that epic buttery taste we all crave. Whether you're baking for a sweetheart or a school party, the end result is a homemade, buttery cookie that's always loved by all!
My Christmas Butter Cookies are a total legend around here, but the most common "complaint" I get is that they only happen once a year! Since no one should have to wait until December for that rich, melt-in-your-mouth goodness, I decided it was time for a seasonal spin-off.
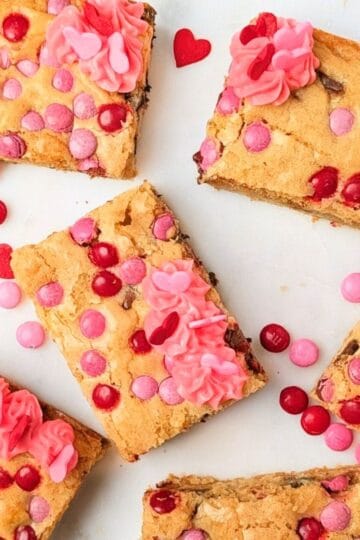
The beauty of these roll and cut butter cookies is their versatility. By simply swapping your holiday shapes for heart-shaped cookie cutters, you can transform a classic recipe into the ultimate Valentine's Day treat.

This easy cookie recipe is a fun way to get the kids involved in the kitchen; they absolutely love helping press the heart-shaped cutters into the dough and going wild with the sprinkles.
The decor might be different, but that authentic, homemade flavor-and the joy of baking together-remains second to none!
Jump to:
🥘Ingredients
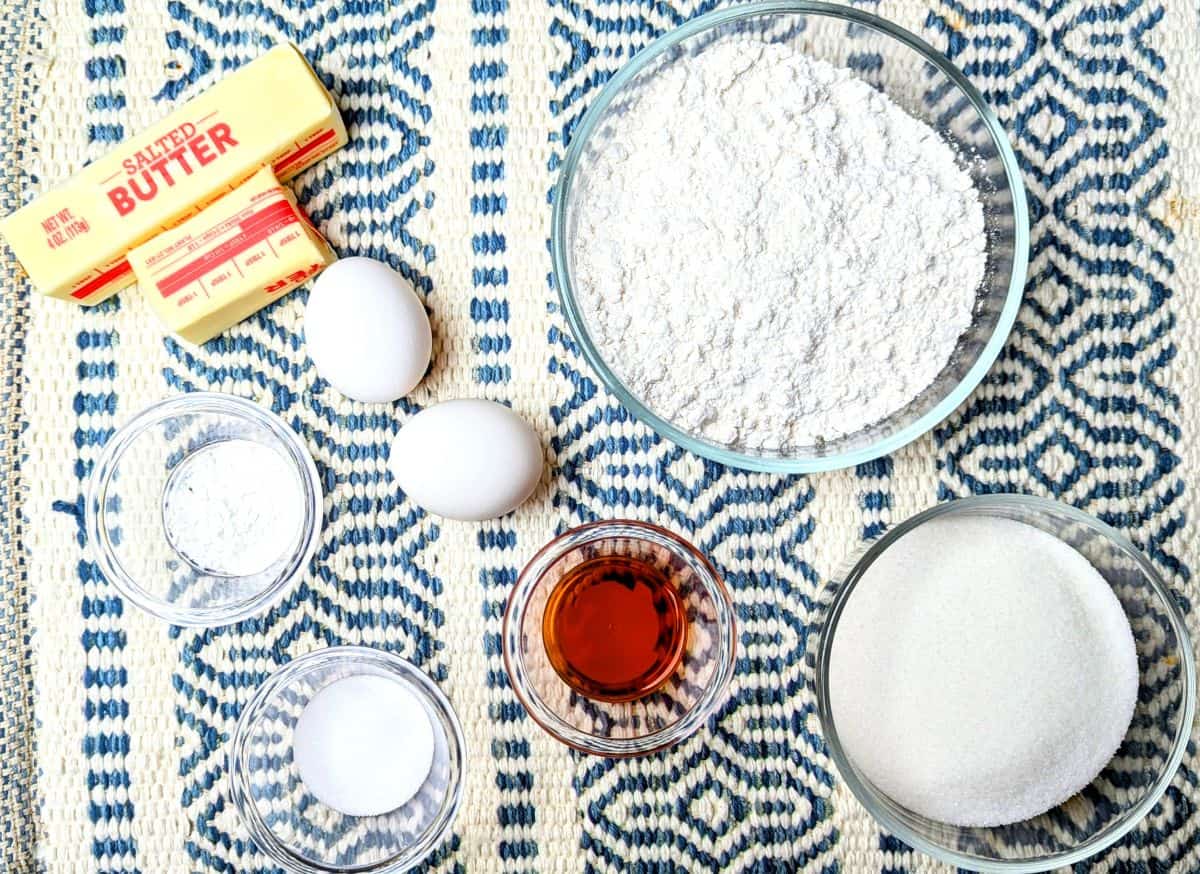
Please note that the number of cookies made from this recipe is determined by the sizes of cookie cutters used.
- butter- use salted butter at room temperature
- sugar
- vanilla extract- use pure vanilla extract for best taste
- eggs- use at room temperature for easier mixing
- flour- spooned and leveled for best results
- salt & baking powder
Decorating options can include cookie icing, sparkle gel, holiday sprinkles, holiday M&M's, and so much more!
See recipe card for quantities.
🔪Instructions
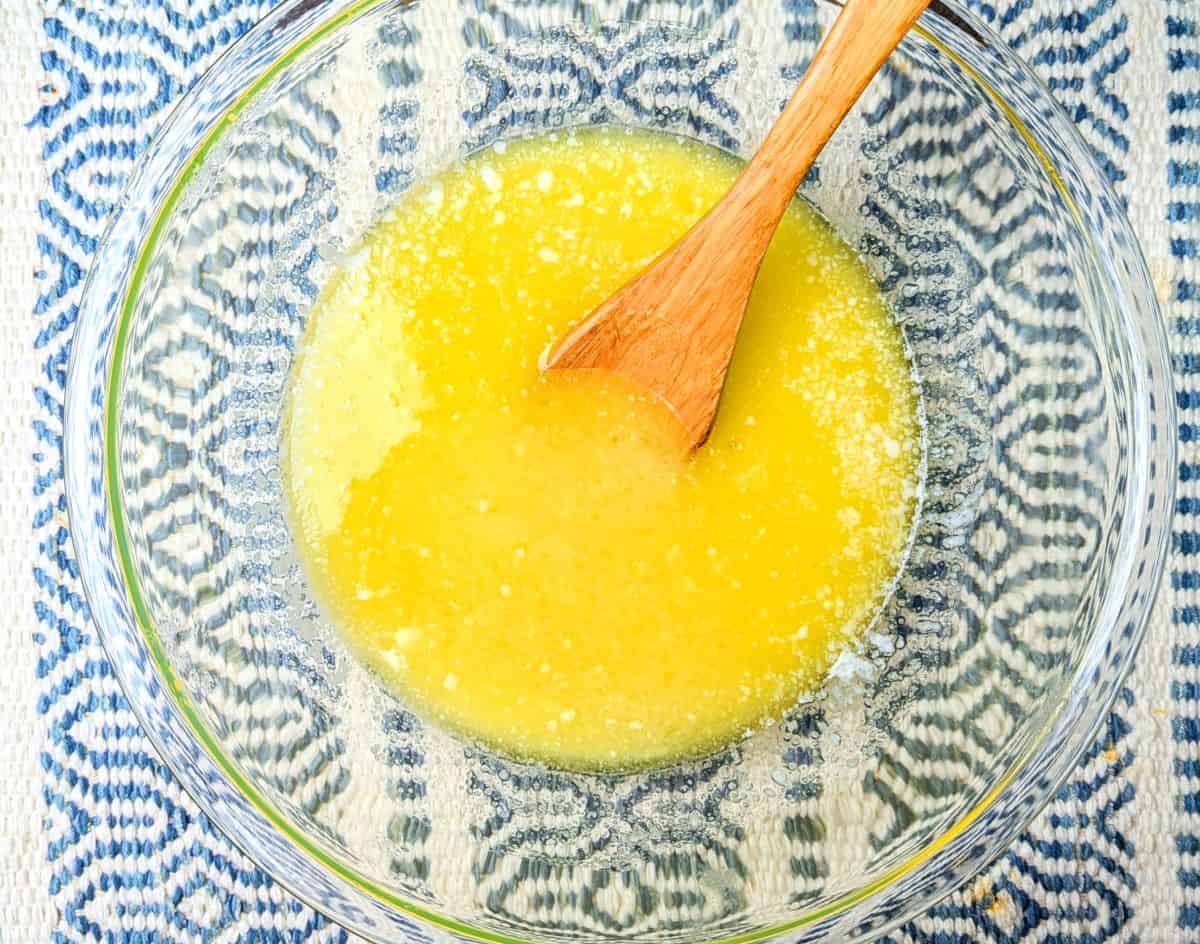
- Step 1: Melt the butter; mix with sugar and vanilla; add slightly beaten eggs.
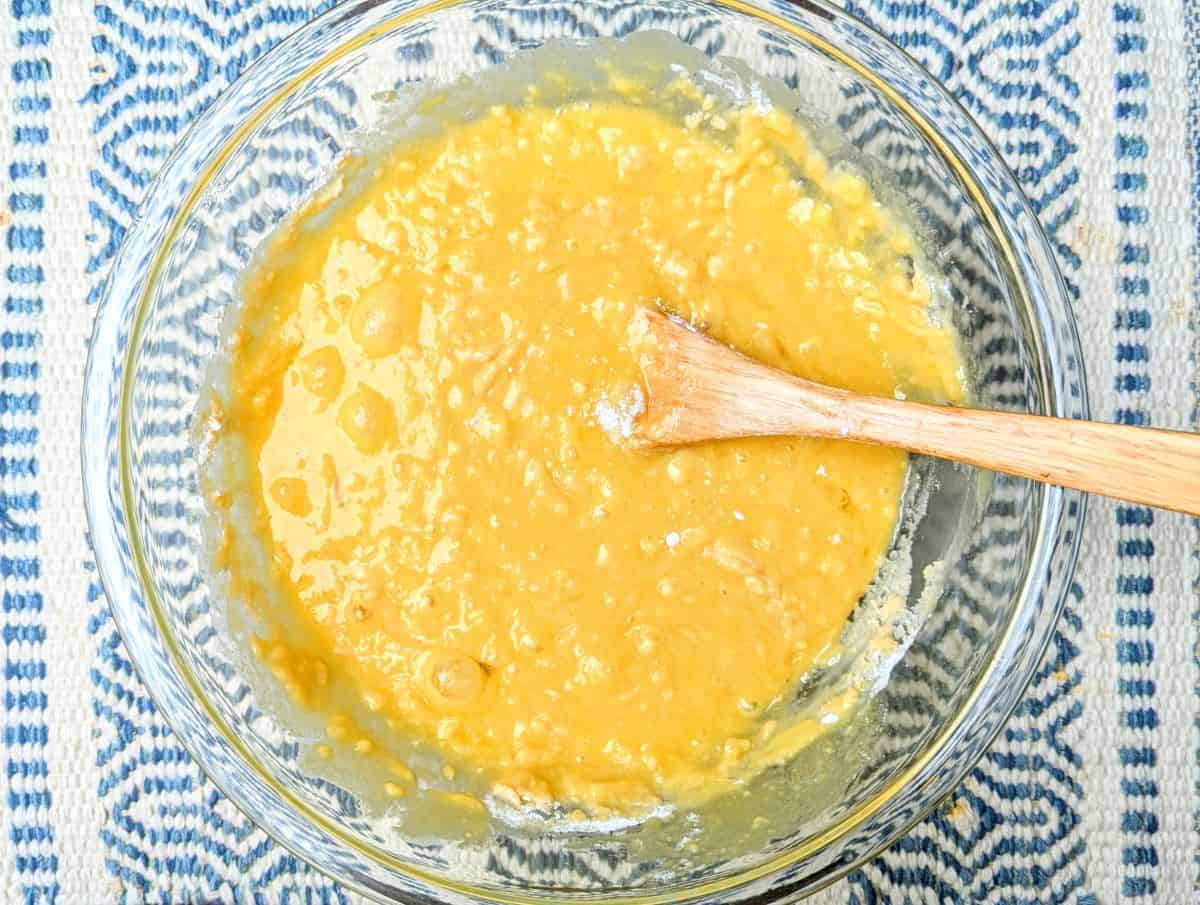
- Step 2: Mix the flour, salt and baking powder together in a separate bowl; fold half into the contents of the large mixing bowl and combine; add the other half and mix again.

- Step 3: Cover the bowl and place it in the freezer for 1 hour so it firms up.

- Step 4: Roll dough on clean workspace and use cookie cutters to make shapes. Transfer to cookie sheet and bake. Once cooled, decorate.
Hint: For step-by-step instructions on how to roll out the dough and use cookie cutters effectively, read my separate blog post: Roll and Cut Butter Cookies: Tips for Success.
👩🍳Decorating tips
- Before you begin decorating, it's important to make sure that the butter cookies have cooled completely. At a bare minimum, you should allow an hour before starting.
- Have a variety of colors, icings and decorative accents. I used to make my own icing, but have found so many great, squeezable products these days that taste great, look pretty and save time. I use a variety of cookie icings and gels (I especially like the sparkle versions). I also buy a variety of sprinkles in terms of shape and color.
- Less is more and vary it up. Start out with simple designs and take it from there. Butter cookies have a rich foundation to begin with, so you don't need to overdo it with the icing.
- Decorative accents, like sprinkles and mini M&M's, add a nice touch. Be sure to place them on shortly after applying the icing so that they stick. This is especially important when using cookie icing, which has a lot of cornstarch in it and therefore sets very quickly. If you're only interested in using small, simple sprinkles and no icing, the sprinkles should be applied to the raw cookie dough shapes halfway through baking so that they "stick".
- Allow ample time for cookie decorations to set. The time will vary, but I usually have my decorated cookies sit out for a few hours before storing. Make sure decorated cookies are not stacked on top of each other during the setting process.
🍽Equipment
- Small, medium, and large mixing bowl
- Measuring cups and measuring spoons
- Sturdy, large mixing spoon
- Parchment paper
- Rolling pin
- Cookie cutters
- Spatula
- Large, rimmed nonstick cookie sheets or jelly roll pans
- Wire cooling racks
🍶Storage
Store Valentine Butter Cookies in an airtight container and keep on your counter. Enjoy within one week.
Decorated cookies will typically last longer than undecorated cookies due to their iced coating.
Use parchment paper in between layers of cookies to prevent them from sticking to each other.
🥄Related
Looking for other easy Valentine's Day recipes? Try these:


🍴Pairing
These are my favorite desserts to serve with Valentine Butter Cookies:


📋Recipe With Step-By-Step Instructions

Valentine Butter Cookies
As an Amazon Associate, I earn from qualifying purchases. I only recommend products I truly love and use in my own kitchen!
Ingredients
- 1 & ½ sticks butter, melted
- 1 cup sugar
- 1 teaspoon vanilla extract
- 2 eggs slightly beaten
- 2 & ½ cups flour
- 1 teaspoon salt
- 1 teaspoon baking powder
- Decorating options can include cookie icing, sparkle gel, holiday sprinkles and holiday M&M's
Instructions
- Melt the butter in a microwaveable dish; then pour it into a large mixing bowl. Add the sugar and vanilla and mix well.
- In a separate, small mixing bowl, slightly beat the eggs; then add to the large mixing bowl. Mix well.
- Mix the flour, salt and baking powder together in a separate bowl; then fold half of this mixture into the contents of the large mixing bowl. Mix well; then add the other half of the flour mixture and thoroughly mix.
- The mixture will be thick; stir several times with a sturdy mixing spoon to make sure it is fully incorporated.
- Cover the bowl and place it in the freezer for 1 hour so it firms up. Please do not skip this step or the dough will be very difficult to work with!
- After 1 hour, remove the bowl from the freezer. Allow it to sit on the counter for about 5-10 minutes.
- Preheat the oven to 350 degrees.
- Prepare your workspace for rolling out the dough. Place a large piece of parchment paper on your table or counter. You may find it helpful to sprinkle a light dusting of flour on the parchment paper for easier rolling.
- Scoop out roughly one third of the dough from the bowl and place it in the center of the parchment paper. Flatten it slightly with your hands; then use the rolling pin to smooth it out and flatten it to about ¼ inch thickness. Work from the middle of the dough and roll out towards the edges, lifting the rolling pin up and away from the dough before starting again in the center. Smooth out any air bubbles.
- Once the dough is about ¼ inch thick all around, use cookie cutters to create shapes. Transfer the cookies either by hand or with a spatula to a nonstick baking pan. The cookies need to be spaced about ½ inch apart on the pan.
- Use leftover scraps from the workspace and incorporate them into the next batch of dough that is rolled. Repeat the above steps until all of the dough is made into cookies.
- Once a pan is full with cookies, bake it in the oven on the middle rack for 10-12 minutes. The cookies are done when they are slightly brown around the edges and puffed up a little in the center. I recommend only baking one sheet at a time--do not use multiple racks. When one sheet is done, put the next one in.
- Allow cookies to cool on the pan for 1-2 minutes; then use a spatula to carefully transfer them to a wire rack. Failing to remove them from the pan within this timeframe may cause baked cookies to break and/or stick to the pan.
- Decorate as desired (see above post for tips).

Alexa S. says
These all absolutely delicious and fun to make with the kids!
Kitchen Ready Betty says
Thank you! Kids really enjoy helping to decorate these butter cookies.